

How to Use Lightbeans Textures in Revit
A step-by-step tutorial on importing Lightbeans PBR textures into Autodesk Revit.
Last updated: 2026
What Is Lightbeans and Why Use It in Revit?
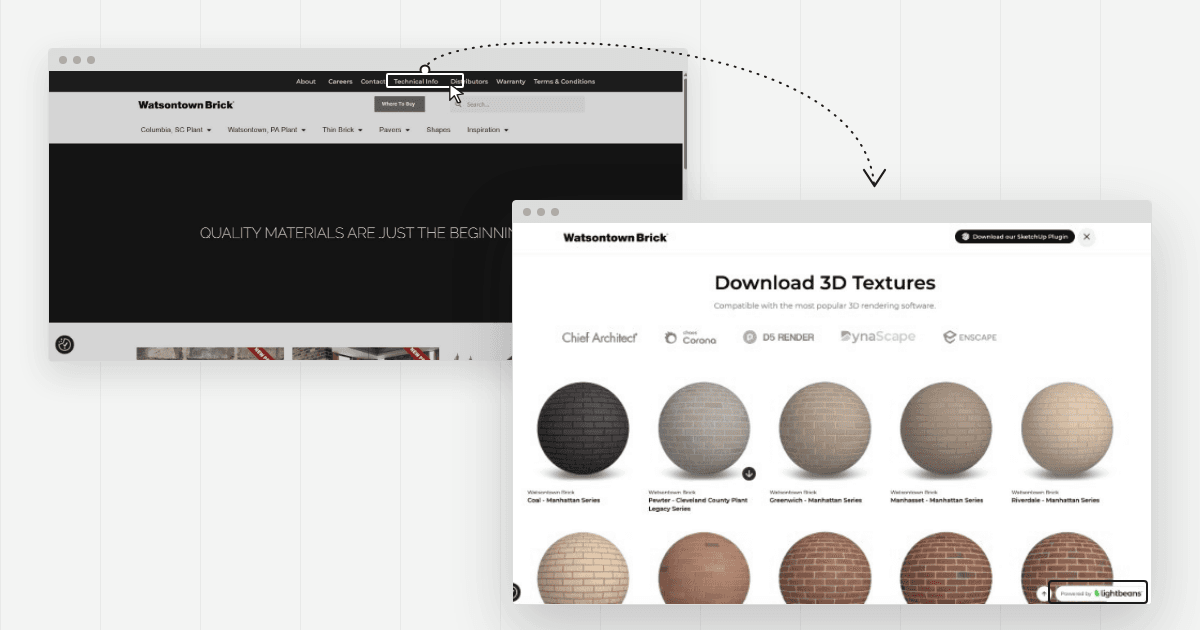
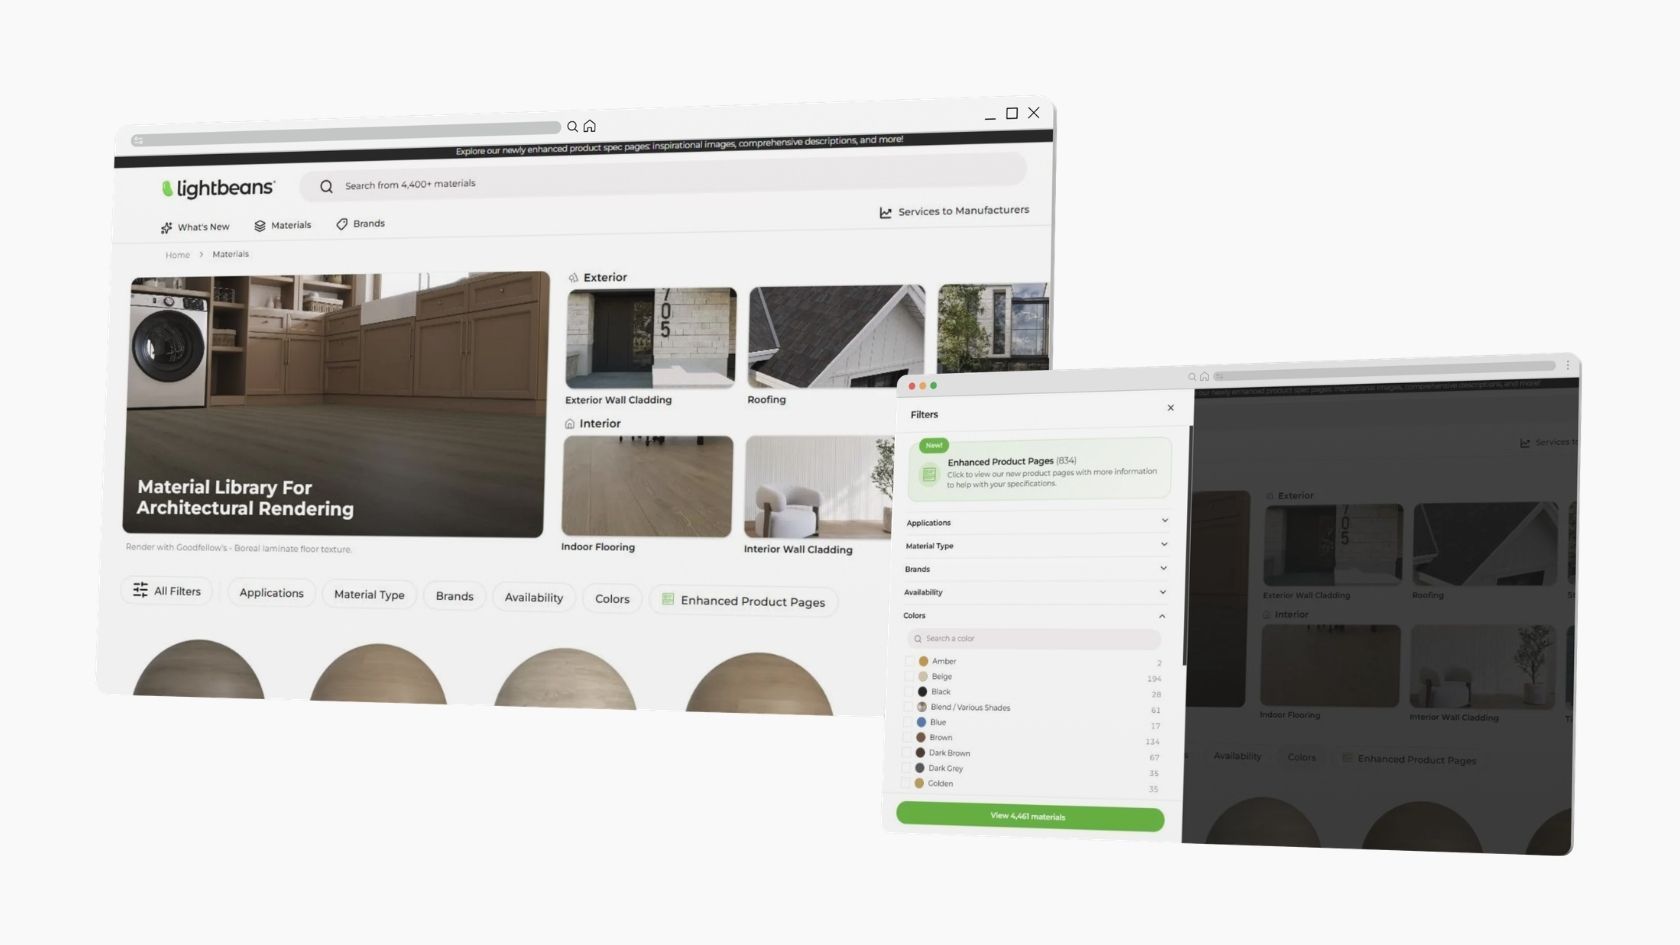
Lightbeans is a professional library of photorealistic PBR (Physically Based Rendering) textures, used by architects, designers, and builders. Every texture on Lightbeans is a seamless, tileable PBR material set (albedo, normal, roughness, displacement, AO) scanned directly from a physical brand product, so the finishes in your architectural renders match a product your client can actually specify and order. Free downloads for commercial and educational use are funded by the brands.
Bringing Lightbeans assets into Autodesk Revit lets you create more realistic material appearances in your architectural renderings, without building materials from scratch or searching on the web for generic material images.
This guide covers everything you need to know about importing Lightbeans textures into Revit.
Step 1: Configure Your Lightbeans Download Settings for Revit
Before downloading any assets, make sure your Lightbeans account is configured to deliver the correct file formats.
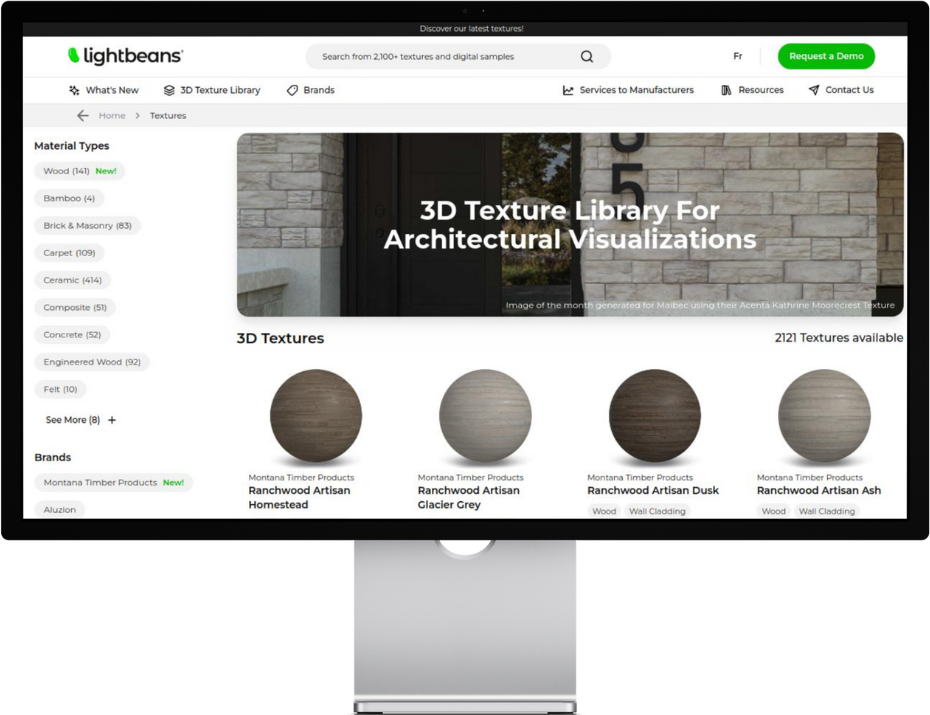
- Head over to lightbeans.com/textures
- Click on a texture sphere
- Click on the "Download 3D Texture" button at the bottom right
- A popup will open, enable Revit as a target modeling application
- If you use a render engine with Revit (such as Enscape or Lumion), also enable that engine
- Hit the download button
- Extract the download .zip file
- Close the popup. Your settings are saved automatically
From this point on, every asset you download will include the correct maps and file formats for Revit.
Step 2: Import a Lightbeans PBR Texture into Revit
Revit's material editor supports PBR inputs including Color (Albedo), Roughness, and Normal maps. Here's the full workflow:
2.1 Open the Material Editor
- In Revit, click the Manage tab in the top ribbon
- Select Materials. This opens the Material Browser
2.2 Create a New Material
- At the bottom of the Material Browser, click the sphere with a plus sign icon to create a new material
- Give your material a descriptive name (e.g., "Lightbeans_Concrete_001")
2.3 Replace the Generic Material with a PBR-Compatible One
- Revit's default "Generic" material type doesn't expose PBR texture slots. You must swap it for an updated material type:
- Click the Appearance tab within the material editor
- Click the Replace Asset button (the icon with two swapping arrows) near the right edge of the window
- From the asset browser, choose a material without a yellow warning symbol if physical or thermal properties aren't needed. If they are, pick a material that matches the physical category of your Lightbeans texture (e.g., concrete, stone, metal)
- Click the arrows icon to swap the new asset in
- You should now see updated texture input fields replace the old Generic section
2.4 Assign Texture Maps
- With PBR-compatible slots now visible, you can load your downloaded Lightbeans maps:
- If image fields are already shown:
- Click any image field (Color, Roughness, etc.)
- An Explorer window opens navigate to your downloaded Lightbeans texture folder
- Select the appropriate map file:
- Color map → for the color slot
- Roughness map → for the roughness slot
- Bump map → for the bump slot
2.5 Assign real-world scale
Ensure maps are correctly scaled to the surface to maintain realism. You can edit the scale in the image settings (make sure to unlock the aspect/ratio). Note: Lightbeans provides the real-world scale in the productmetadata.txt file contained in the texture package.
Materials can also be added via 3rd party software/renderers such as:
- Enscape texture tutorial
- Lumion texture tutorial
- Twinmotion texture tutorial
- D5 texture tutorial
- V-Ray tutorial
Frequently Asked Questions
Does Revit support PBR textures? Yes. Revit 2019 and later versions include partial PBR texture support via the Appearance tab in the Material Editor. You can assign Color, Roughness, and Bump maps to materials.
What Lightbeans texture maps work in Revit? The Color, Roughness, and Bump maps are the primary supported maps.
Tips for Best Results
- Download at the right resolution. For architectural close-ups, use 4K or 8K maps. For background surfaces, 2K is usually sufficient.
- Keep your texture library organized. Store all Lightbeans assets in a consistent folder structure (e.g., /Lightbeans/Textures/[AssetName]/) so file paths remain stable across projects and team members.
- Use a render engine for final output. Revit's built-in renderer is limited. For client-ready visualizations with full PBR fidelity, pair Revit with Enscape, Twinmotion, or D5 Render.
- Set download settings once. Configure your Lightbeans Download Settings for Revit (and any render engine you use) so every future download is already formatted correctly.
Summary
Lightbeans PBR textures can be used directly in Revit 2019 and later through the Material Editor's Appearance tab. The process involves creating a new material, replacing the generic asset with a PBR-compatible type, and manually assigning Color, Roughness, and Bump map files from your downloaded Lightbeans folder.
Need some help? Contact our team at info@lightbeans.com
Check Out Our Library
Lightbeans offers an impressive array of textures that will give you a hand in your design and architecture projects.
View the Library