


How to Use Lightbeans Textures in Twinmotion
A tutorial on importing Lightbeans PBR textures into Twinmotion for photorealistic architectural visualizations.
What Is Lightbeans and Why Use It in Twinmotion?
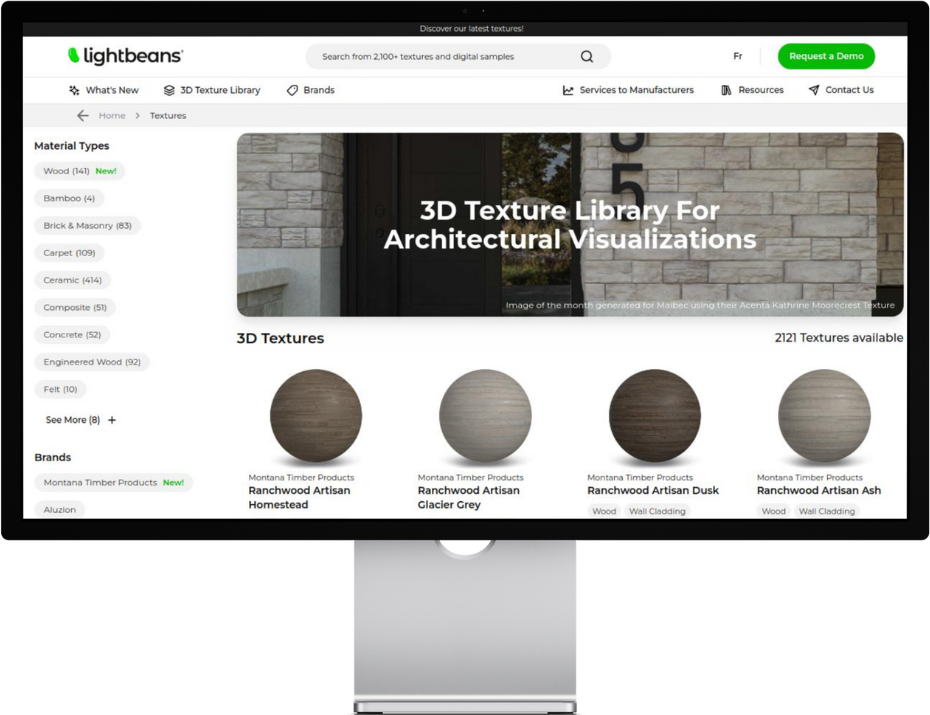
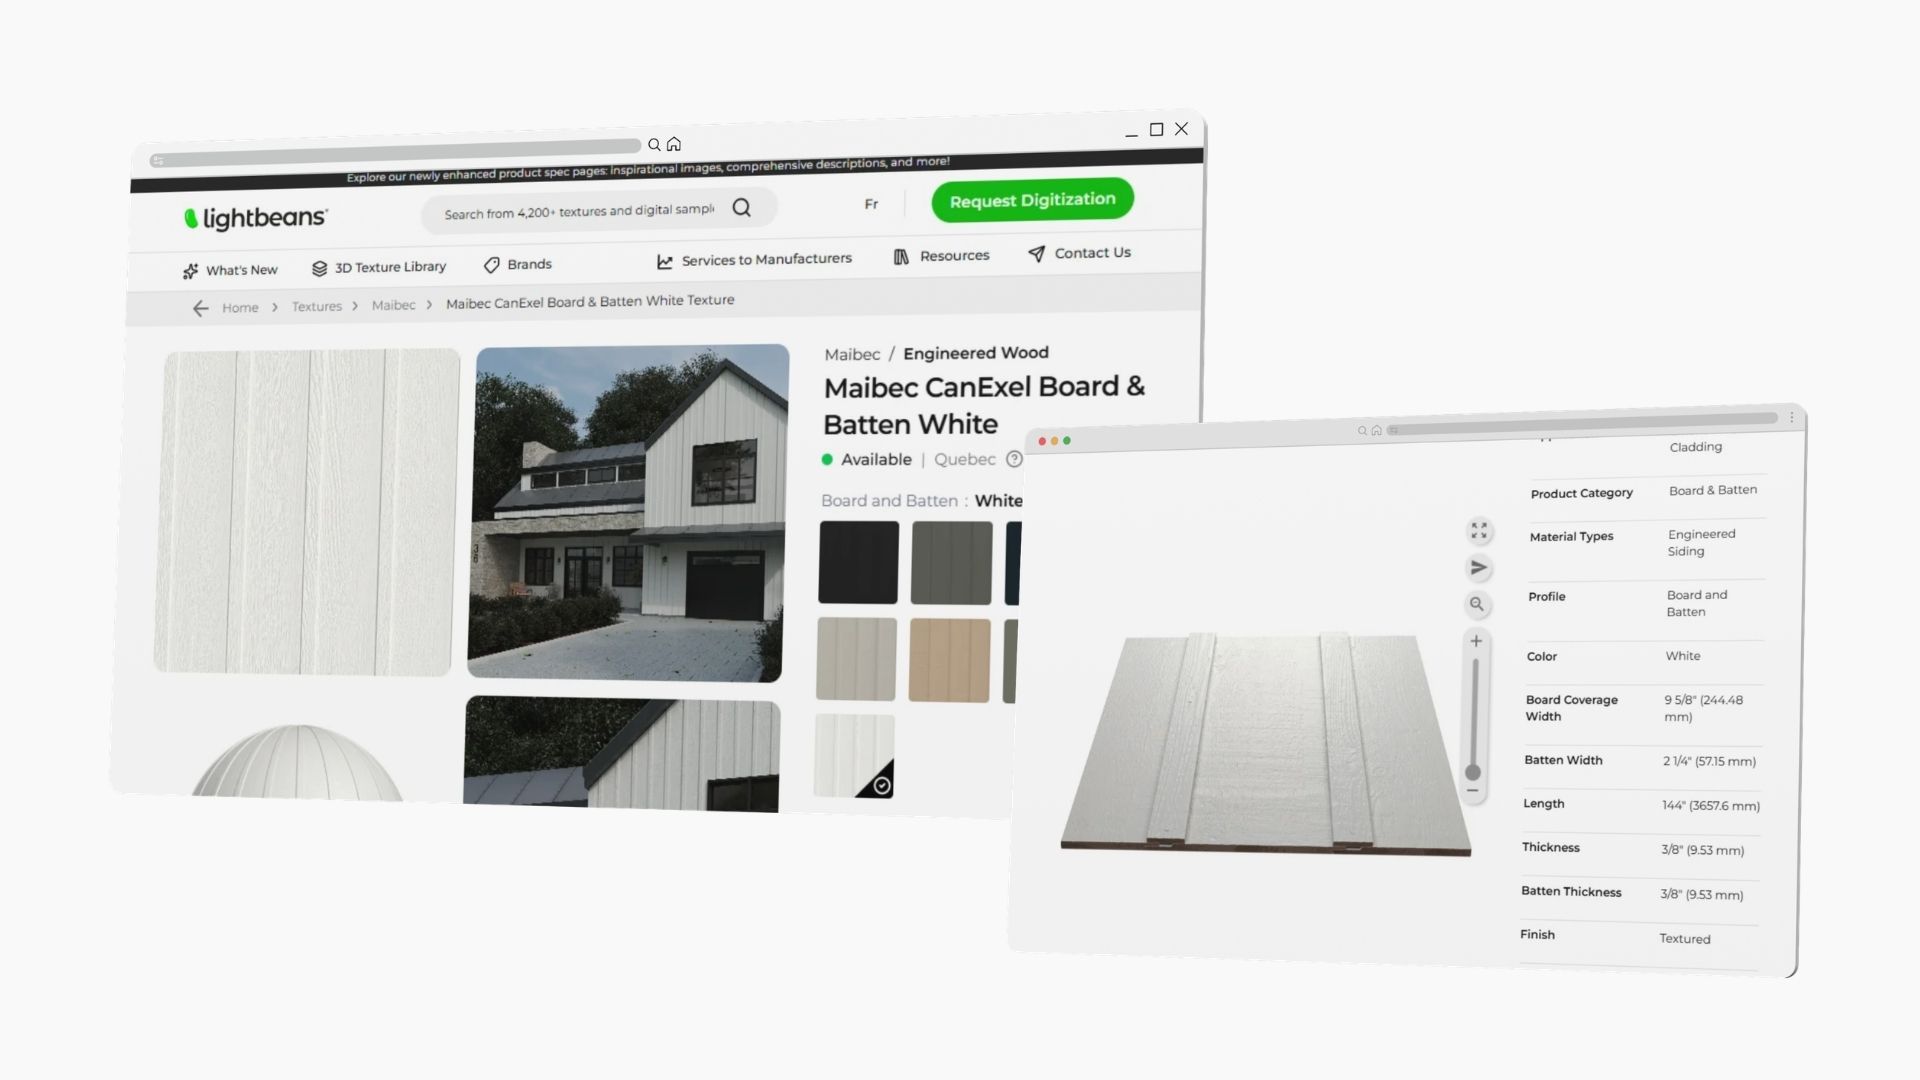
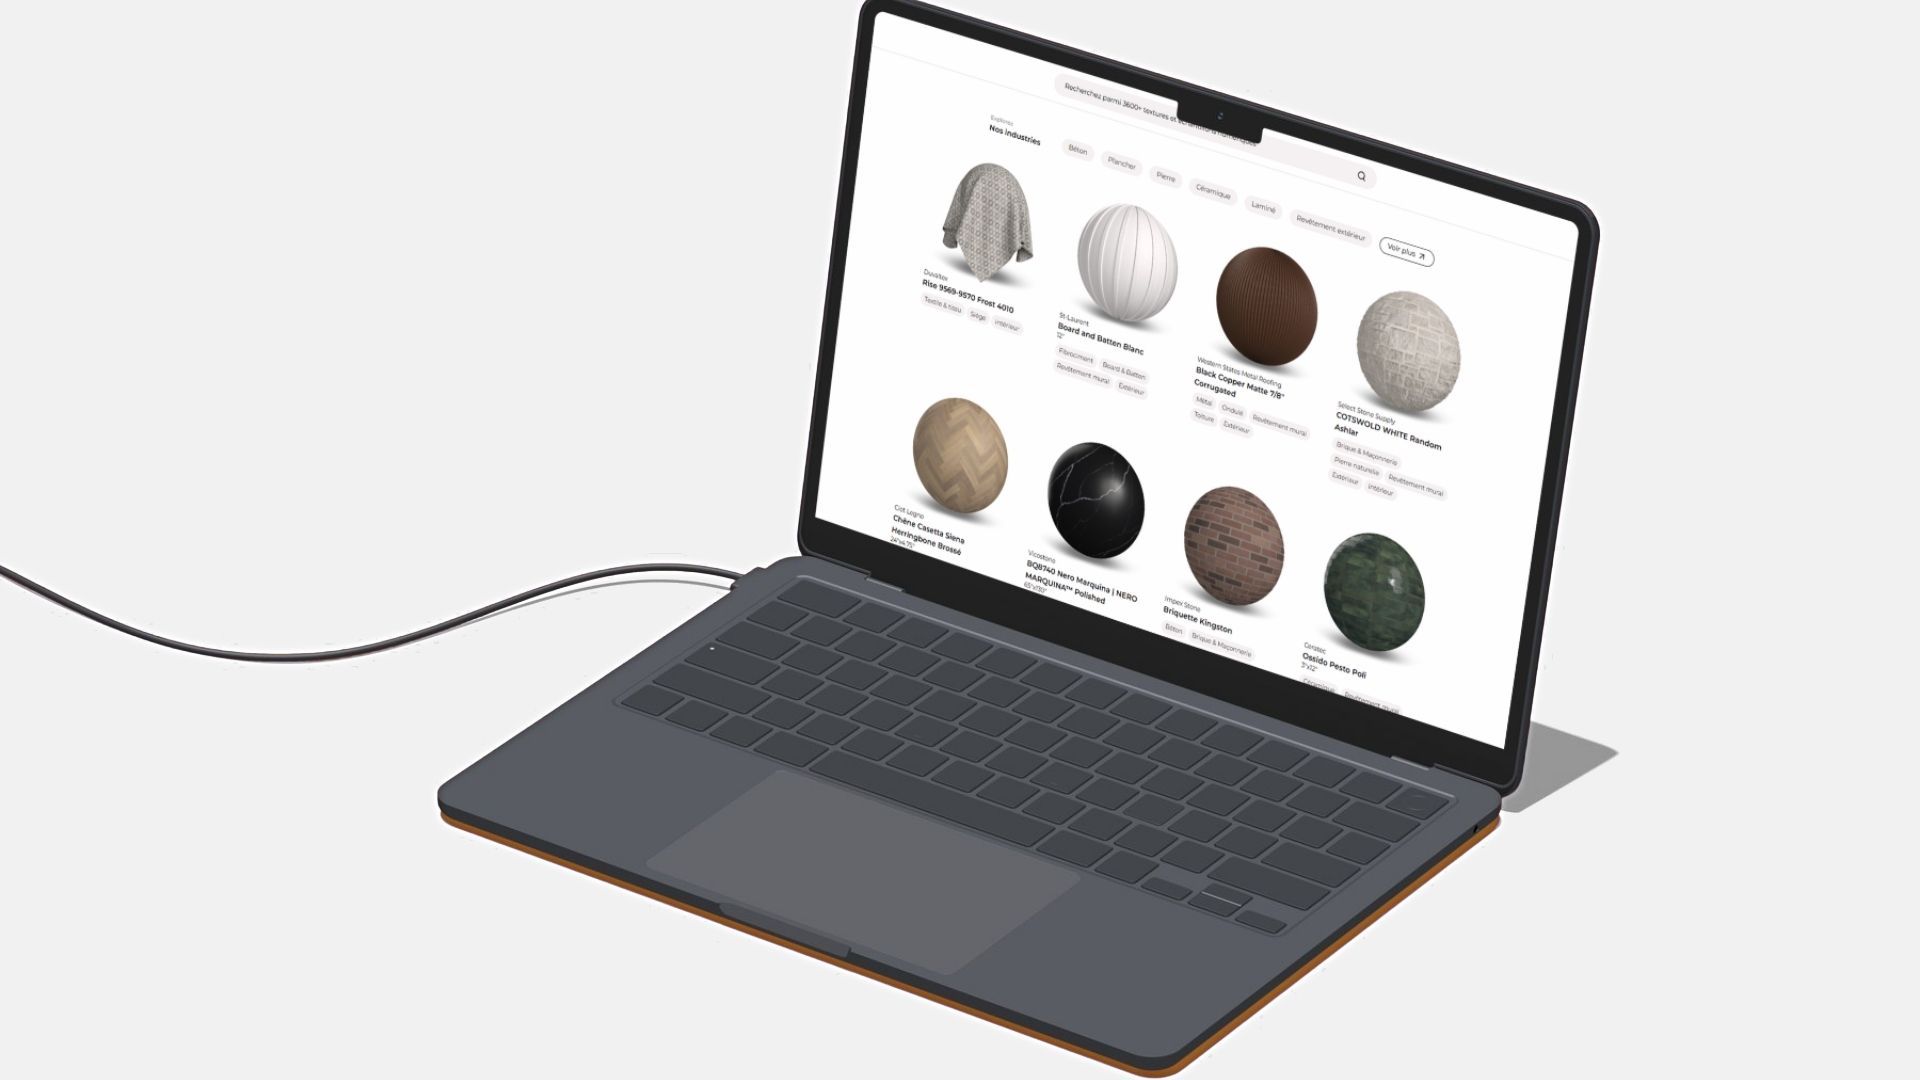
Lightbeans is a professional library of photorealistic PBR (Physically Based Rendering) textures used by architects, designers, and visualization artists. Every texture on Lightbeans is a seamless, tileable PBR material set (albedo, normal, roughness, displacement, AO) scanned directly from a physical brand product, so the finishes in your renders match a product your client can actually specify and order. Free downloads for commercial and educational use are funded by the brands.
Twinmotion is a real-time architectural visualization tool built on Unreal Engine, widely used for its fast, high-quality rendering and intuitive interface. It supports full PBR texture workflows, making it a strong match for Lightbeans assets. This guide covers everything you need to know to import Lightbeans PBR textures into Twinmotion and get photorealistic results.
Step 1: Download Your Lightbeans Texture for Twinmotion
Before importing, make sure you download the correct file formats from Lightbeans.
- Head over to lightbeans.com/textures
- Click on a texture sphere
- Click the Download 3D Texture button at the bottom right
- In the popup, enable Twinmotion as a target application
- Hit the download button, then extract the .zip file
Your downloaded folder will contain all the PBR maps you need: Color, Normal, Roughness, Displacement, and AO.
Step 2: Import a Lightbeans PBR Texture into Twinmotion
2.1 Open the Materials Panel
- In your open Twinmotion project, click the Materials icon at the bottom of the window
- This displays all materials currently in your scene
2.2 Create a New Material
- Click the three dots next to the plus sign in the materials tray to select a material type
- For most Lightbeans textures, Standard is the correct choice.
- Click the material type to add a new blank material to the scene
2.3 Open the Material Properties
- Click on the blank material you just created
- The material properties panel will appear on the right side of the window
- Each map section can be expanded by clicking Details
2.4 Assign Texture Maps
For each map, expand the relevant section by clicking Details, then click the empty Texture box and navigate to your downloaded Lightbeans texture folder to select the correct file. Repeat for each map:
- Color (Albedo) → load the Color map into the base color slot
- Roughness → load the Roughness map into the roughness slot
- Normal → load the Normal map into the normal slot — see the fix required below
- Displacement → see the dedicated step below
- AO → load the AO map into the ambient occlusion slot
2.5 Fix the Roughness Multiplier
This is an easy-to-miss setting that significantly affects how your material looks. Twinmotion sets the roughness multiplier to 100% by default, which amplifies the roughness map beyond its intended values.
How to fix it:
- In the Roughness section of the material properties, locate the roughness multiplier slider
- Set it to 50%
⚠️ Leaving the roughness at 100% will make surfaces appear significantly rougher than intended, washing out the material's reflective qualities.
2.6 Add the Displacement Map via Parallax
Twinmotion handles displacement through its parallax feature rather than true geometry displacement. Here's how to enable it:
- In the normal map section of the material properties, check the Parallax box
- A height map input will appear below
- Click the blank image next to the Height Map field
- Navigate to your downloaded Lightbeans folder and select the Displacement map file
2.7 Assign Real-World Scale
Ensure maps are correctly scaled to the surface to maintain physical realism. Lightbeans provides the real-world dimensions for each texture in the productmetadata.txt file included in the downloaded package. Use this value to set the correct tiling in Twinmotion's material scale controls.
Frequently Asked Questions
Does Twinmotion support PBR textures? Yes. Twinmotion has full PBR texture support, including Color, Roughness, Normal, Displacement (via parallax), and AO maps. It supports the complete Lightbeans texture set.
What Lightbeans maps work in Twinmotion? All Lightbeans maps are supported: Color (Albedo), Roughness, Normal, Displacement, and AO. The Displacement map is loaded into the Height Map slot after enabling the Parallax option.
Why does my roughness look wrong in Twinmotion? Twinmotion defaults the roughness multiplier to 100%, which over-amplifies the roughness map. Set it to 50% to use the imported map at its intended values.
How do I add displacement in Twinmotion? Enable the Parallax checkbox in the normal map section to reveal a Height Map input. Load the Lightbeans Displacement map into that slot.
Tips for Best Results
- Always set roughness to 50%. It's one of the most common setup mistakes in Twinmotion and has a visible impact on material quality.
- Enable Parallax for displacement. True displacement is not supported in Twinmotion, but parallax mapping provides convincing surface depth with no performance penalty for most architectural use cases.
- Check the real-world scale. Use the dimensions in productmetadata.txt to set the correct tiling. Incorrectly scaled textures are one of the most common reasons PBR materials look unconvincing in renders.
Summary
Twinmotion supports the full Lightbeans PBR texture workflow. The process involves creating a Standard material, expanding each map section via Details, and assigning Color, Roughness, Normal, Displacement, and AO files from your downloaded Lightbeans folder. Displacement is added by enabling Parallax in the normal map section and loading the Displacement file into the Height Map slot.
Need some help? Contact our team at info@lightbeans.com
Check Out Our Library
Lightbeans offers an impressive array of textures that will give you a hand in your design and architecture projects.
View the Library