

How to Use Lightbeans Textures in Enscape
A tutorial on importing Lightbeans PBR textures into Enscape.
Last updated: 2026
What Is Lightbeans and Why Use It in Enscape?
Lightbeans is a professional library of photorealistic PBR (Physically Based Rendering) textures used by architects, designers, and visualization artists. Every texture on Lightbeans is a seamless, tileable PBR material set (albedo, normal, roughness, displacement, AO) scanned directly from a physical brand product, so the finishes in your renders match a product your client can actually specify and order. Free downloads for commercial and educational use are funded by the brands.
Enscape is a real-time rendering and virtual reality plugin for SketchUp, Revit, and Rhino. It includes its own material editor with PBR texture support, making it well suited for Lightbeans assets. This guide covers everything you need to know to import Lightbeans PBR textures into Enscape, regardless of your host application.
Step 1: Download Your Lightbeans Texture for Enscape
Using the Lightbeans SketchUp Plugin (Recommended)
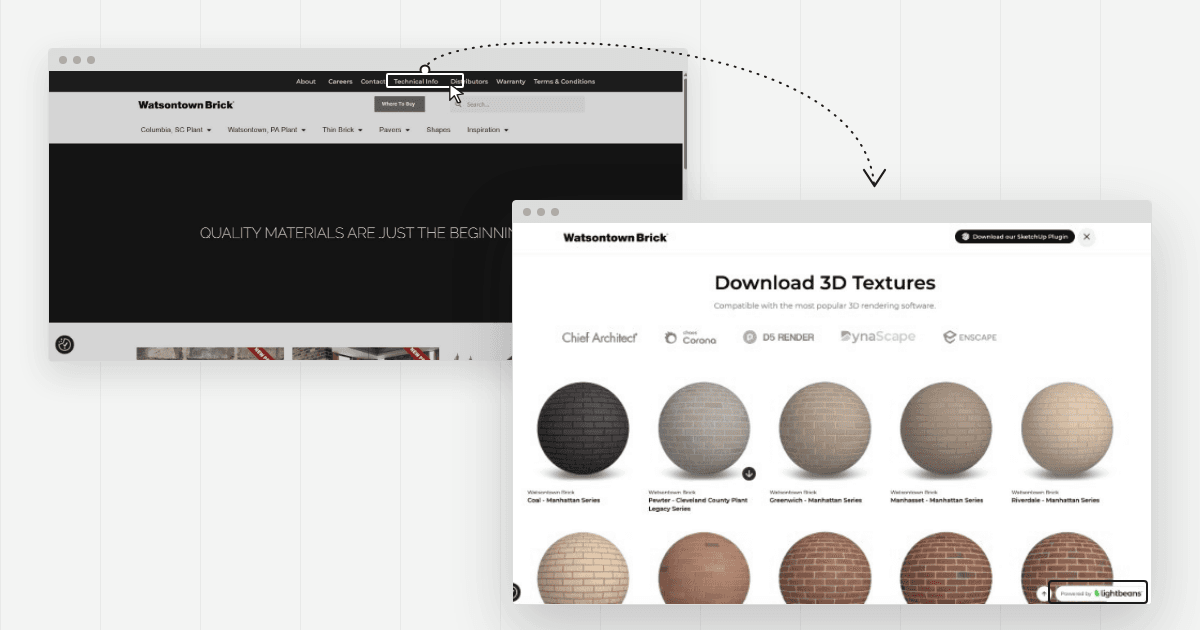
If you use SketchUp, the Lightbeans SketchUp plugin is the fastest way to get textures into Enscape. It auto-syncs all PBR maps directly into your scene with no manual file management.
- Install the free Lightbeans extension from the SketchUp Extension Warehouse
- Open the plugin in SketchUp and go to Settings
- Select Enscape as your renderer so the plugin downloads the correct maps and sets up the material automatically
- Browse the Lightbeans library from within the plugin and click to import any texture directly into your scene
All PBR maps are assigned automatically. Skip ahead to Step 3 to open the Enscape Material Editor and verify or adjust the material.
Manual Download (Revit, Rhino, or without the plugin)
If you are working in Revit or Rhino, or prefer to manage files manually in SketchUp:
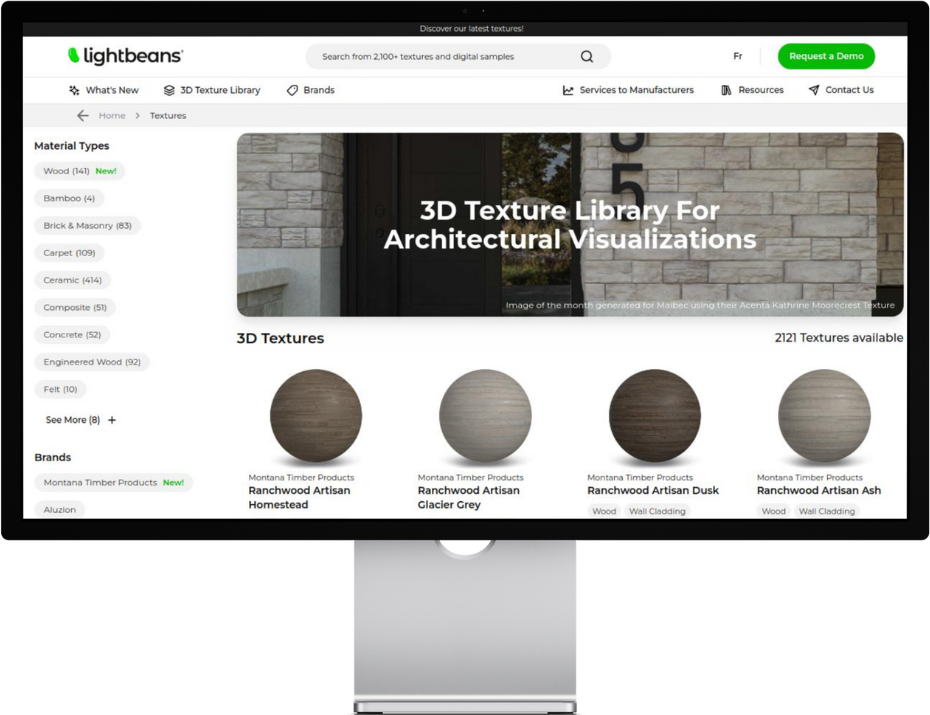
- Head over to lightbeans.com/textures
- Click on a texture sphere
- Click the Download 3D Texture button at the bottom right
- In the popup, enable Enscape as a target application, and also enable your host application (SketchUp, Revit, or Rhino)
- Hit the download button, then extract the .zip file
Your downloaded folder will contain all the PBR maps you need: Color, Normal, Roughness, Displacement, and AO.
Step 2: Create a Base Material in Your Host Application
The Enscape Material Editor works on top of materials created in your host app. Before opening Enscape, you need a named material to work with.
In SketchUp: Open the Materials panel and click the plus icon to create a new material. Give it a descriptive name (e.g., "Lightbeans_Concrete_001").
In Revit: Follow the first steps of the Lightbeans Revit tutorial to create a named material in the Material Browser. You can stop after the creation step and finish the material setup directly in Enscape.
In Rhino: Follow the first steps of the Lightbeans Rhino tutorial to create a named material in the Material Browser. You can stop after the creation step and finish the material setup directly in Enscape.
Step 3: Open the Enscape Material Editor
- In your host application, navigate to the Enscape toolbar
- Click the Enscape Material Editor icon
- Find the material you created in Step 2 in the material list
Step 4: Select a Material Type
- At the top of the Enscape Material Editor, click the material type dropdown
- Select Generic, this works for the majority of Lightbeans materials
Step 5: Assign Texture Maps
With the material type selected, click the folder icon next to each input slot and navigate to your downloaded Lightbeans texture folder to assign the correct map file:
- Color — assign the Color (Base Color/Albedo) map
- Roughness — assign the Roughness map
- Normal or Displacement — assign one or the other (see step 6 for the correct dropdown setting)
Note: Enscape supports 3 to 4 basic map inputs depending on the selected material type. Color, Roughness, and either Normal or Displacement are the primary slots.
Step 6: Set the Correct Map Type for Normal or Displacement
Enscape uses a shared input slot for Normal and Displacement maps. After loading the map file, you must tell Enscape which type it is:
- Locate the dropdown next to the Normal/Displacement input slot
- Select Normal if you loaded the Normal map, or Displacement or Bump if you loaded the Displacement map
Skipping this step will cause the map to be interpreted incorrectly, resulting in surface detail that looks flat or inverted.
Step 7: Assign Real-World Scale
Ensure maps are correctly scaled to the surface to maintain physical realism. Lightbeans provides the real-world dimensions for each texture in the productmetadata.txt file included in the downloaded package. Use this value to set the correct tiling in Enscape's material scale controls.
Step 8: Save the Material as a Package File
Once your material is set up, export it as a reusable .matpkg file so you can apply it to other projects without repeating the import process:
- In the Enscape Material Editor, hover over your material entry in the list
- Click the three dots that appear
- Select Export
- Save the .matpkg file to a consistent folder (e.g., /Lightbeans/Enscape Materials/)
To set a default export location, click the gear icon at the bottom left of the Material Editor and edit the file path.
Frequently Asked Questions
Does Enscape support PBR textures? Yes. Enscape includes its own material editor with PBR texture support, including Color, Roughness, and Normal or Displacement map inputs. It works as a plugin inside SketchUp, Revit, and Rhino.
What Lightbeans maps work in Enscape? Color (Albedo), Roughness, and either Normal or Displacement are the primary supported maps. Enscape uses a shared slot for Normal and Displacement, so you assign one per material and select the correct type from a dropdown.
Do I need to create a material in my host app before using the Enscape Material Editor? Yes. The Enscape Material Editor works on top of a material created in the host application. You need to create and name a material in SketchUp, Revit, or Rhino first, then open it in Enscape to assign the PBR maps.
Can I reuse Lightbeans materials across Enscape projects? Yes. Export any configured material as a .matpkg file. You can then load it in future projects to apply the full material setup instantly.
What is a .matpkg file in Enscape? A .matpkg is Enscape's material package format. It bundles all map assignments and settings into a single file that can be imported and reused across different projects and host applications.
Which host apps does Enscape support for texture import? SketchUp, Revit, and Rhino. The texture workflow in the Enscape Material Editor is identical across all three.
Tips for Best Results
- Use the Lightbeans SketchUp plugin. It handles map assignment automatically and eliminates manual file management entirely when using Enscape with SketchUp.
- Enable both Enscape and your host app in your download settings. This ensures your Lightbeans download includes the correct formats for the full workflow.
- Create the material in the host app first. The Enscape Material Editor only shows materials that already exist in SketchUp, Revit, or Rhino.
- Always select the correct map type in the dropdown. The Normal and Displacement slot is shared. Skipping the dropdown will cause incorrect rendering.
- Export materials as .matpkg files. Building a personal library of pre-configured Lightbeans materials saves significant time on future projects.
- Check the real-world scale. Use the dimensions in productmetadata.txt to set the correct tiling.
Summary
Enscape supports Lightbeans PBR textures through its dedicated Material Editor, which works as a plugin inside SketchUp, Revit, and Rhino. SketchUp users can skip manual file setup entirely by using the free Lightbeans SketchUp plugin with Enscape selected as the renderer. For Revit and Rhino, the process involves creating a named material in the host application, opening it in the Enscape Material Editor, selecting the Generic material type, and assigning Color, Roughness, and Normal or Displacement map files from the downloaded Lightbeans folder. After loading the Normal or Displacement map, the correct type must be selected from the slot dropdown. Finished materials can be exported as .matpkg files for reuse across projects.
Need some help? Contact our team at info@lightbeans.com
Check Out Our Library
Lightbeans offers an impressive array of textures that will give you a hand in your design and architecture projects.
View the Library