


How to Use Lightbeans Textures in Vectorworks
A step-by-step guide to importing Lightbeans PBR textures into Vectorworks.
What Is Lightbeans and Why Use It in Vectorworks?
Lightbeans is a professional library of photorealistic PBR (Physically Based Rendering) textures used by architects, designers, and visualization artists. Every texture on Lightbeans is a seamless, tileable PBR material set (albedo, normal, roughness, displacement, AO) scanned directly from a physical brand product, so the finishes in your renders match a product your client can actually specify and order. Free downloads for commercial and educational use are funded by the brands.
Vectorworks is a professional BIM and CAD software widely used by architects, landscape architects, and interior designers. It supports partial PBR texture input through its built-in Renderworks engine, making it possible to apply Lightbeans textures directly to surfaces and objects in your Vectorworks projects. This guide covers everything you need to know to import Lightbeans PBR textures into Vectorworks.
Step 1: Download Your Lightbeans Texture for Vectorworks
Before importing, make sure you download the correct file formats from Lightbeans.
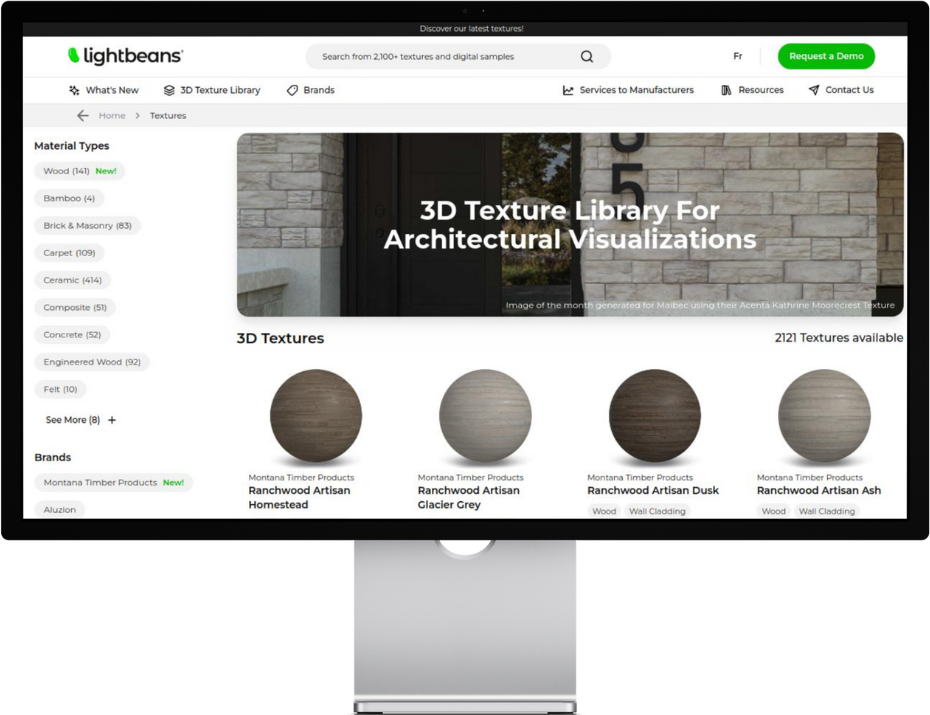
- Head over to lightbeans.com/textures
- Click on a texture sphere
- Click the Download 3D Texture button at the bottom right
- In the popup, enable Vectorworks as a target application
- Hit the download button, then extract the .zip file
Your downloaded folder will contain the PBR maps you need: Color, Reflectivity and Bump.
Step 2: Open the Resource Manager
- In Vectorworks, go to Window > Palettes > Resource Manager
- This opens the Resource Manager panel where all materials and backgrounds are managed
Step 3: Create a New Vectorworks Texture
- In the Resource Manager, click New Resource
- Select Vectorworks Texture
- A dialog box will open for editing the new material
Step 4: Assign Texture Maps
For each map entry in the dialog, change the material option from its default to Image, then browse to your downloaded Lightbeans texture folder and select the correct file:
- Color — assign the Color map to the color input
- Reflectivity — assign the Reflectivity map. Adjust the Reflection % to match the material. A higher percentage will make it more glossy and vice-versa.
- Bump — assign the Bump map (see step 5)
Materials can also be added via 3rd party software/renderers such as:
Step 5: Use the Bump Map in the Bump Slot
- Assign the Bump map to the Bump image input
- Set a height value greater than zero to activate the bump effect. Refer to the productmetadata.txt file included in your Lightbeans download folder to input the correct displacement height measure.
- Adjust the strength and detail settings to match the material's scale
- Make sure the Self-Shadowing slot is activated.
Bump is only visible in rendered views. See step 7 for the correct render mode settings.
Step 6: Set the Real-World Scale
Vectorworks allows you to define the physical size of a texture to ensure correct tiling:
- In the texture dialog, click Set by Image
- Use the tool to span the width of the map
- Enter the real-world dimensions from the productmetadata.txt file included in your Lightbeans download
This ensures the texture tiles at its true physical size on any surface it is applied to.
Step 7: Enable Displacement in the Render Settings
Displacement mapping in Vectorworks requires a specific render mode to be visible:
- Go to View > Set Rendering and select Final Quality Renderworks or Custom Renderworks
- If using Custom Renderworks, open the custom settings and check Displacement Mapping
- Adjust the displacement quality as needed for your project
Displacement will not appear in OpenGL or standard render modes. Final Quality Renderworks or Custom Renderworks with displacement enabled is required.
Frequently Asked Questions
Does Vectorworks support PBR textures? Partially. Vectorworks supports Color, Reflectivity, and Bump map inputs through its Renderworks engine. It does not support the full PBR workflow found in dedicated render engines like Enscape or Lumion.
Why is displacement not showing in my render? Displacement is only visible in Final Quality Renderworks or Custom Renderworks with the Displacement Mapping option enabled. Standard and OpenGL render modes do not display displacement.
Where do I set the real-world texture scale in Vectorworks? Use the Set by Image tool in the texture dialog. Span the width of the map and enter the real-world dimensions found in the productmetadata.txt file in your Lightbeans download folder.
Tips for Best Results
- Set height greater than zero to activate bump. The bump effect is disabled until you enter a non-zero height value in the bump settings.
- Use Final Quality Renderworks for displacement. Displacement is a high-quality render feature and requires the correct render mode to be visible.
- Set real-world scale via Set by Image. Use the dimensions in productmetadata.txt to ensure correct tiling at the right physical size.
Summary
Vectorworks supports Lightbeans PBR textures through its Renderworks engine. The process involves opening the Resource Manager, creating a new Vectorworks Texture, and assigning Color, Reflectivity, and Bump maps from the downloaded Lightbeans folder. Real-world scale is set using the Set by Image tool with the dimensions from the productmetadata.txt file. Displacement is only visible when rendering in Final Quality Renderworks or Custom Renderworks with Displacement Mapping enabled.
Need some help? Contact our team at info@lightbeans.com
Check Out Our Library
Lightbeans offers an impressive array of textures that will give you a hand in your design and architecture projects.
View the Library