


How to Use Lightbeans Textures in 3ds Max
A step-by-step guide to setting up Lightbeans PBR textures in 3ds Max.
What Is Lightbeans and Why Use It in 3ds Max?
Lightbeans is a professional library of photorealistic PBR (Physically Based Rendering) textures used by architects, designers, and visualization artists. Every texture on Lightbeans is a seamless, tileable PBR material set scanned directly from a physical brand product, so the finishes in your renders match a product your client can actually specify and order. Free downloads for commercial and educational use are funded by the brands.
3ds Max is a professional 3D modeling, animation, and rendering software by Autodesk, widely used by architects, designers, and visualization artists. From version 2018 onward, 3ds Max includes a Physical Material with full PBR texture support, making it an excellent match for Lightbeans assets. This guide covers everything you need to know to import Lightbeans PBR textures into 3ds Max using the Physical Material workflow.
For further learning on PBR in 3ds Max, refer to the official Autodesk PBR learning resources.
Video screen recording in 3ds Max
Step 1: Download Your Lightbeans Texture for 3ds Max
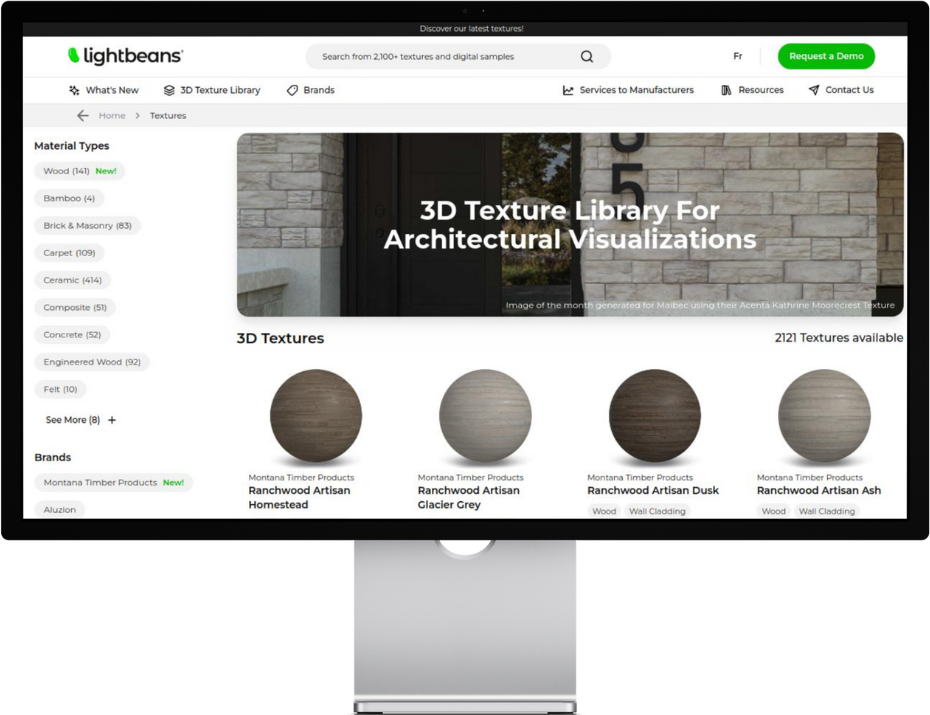
- Head over to lightbeans.com/textures
- Click on a texture sphere
- Click the Download 3D Texture button at the bottom right
- In the popup, enable 3ds Max as a target application
- Hit the download button, then extract the .zip file
Your downloaded folder will contain all the PBR maps you need.
Step 2: Open the Material Editor and Create a Physical Material
- In 3ds Max, press M to open the Slate Material Editor (or go to Rendering > Material Editor > Slate Material Editor)
- In the Material/Map Browser panel on the left, locate Physical Material under the Materials > Scanline or Arnold category
- Drag a Physical Material node into the view area
- Double-click the node to open its properties
- Give your material a descriptive name (e.g., "Lightbeans_Concrete_001")
Note: The Physical Material is available from 3ds Max 2018 onward. For older versions, use the Arch & Design material, which offers a similar PBR-compatible workflow.
Step 3: Assign the Color Map
- In the Physical Material properties, locate the Diffuse color slot
- Click the small square button next to it to open the Material/Map Browser
- Select Bitmap and click OK
- Navigate to your downloaded Lightbeans folder and select the Color map file
Step 4: Assign the Reflection Map
- Locate the Refl. color slot in the Physical Material
- Click the slot button, select Bitmap, and navigate to your Lightbeans folder
- Select the Reflection map file
Step 5: Assign the Glosiness Map
- Locate the Refl. gloss slot in the Physical Material
- Click the slot button, select Bitmap, and navigate to your Lightbeans folder
- Select the Glosiness map file
Step 6: Assign the Normal Map via Normal Bump Node
Normal maps in 3ds Max must be routed through a Normal Bump map node before being connected to the material. Connecting a normal map bitmap directly produces incorrect results.
- Locate the Bump Map slot in the Physical Material
- Click the slot button and select Normal Bump from the map browser
- Inside the Normal Bump node, click the Normal input slot
- Select Bitmap and navigate to your Lightbeans folder
- Select the Normal map file
Step 6: Assign the Displacement Map
Displacement in 3ds Max is applied as a modifier on the object rather than a slot in the material:
- Select the object you want to apply displacement to
- In the Modifier List, add a Displacement modifier or use the Displace map in the rendering displacement settings
- Assign the Displacement map from your Lightbeans folder to the displacement input
- Adjust the displacement strength to match the material's physical scale
For render-time displacement (recommended for most architectural workflows), use the Shell material wrapper or enable displacement in your render settings rather than applying a geometry modifier.
Step 8: Assign Real-World Scale
Ensure the texture tiles at its correct physical size. Lightbeans provides the real-world dimensions for each texture in the productmetadata.txt file included in the downloaded package. Use these values to set the correct UV tiling via a UVW Map modifier on the object.
Frequently Asked Questions
Does 3ds Max support PBR textures? Yes, from version 2018 onward. The Physical Material supports full PBR texture.
Which render engines work with the Physical Material? The Physical Material is compatible with 3ds Max's built-in Arnold renderer, as well as V-Ray, Corona, D5, and other third-party render engines that support the PBR workflow. For V-Ray and Corona, see their respective Lightbeans V-Ray texture tutorial D5 texture tutorial and Corona texture tutorial.
Tips for Best Results
- Use the Slate Material Editor. Its node-based view makes it easy to see and manage all map connections, especially the Normal Bump node chain.
- Always route the Normal map through a Normal Bump node. This is one of the most common setup mistakes in 3ds Max and produces visibly incorrect surface shading if skipped.
- Check real-world scale. Use the dimensions in productmetadata.txt to set the correct UV tiling. Incorrectly scaled textures are one of the most common reasons PBR materials look unconvincing in renders.
Need some help? Contact our team at info@lightbeans.com
Check Out Our Library
Lightbeans offers an impressive array of textures that will give you a hand in your design and architecture projects.
View the Library