


How to Use Lightbeans Textures in Realtime Landscaping Architect
A step-by-step guide to importing Lightbeans PBR textures into Realtime Landscaping Architect.
What Is Lightbeans and Why Use It in Realtime Landscaping Architect?
Lightbeans is a professional library of photorealistic PBR (Physically Based Rendering) textures used by architects, designers, and visualization artists. Every texture on Lightbeans is a seamless, tileable PBR material set (albedo, normal, roughness, displacement, AO) scanned directly from a physical brand product, so the finishes in your renders match a product your client can actually specify and order. Free downloads for commercial and educational use are funded by the brands.
Realtime Landscaping Architect is a professional landscape design software used by landscape architects, designers, and contractors to create detailed 2D plans and realistic 3D walkthroughs. It supports full PBR texture import through its Picture Import Wizard, making it possible to apply Lightbeans materials to surfaces such as patios, driveways, paths, retaining walls, and house exteriors. This guide covers everything you need to know to import Lightbeans PBR textures into Realtime Landscaping Architect.
Step 1: Download Your Lightbeans Texture
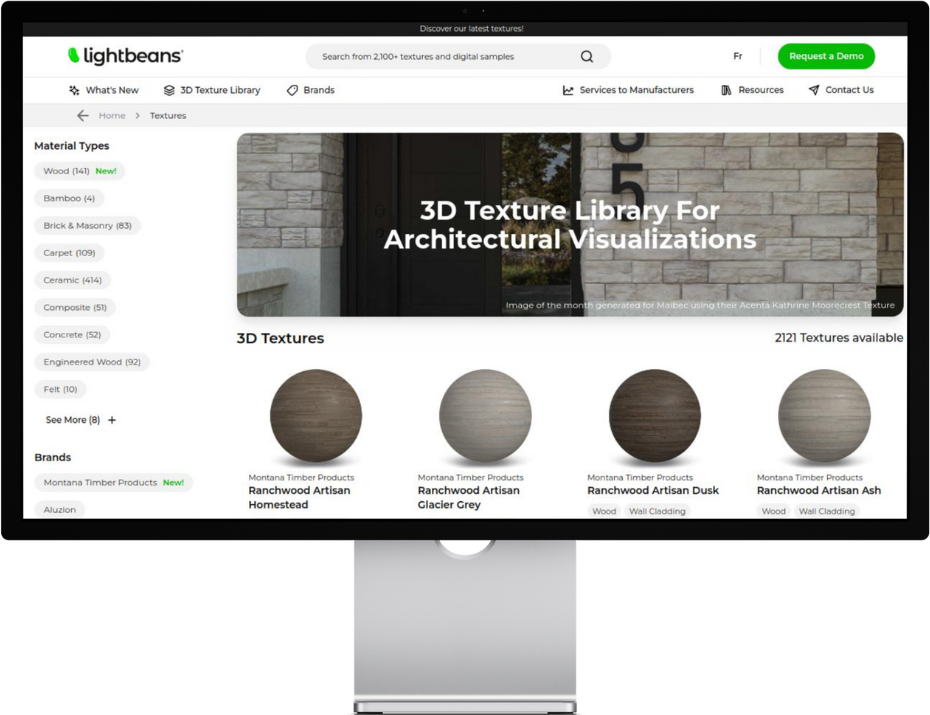
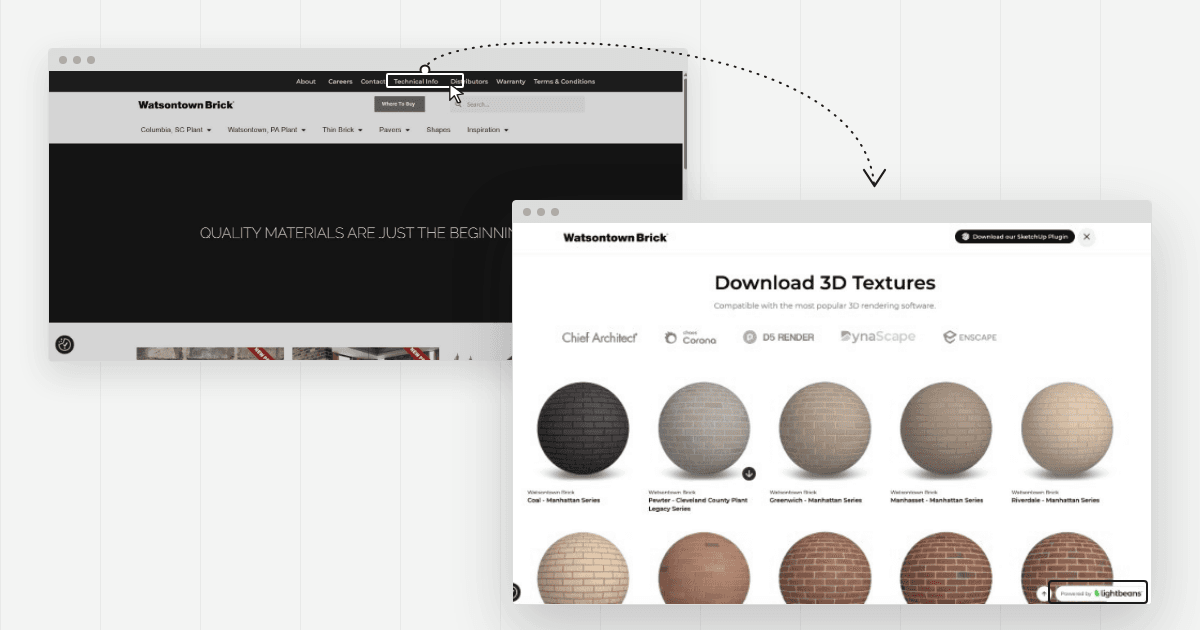
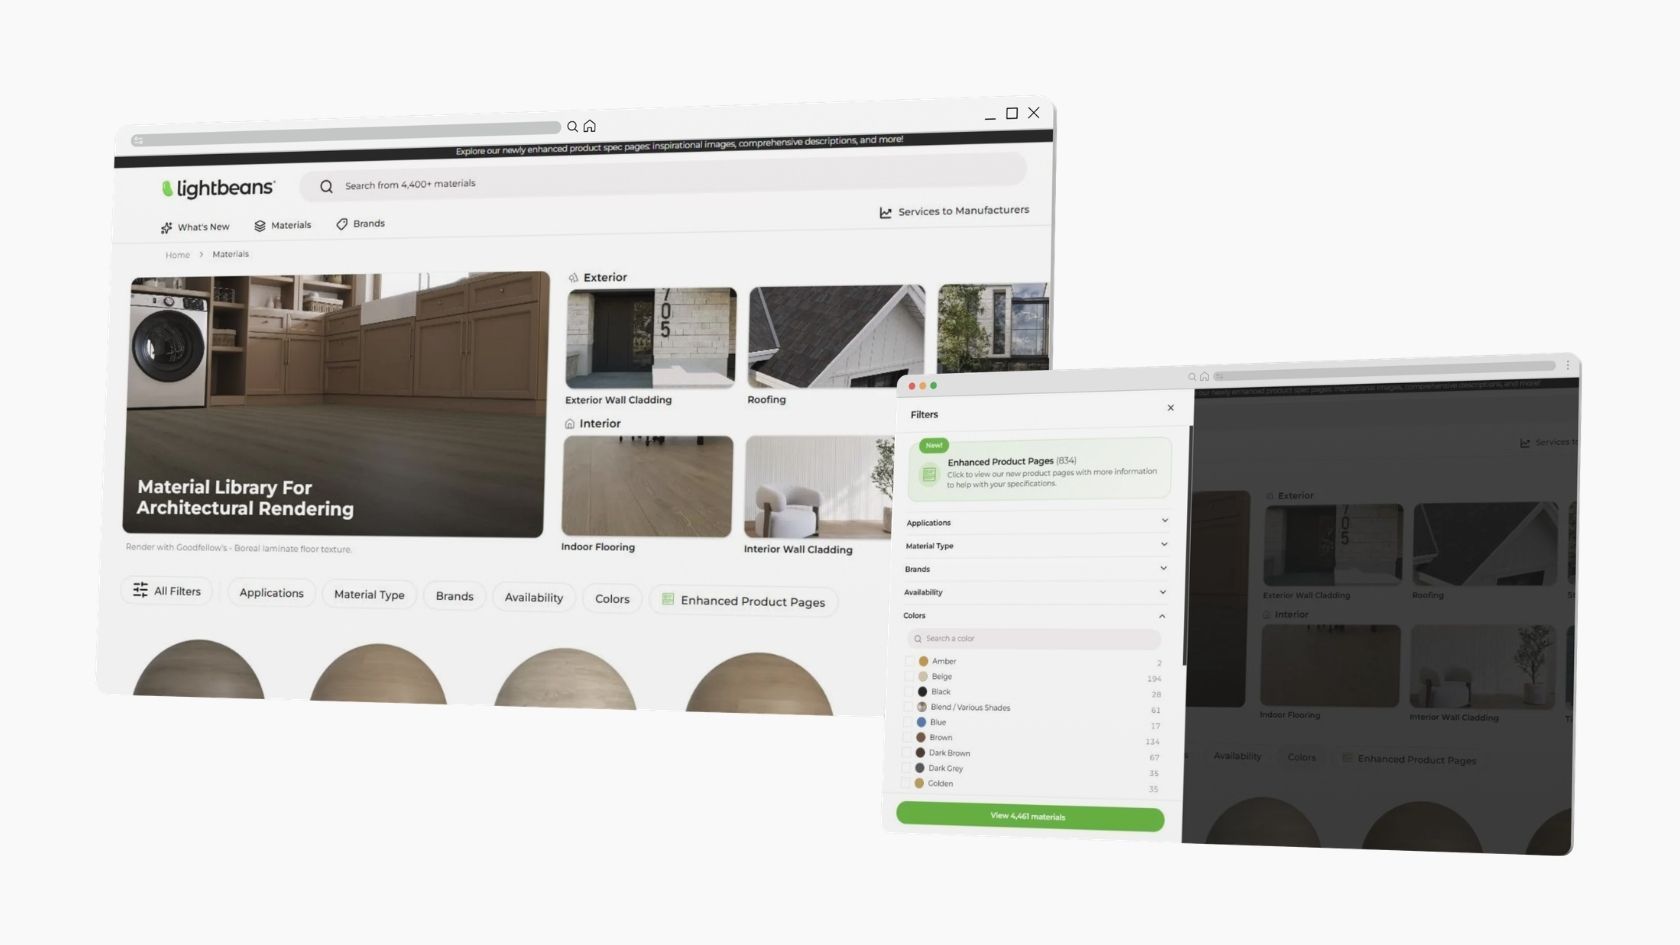
- Head over to lightbeans.com/textures
- Click on a texture sphere
- Click the Download 3D Texture button at the bottom right
- Select "Realtime Landscaping Architect" as your software
- Download the texture and extract the .zip file
Keep all map files in the same folder after extracting. The Picture Import Wizard can detect them automatically when they are together.
Step 2: Open the Picture Import Wizard
- In Realtime Landscaping Architect, go to the Tools menu
- Click Picture Import Wizard
- Click Next to begin
Step 3: Select the Picture Type
- Select Roofing or Siding as the picture type — this is the correct option for general-purpose surface materials such as pavers, brick, stone, wood, and concrete
- Click Next
Step 4: Select the Color Map
- Browse to your extracted Lightbeans texture folder
- Select the Color (Base Color/Albedo) map file
- Click Open
- A preview of the texture will appear — click Next
Step 5: Name Your Material
- Click Set File Name to give your material a descriptive name (e.g., "Lightbeans_Concrete_001")
- Click Next
Step 6: Import Additional PBR Maps
This is where Realtime Landscaping Architect's PBR support comes in. On the Additional Files page of the wizard, you can import the remaining Lightbeans maps for maximum realism:
The wizard will often detect and fill in the additional maps automatically if all files are in the same folder. If not, click the browse button next to each map and select the correct file manually:
- Normal — assign the Normal map for fine surface detail such as bumps and grooves
- Roughness — assign the Roughness map to control how sharp or blurry reflections appear
- Ambient Occlusion — assign the AO map to add subtle shadowing in crevices
- Displacement — assign the Displacement map for deeper surface variation
All additional maps are optional, but using the full set produces the most realistic result.
Step 7: Set the Real-World Scale
- On the dimensions page of the wizard, tick Use Default Render Settings
- Enter the real-world Width and Height of the texture in feet
- Use the dimensions provided in the productmetadata.txt file included in your Lightbeans download
Entering accurate real-world dimensions ensures the texture tiles at its true physical size on any surface it is applied to. Incorrectly scaled textures are one of the most common reasons materials look unconvincing in renders.
Step 8: Complete the Import
- Click Next, then Finish to complete the wizard
- The texture is copied to your Realtime Landscaping custom data folder and is now available to apply to any surface in your designs
Frequently Asked Questions
Does Realtime Landscaping Architect support PBR textures? Yes. The Picture Import Wizard supports full PBR texture import including Color, Normal, Roughness, Ambient Occlusion, Displacement, Metallic, and Opacity maps. Importing the full Lightbeans PBR set significantly improves realism, especially for close-up views and high-quality renders.
What Lightbeans maps work in Realtime Landscaping Architect? All Lightbeans maps are supported: Color (Albedo), Normal, Roughness, AO, Displacement, and Metallic. They are imported through the Additional Files page of the Picture Import Wizard.
Will the wizard detect my PBR maps automatically? Often yes. If all your Lightbeans map files are in the same folder, the wizard will attempt to detect and assign them automatically based on common naming conventions. If it does not, you can assign them manually using the browse buttons.
Which picture type should I select for Lightbeans surface textures? Select Roofing or Siding. This is the correct type for general-purpose surface materials such as pavers, stone, wood, brick, and concrete.
What units should I use for the texture dimensions? Enter dimensions in feet. Use the real-world dimensions provided in the productmetadata.txt file included in your Lightbeans download, and tick Use Default Render Settings on the dimensions page.
Where are imported textures stored? Imported textures are copied to your Realtime Landscaping custom data folder at: Users > [your username] > Documents > Realtime Landscaping [version] > Custom Data > [type] > Custom
Tips for Best Results
- Keep all map files in the same folder. The wizard's auto-detection works by scanning the folder for files with matching names. Keeping everything together saves time.
- Select Roofing or Siding for surface materials. Region is the correct picture type for pavers, stone, wood, concrete, and other repeating surface materials from Lightbeans.
- Tick Use Default Render Settings and enter dimensions in feet. This is the correct configuration for Lightbeans textures to tile accurately in Realtime Landscaping Architect.
- Import the full PBR set for close-up views. The Normal, Roughness, and AO maps make the biggest visual difference for materials that will be seen up close in 3D walkthroughs.
- Use the auto-detection. Let the wizard fill in additional maps automatically before manually assigning them — it often handles everything for you.
Summary
Realtime Landscaping Architect supports the full Lightbeans PBR texture workflow through its Picture Import Wizard. The process involves downloading a texture from Lightbeans, opening the Picture Import Wizard from the Tools menu, selecting Roofing or Siding as the picture type, importing the Color map, and assigning additional PBR maps (Normal, Roughness, AO, Displacement, Metallic) on the Additional Files page. On the dimensions page, tick Use Default Render Settings and enter the real-world dimensions in feet using the values from the productmetadata.txt file. Once complete, the texture is saved to your custom data folder and available for use on any surface in your landscape designs.
Need some help? Contact our team at info@lightbeans.com
Check Out Our Library
Lightbeans offers an impressive array of textures that will give you a hand in your design and architecture projects.
View the Library