


How to Use Lightbeans Textures in Chief Architect
A tutorial on importing Lightbeans PBR textures into Chief Architect.
What Is Lightbeans and Why Use It in Chief Architect?
Lightbeans is a professional library of photorealistic PBR (Physically Based Rendering) textures used by architects, designers, and builders. Every texture on Lightbeans is a seamless, tileable PBR material set (albedo, normal, roughness, displacement, AO) scanned directly from a physical brand product so the finishes in your renders match a product your client can actually specify and order. Free downloads for commercial and educational use are funded by the brands.
Chief Architect is a professional home design and architectural drafting software widely used by residential architects, interior designers, and builders. It supports PBR texture inputs, making it possible to use Lightbeans assets to achieve more realistic material appearances in your renderings without building materials from scratch. This guide covers everything you need to know to import Lightbeans PBR textures into Chief Architect.
Step 1: Download Your Lightbeans Texture for Chief Architect
Before importing, make sure you download the correct file formats from Lightbeans.
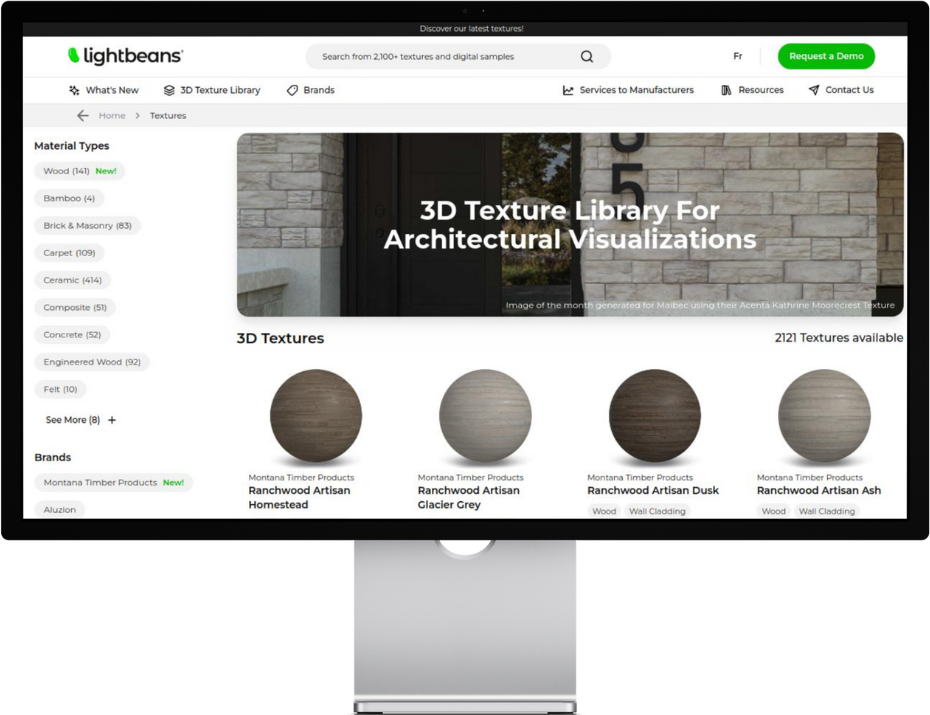
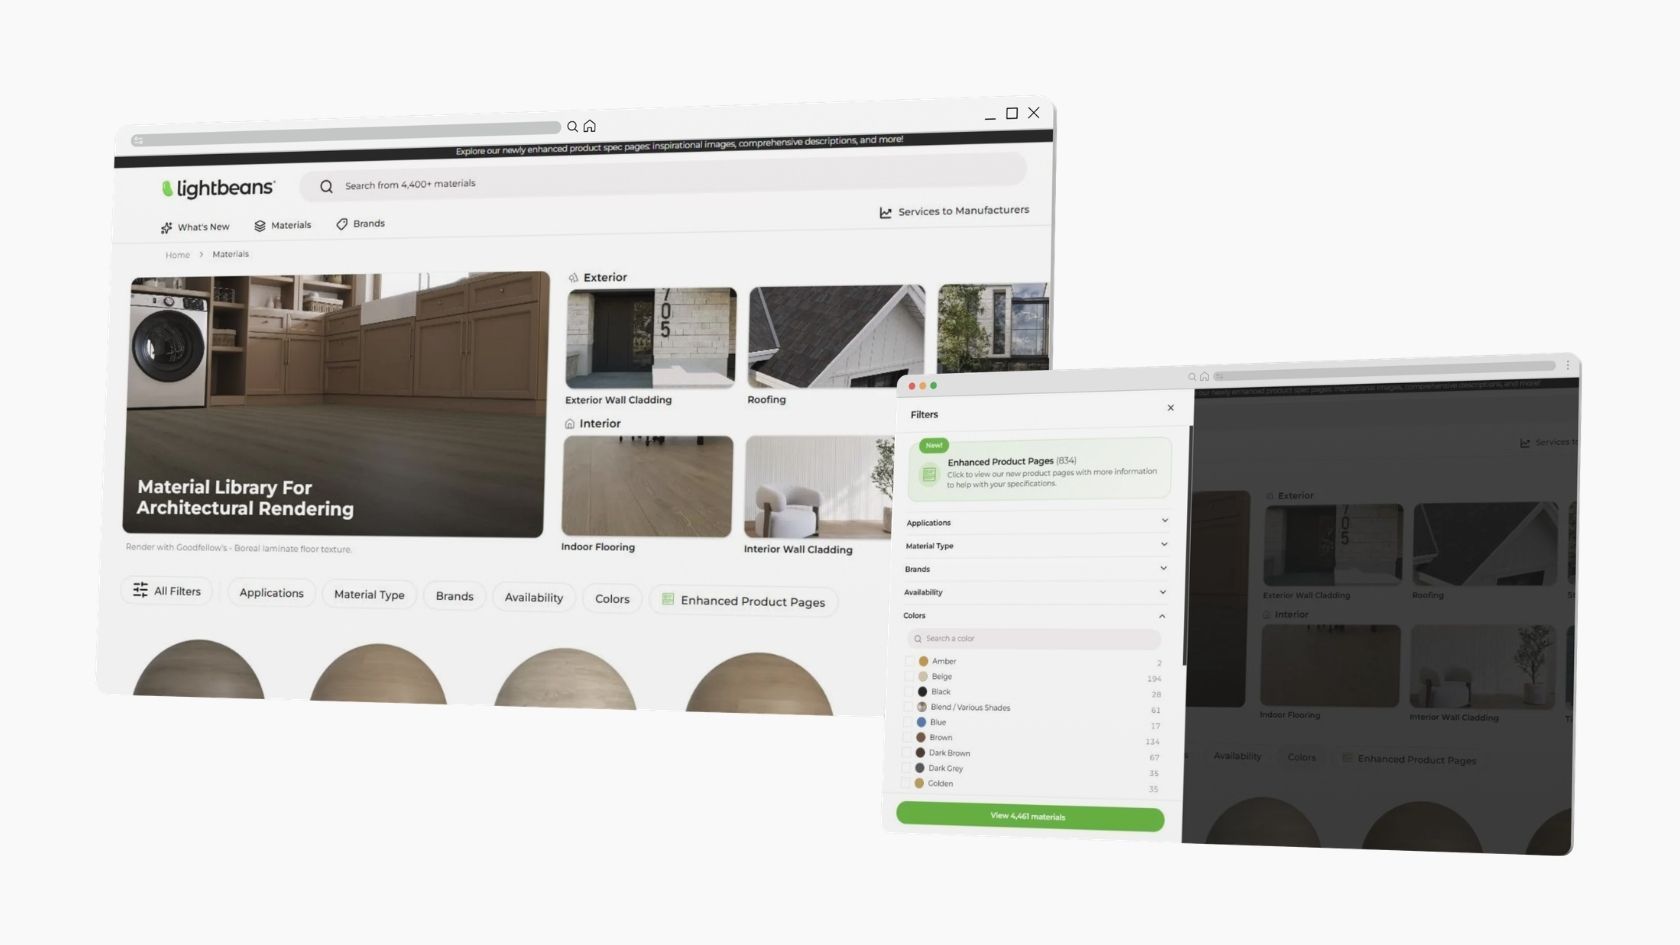
- Head over to lightbeans.com/textures
- Click on a texture sphere
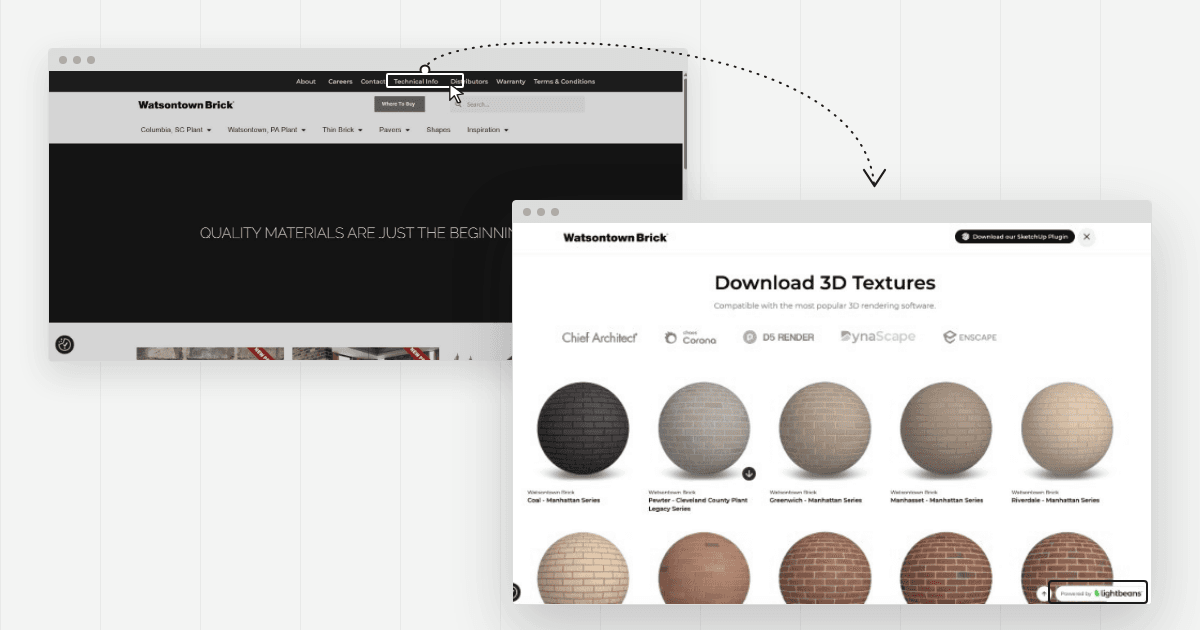
- Click the Download 3D Texture button at the bottom right
- In the popup, enable Chief Architect as a target application
- Hit the download button, then extract the .zip file
Your downloaded folder will contain all the PBR map files needed: Color, Normal, Roughness, and AO.
Step 2: Import a Lightbeans PBR Texture into Chief Architect
2.1 Create a New Material in the Library Browser
- In Chief Architect, open the Library Browser
- Right-click on User Catalog
- Select New > Material
2.2 Name Your Material
- The material editor will open
- In the Pattern section, give your material a descriptive name (e.g., "Lightbeans_Concrete_001")
2.3 Assign the Color Map
- In the Texture Source section, click the Import button
- Navigate to your downloaded Lightbeans texture folder
- Select the Texture Source (Base Color) map file
2.4 Assign the Normal Map and AO Map
Still within the Texture Source section, continue scrolling down to find the remaining inputs:
- Locate the Normal map input and assign the Normal map file from your Lightbeans folder
- Locate the Ambient Occlusion input and assign the AO map file
2.5 Assign the Roughness Map
The Roughness map is assigned in a different section from the other maps:
- Navigate to the Properties section of the material editor
- Locate the roughness input and click Import
- Select the Roughness map file from your Lightbeans folder
Note: Once a roughness map is loaded, the manual specular and roughness sliders in the Properties section will no longer affect the material's appearance. The imported map takes full control of those values.
2.7 Assign Real-World Scale
Ensure maps are correctly scaled to the surface to maintain physical realism. Lightbeans provides the real-world dimensions for each texture in the productmetadata.txt file included in the downloaded package. Use this value to set the correct texture scale within the material editor.
Frequently Asked Questions
Does Chief Architect support PBR textures? Yes, partially. Chief Architect supports Color, Normal, AO, Roughness, and Metallic map inputs. It does not support displacement maps natively, but the combination of the other PBR maps still produces realistic material results.
Where is the Roughness map input in Chief Architect? The Roughness map is located in the Properties section of the material editor, not the Texture Source section where the other maps are assigned.
Why do the roughness sliders stop working after I import a roughness map? This is expected behavior. When a Roughness map is assigned, Chief Architect uses the map's values to control roughness and specularity. The manual sliders are overridden by the imported map.
Which download settings should I use for Chief Architect? Select Chief Architect in your Lightbeans download settings. This ensures every download includes the correct maps and file formats for Chief Architect.
Tips for Best Results
- Select Chief Architect in your download settings. This ensures every download is formatted correctly for Chief Architect out of the box.
- Assign the Roughness map in the Properties section. It's easy to miss because it's in a different location from the Color, Normal, and AO maps which are all in the Texture Source section.
- Check the real-world scale. Use the dimensions in productmetadata.txt to set the correct texture scale. Incorrectly scaled textures are one of the most common reasons PBR materials look unconvincing in renders.
- Name materials consistently. Using a naming convention like "Lightbeans_[MaterialName]" in the User Catalog keeps your library organized and easy to navigate across projects.
- Follow the official Chief Architect documentation on material setup.
Summary
Chief Architect supports Lightbeans PBR textures through its material editor. The process involves creating a new material in the User Catalog, assigning the Color, Normal, and AO maps in the Texture Source section, and assigning the Roughness map separately in the Properties section.
Need some help? Contact our team at info@lightbeans.com
Check Out Our Library
Lightbeans offers an impressive array of textures that will give you a hand in your design and architecture projects.
View the Library