How to Use Lightbeans Textures
A Step-by-Step Guide from Downloading Textures to Creating Beautiful 3D Visualizations.

Welcome to Lightbeans, North America’s first and largest manufacturer-specific texture library designed exclusively for architectural visualizations. Whether you're an architect, designer, architectural technologist, or visualization artist, Lightbeans offers a wealth of high-quality, 3D materials that streamline and enhance your projects. This guide walks you through everything you need to know—from downloading PBR and seamless textures to integrating them into your preferred 3D software. The best part? It’s always free for design professionals.
Step 1: Access the Lightbeans 3D Texture Library
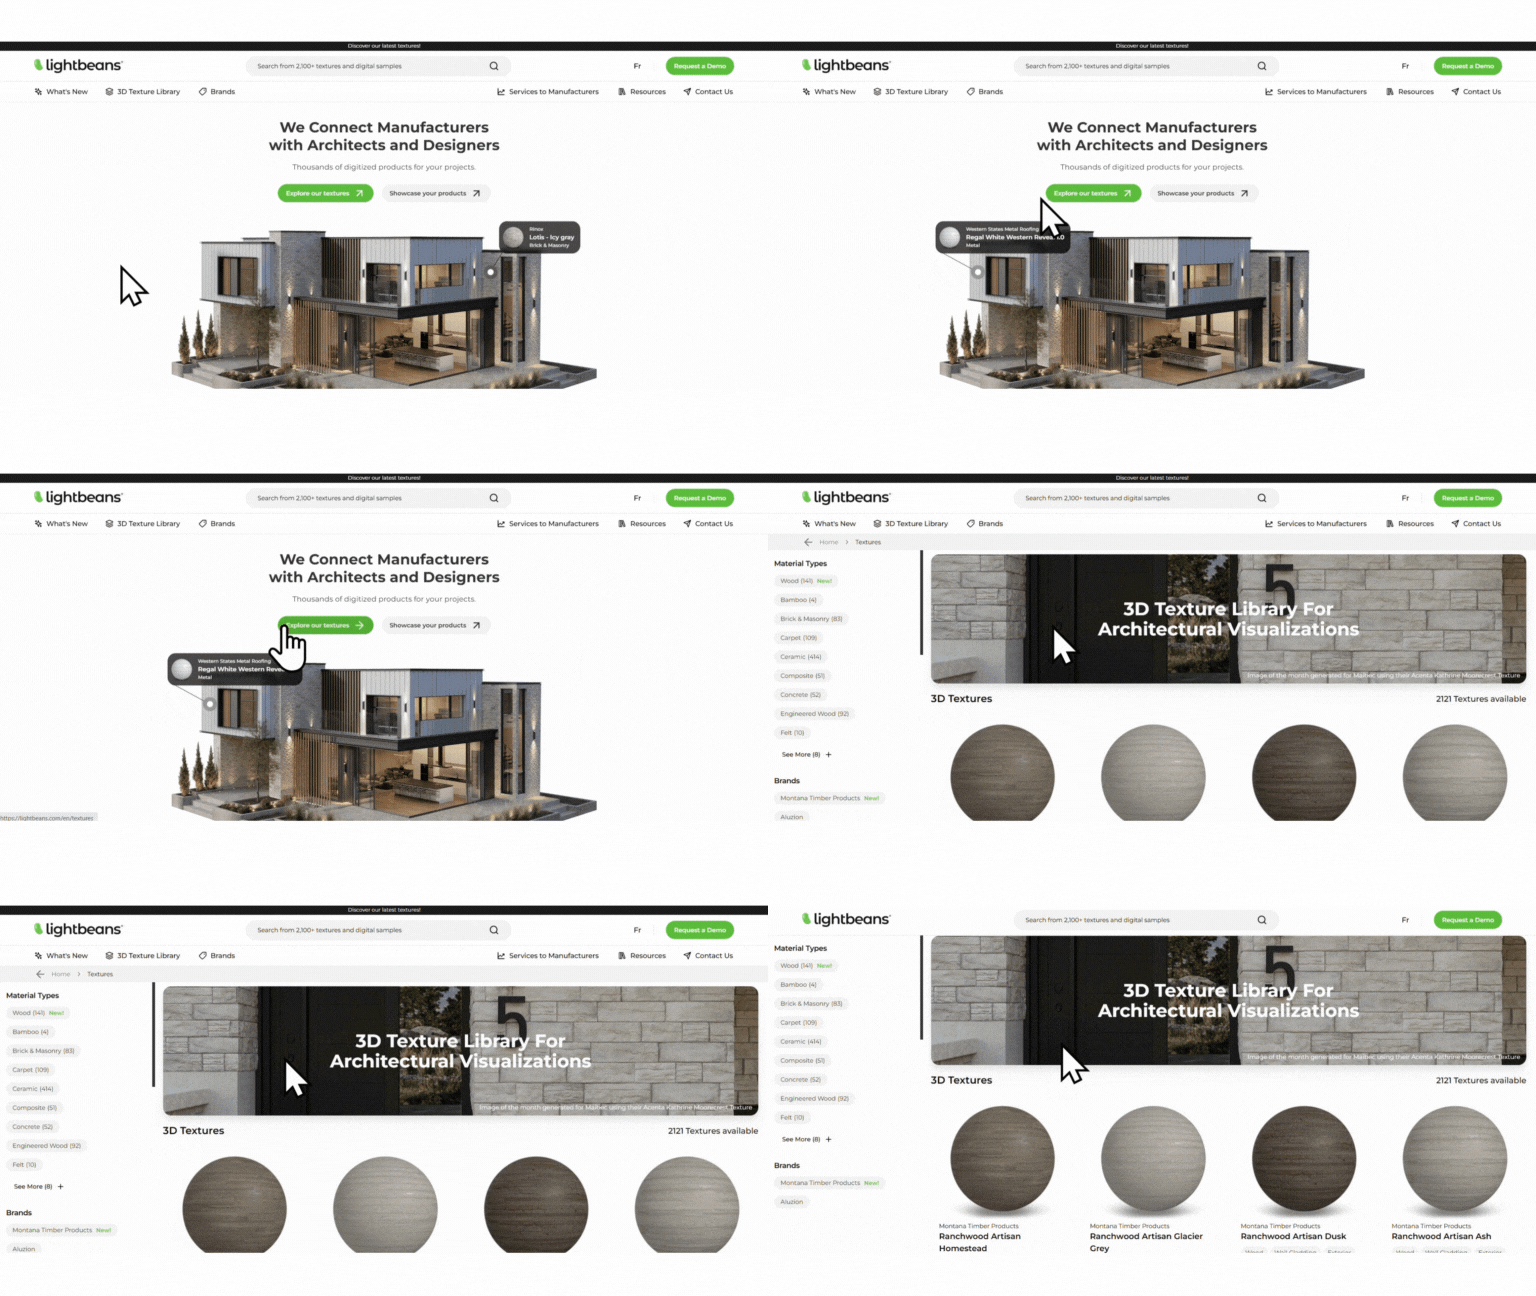
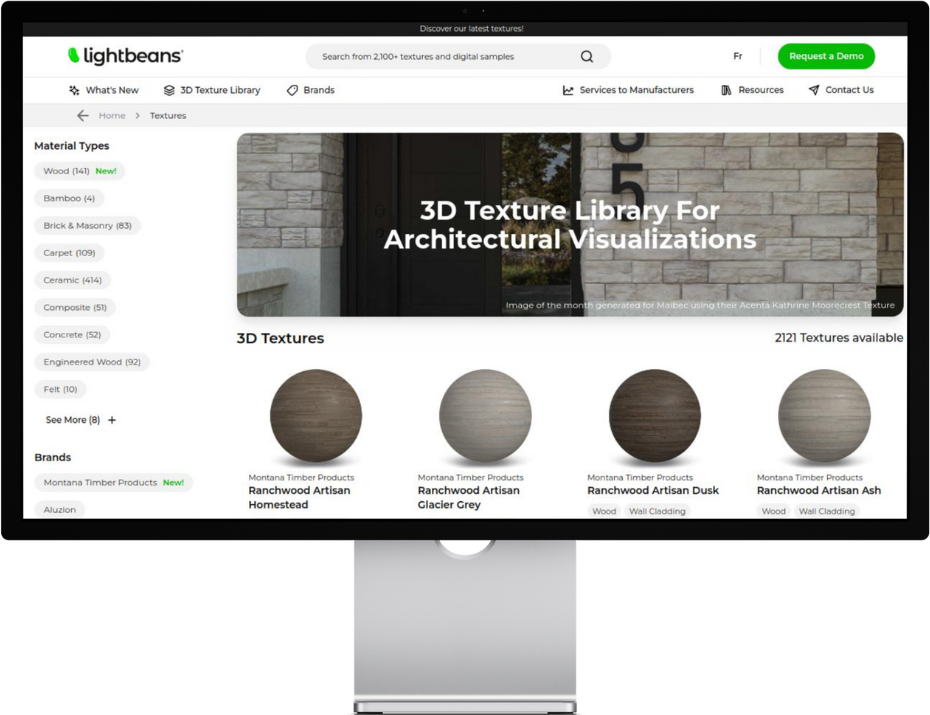
To access the full library of textures, you’ll need to head over to the 3D Texture Library section.
- Visit the Lightbeans texture library: lightbeans.com/textures
Step 2: Search for and Select Textures
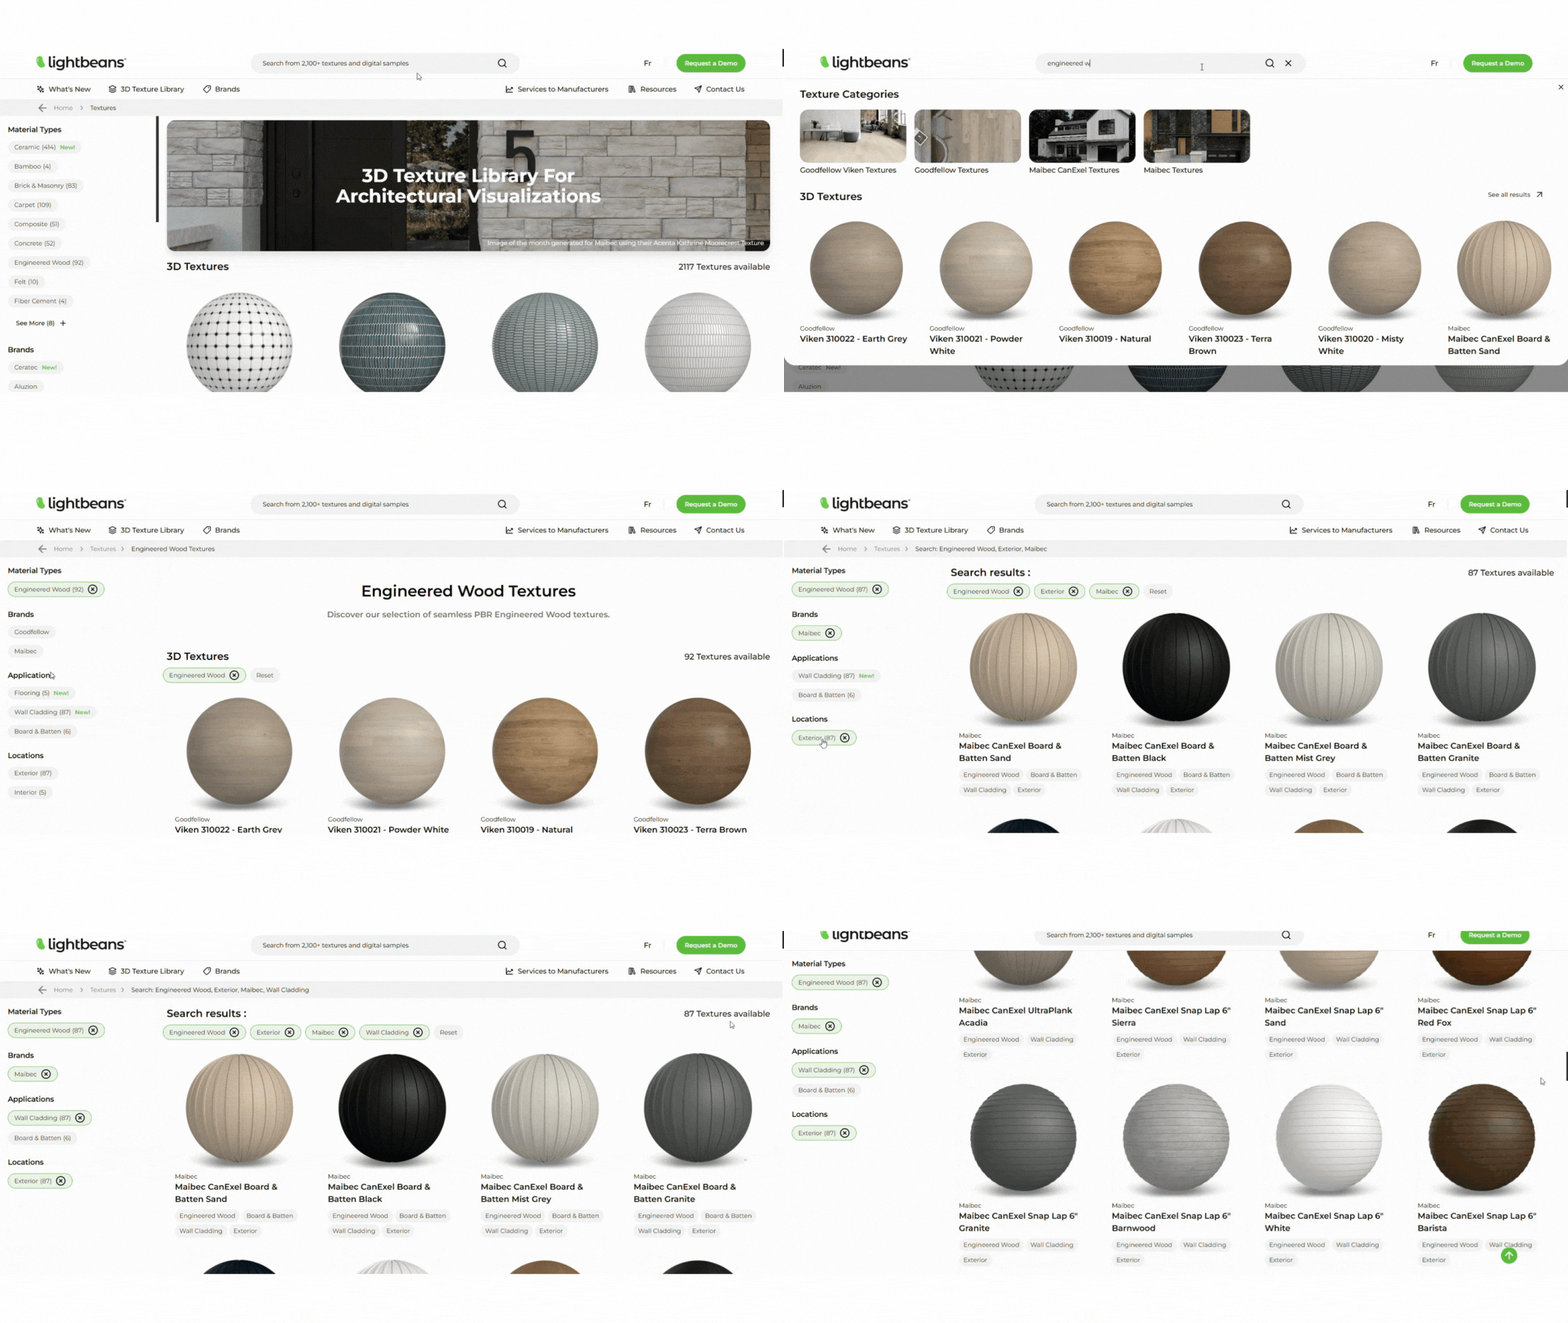
Lightbeans’ texture library is organized by product categories and manufacturers to make finding textures straightforward. Here’s how you can efficiently search for the right texture:
- Use the search bar to look up textures by keywords, such as “wood flooring” or “ceramic backsplash” or “blue” if you are looking for a color.
- Filter your results by manufacturer, application, location, or other specific attributes.
- Click on a texture to see more details, including texture specs and a link to order samples.
Step 3: Download Textures
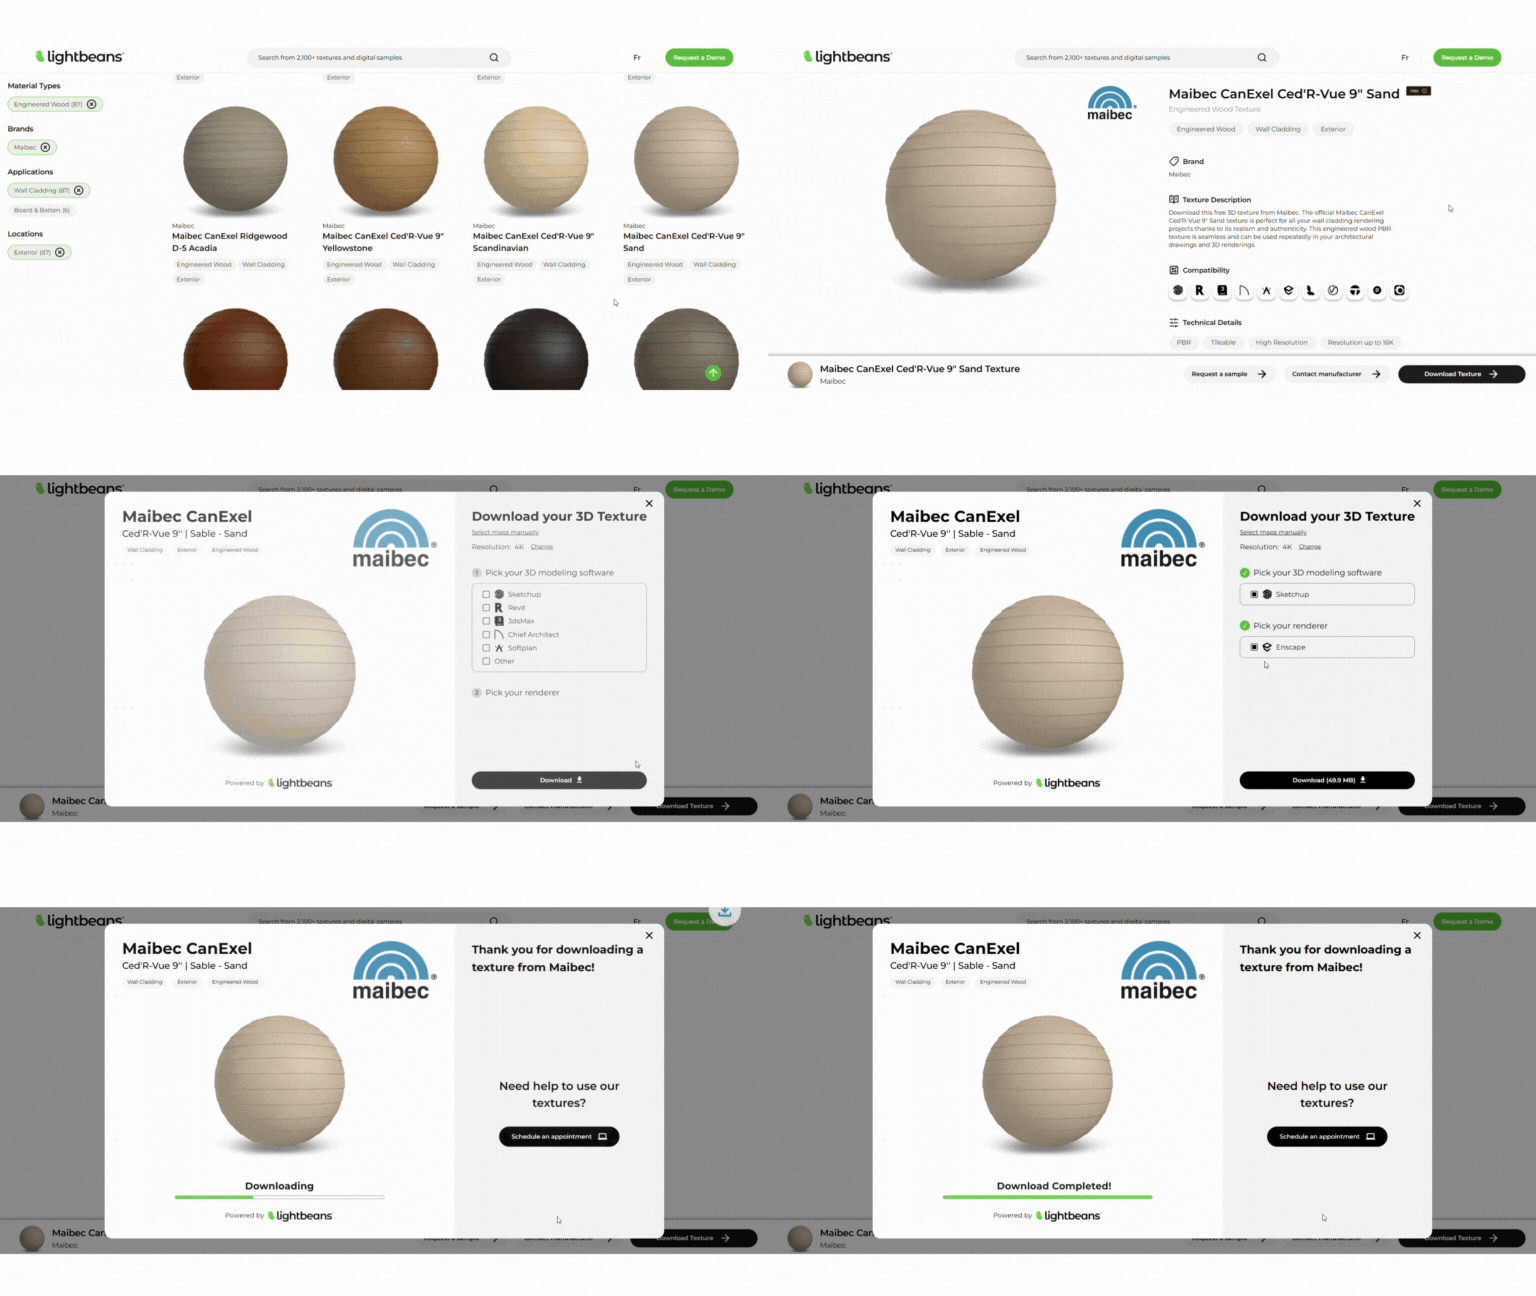
Once you've found the texture that fits your project, you're ready to download it. Here's how:
-
Select the texture you want to download.
-
Choose your preferred resolution and software options.
a. You also have the option to download individual PBR maps if that is your preference (albedo/diffuse, normal/bump, displacement/height, roughness, gloss, reflection/specular and ambient occlusion).
-
Click the download button to save the file to your computer.
If you're unsure about file compatibility for your 3D software, please reach out to support. Lightbeans also offers guidelines to help ensure seamless integration.
Step 4: Import Textures into Your 3D Software

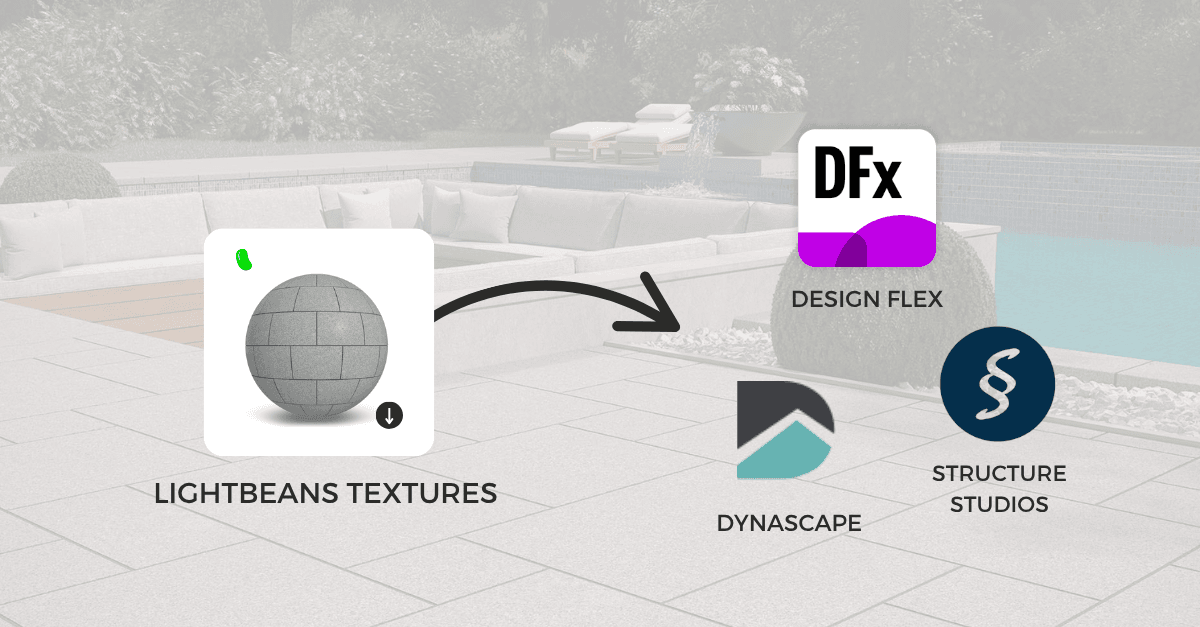
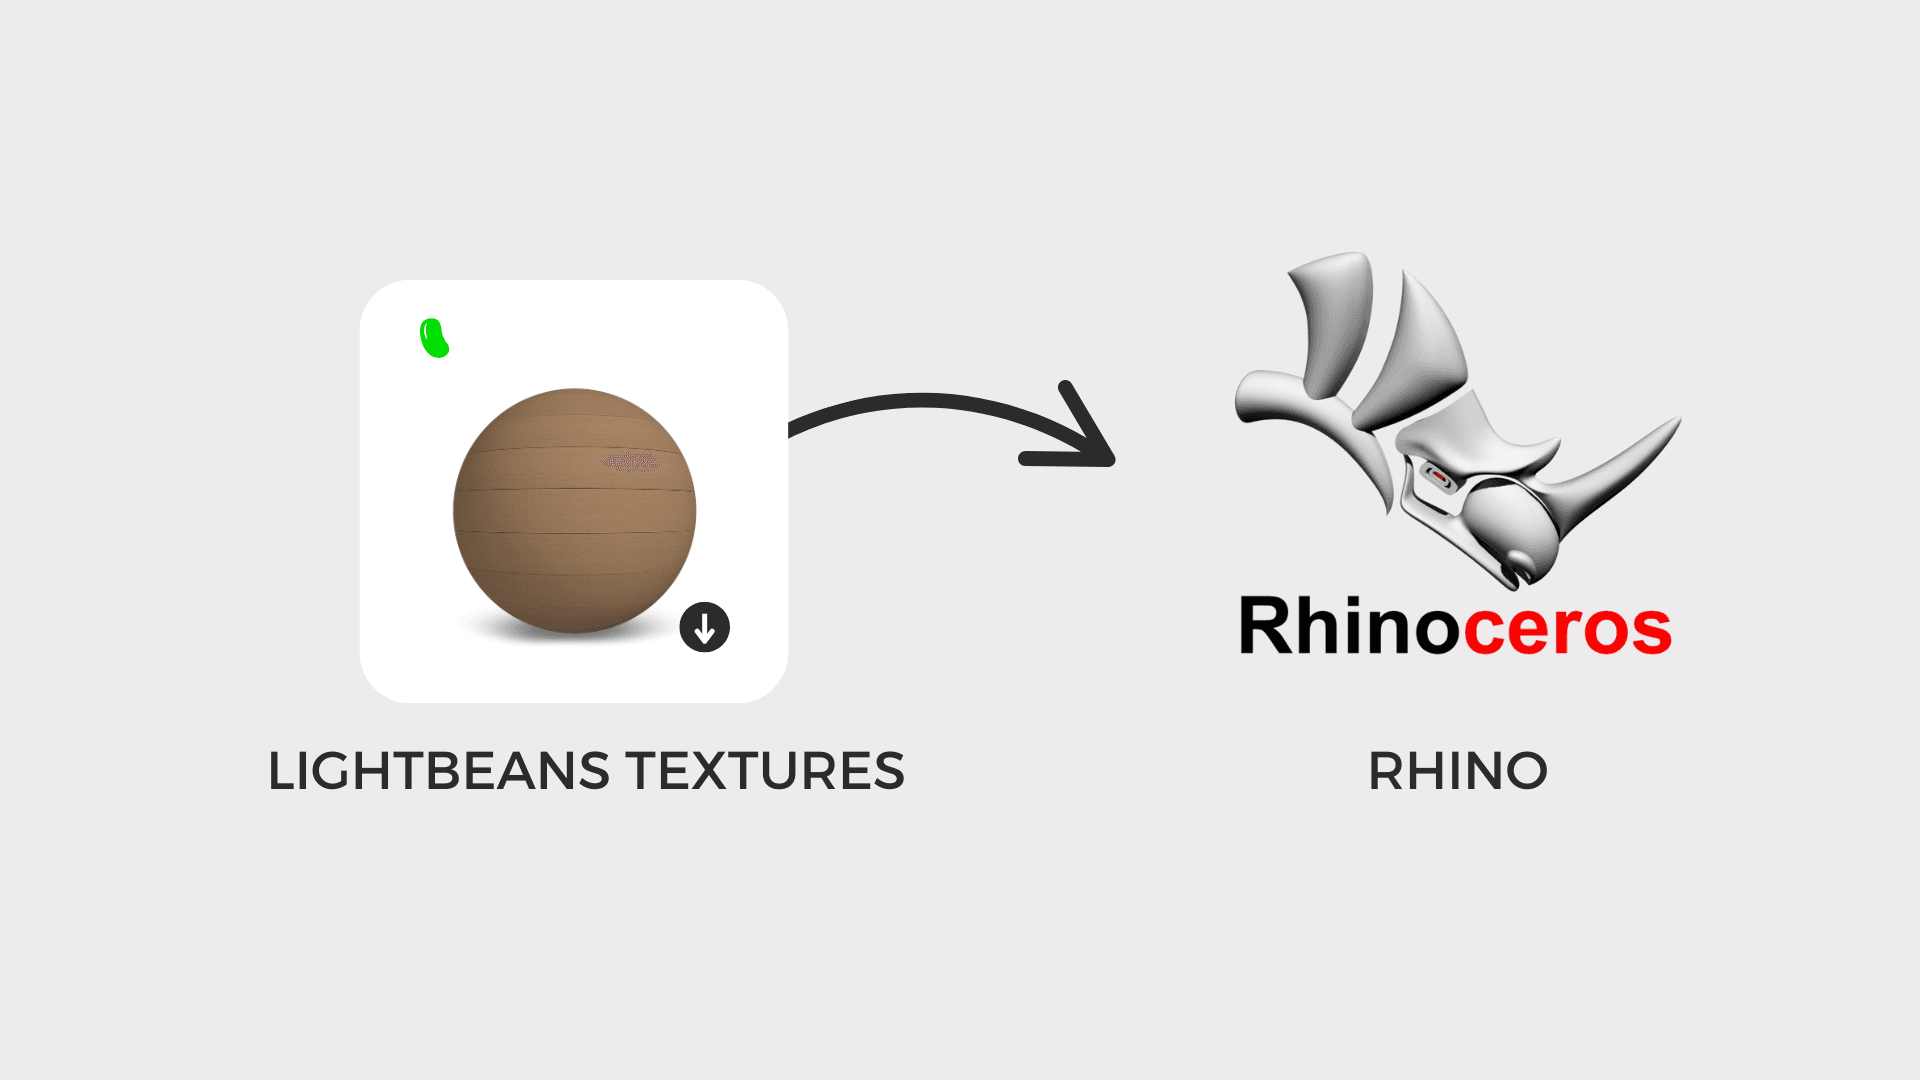
With your textures downloaded, it's time to bring them into your 3D modeling software. Here's a general guide that applies to popular software like SketchUp, 3ds Max, and Blender:
-
Open your 3D project and navigate to the materials or textures section.
-
Choose "Import" or "Open," depending on your software, and select the texture file you downloaded from Lightbeans.
-
Adjust the texture scale to match real-world dimensions. Lightbeans textures come with measurements in the Product metadata.txt file so that you can ensure an accurate representation.
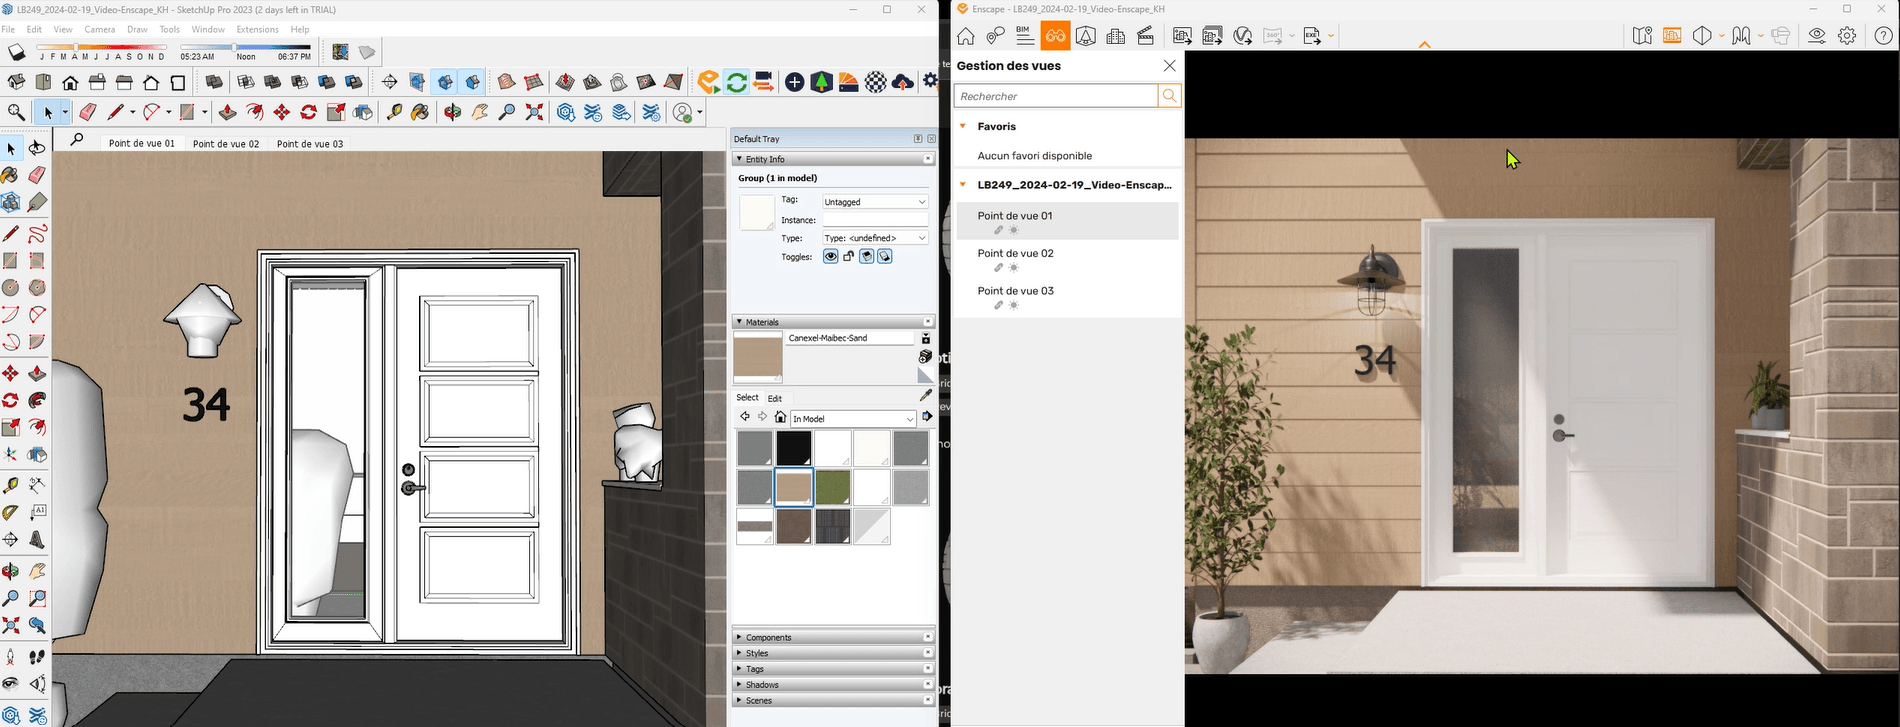
Step 5: Adjust Lighting and Rendering Settings
Lightbeans textures are optimized for realistic lighting effects, but tweaking your lighting and rendering settings can make them even more lifelike.
-
Place your lighting sources thoughtfully. If you're using natural or artificial lighting, consider how they interact with the texture's surface. Wood textures, for instance, respond differently to light than glossy or metallic surfaces.
-
Use reflection and bump maps if available. Many Lightbeans textures come with these maps, allowing for more depth and realism in your renderings.
-
Run test renders to see the texture in your scene. Make adjustments to the scale, orientation, or lighting as needed.
Step 6: Render and Review
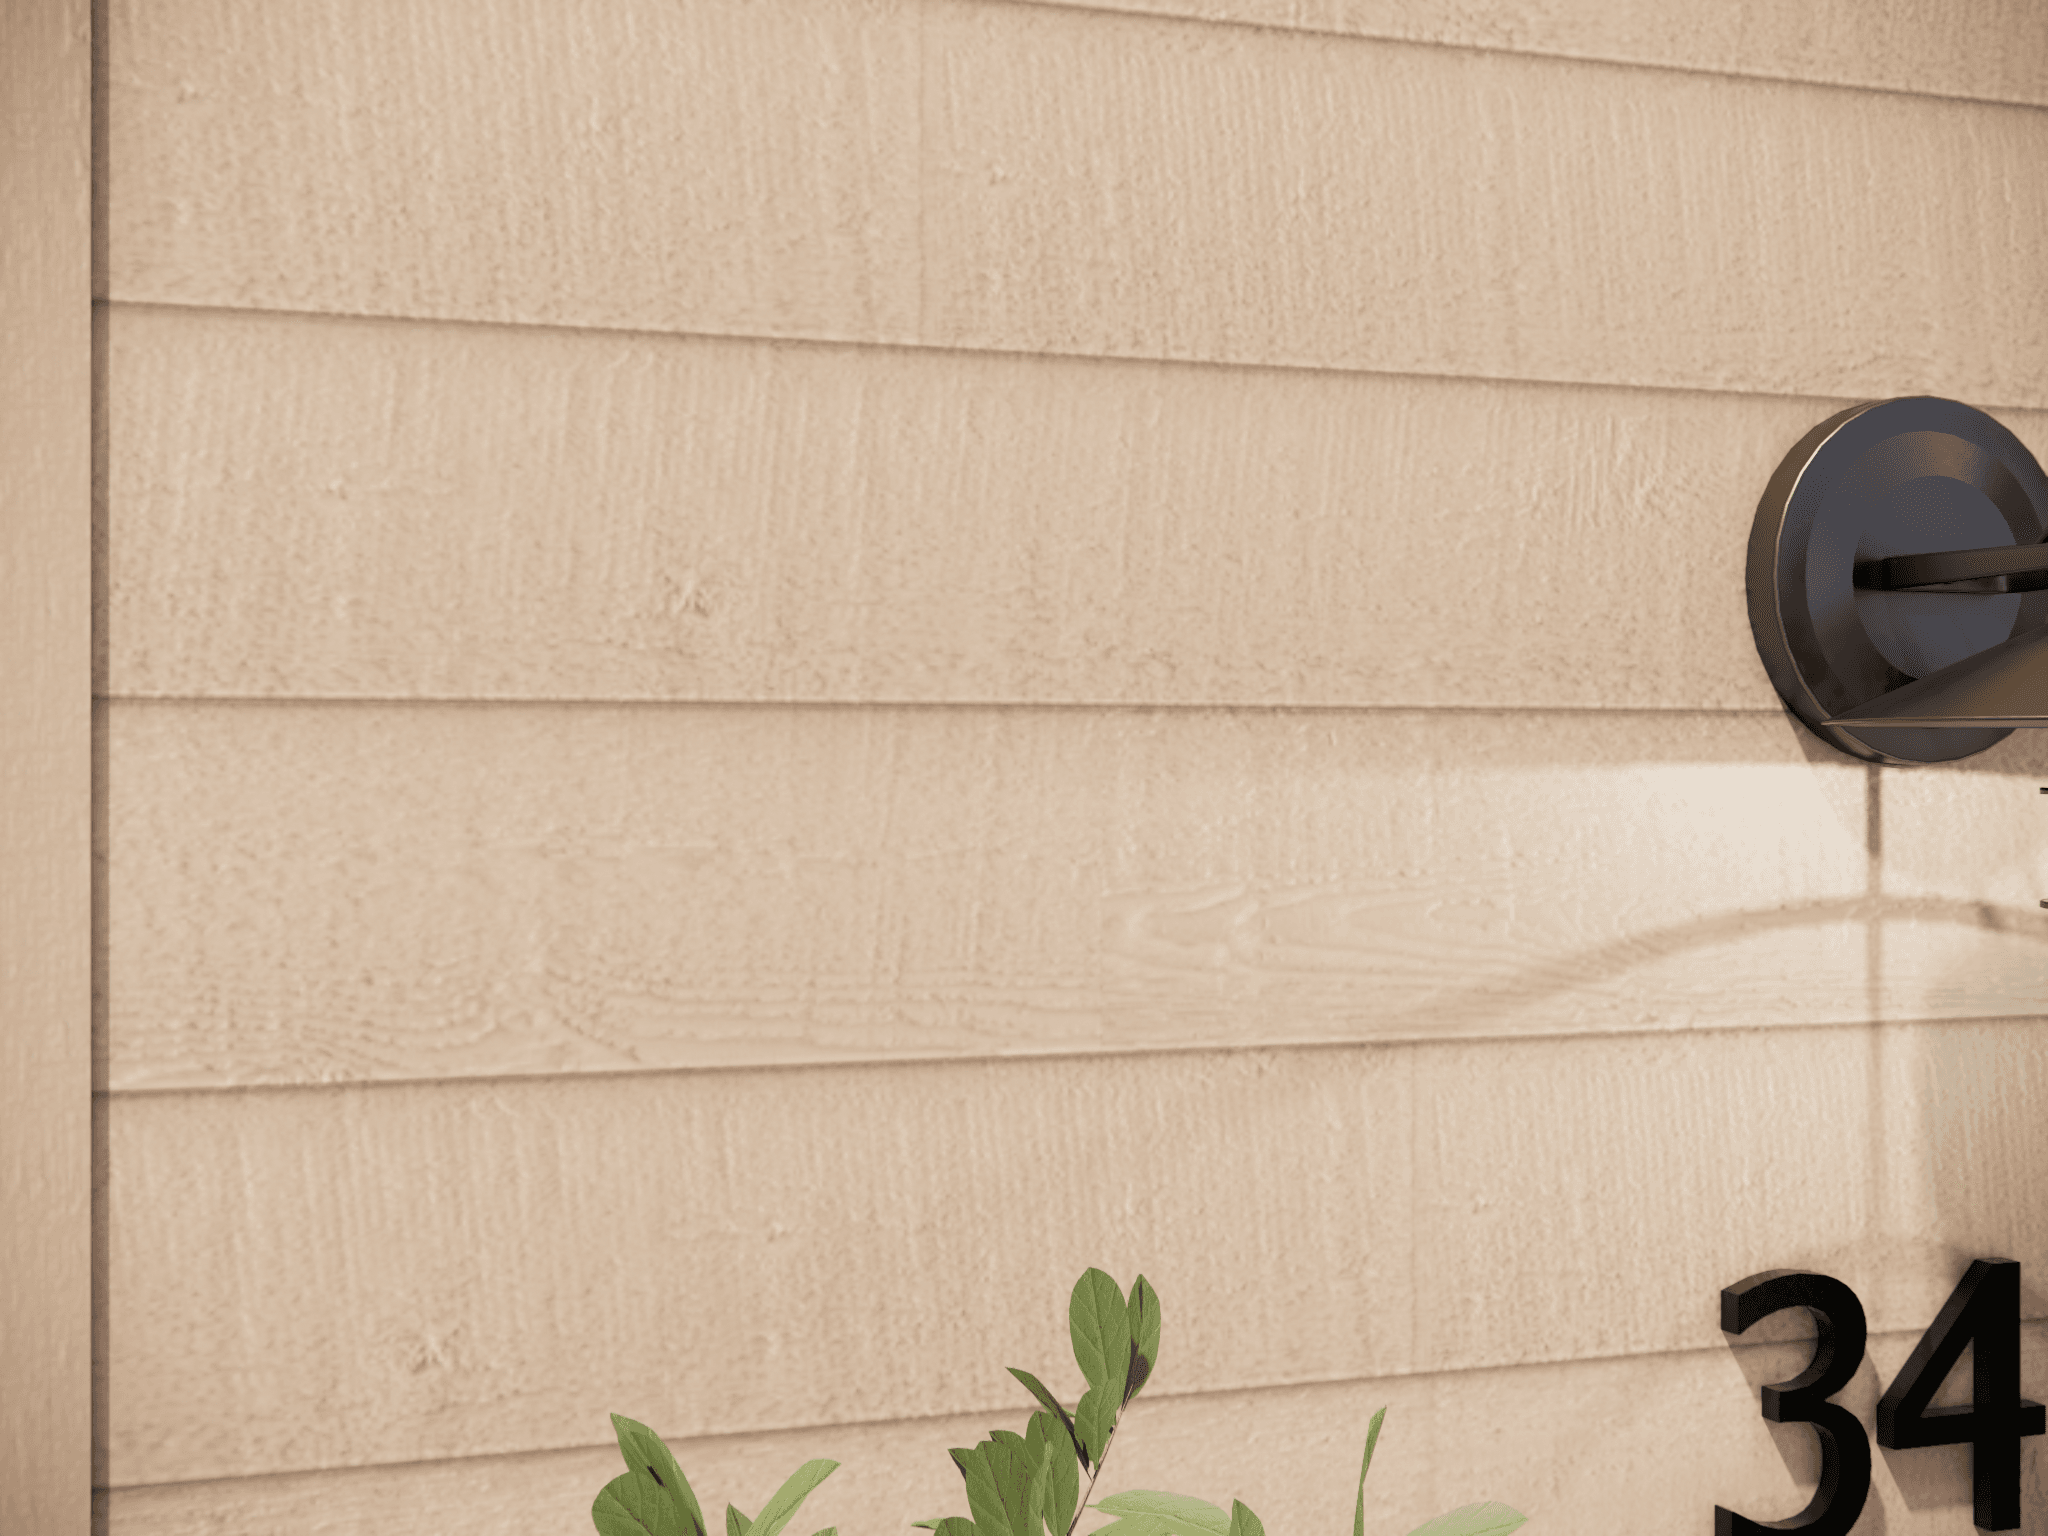
Once you're satisfied with the texture's appearance, go ahead and render the scene. Lightbeans textures are made to withstand high-resolution rendering, ensuring that details remain crisp and accurate.
-
Select your render settings based on your project's requirements.
-
Once the rendering is complete, review the texture application closely for any adjustments in scaling or orientation.
-
Save your rendered image or animation, ready to present or use in your design projects.
Step 7: Specify or Recommend Real-World Materials
With Lightbeans textures, you're working with materials from real manufacturers, so you can specify them for actual projects.
-
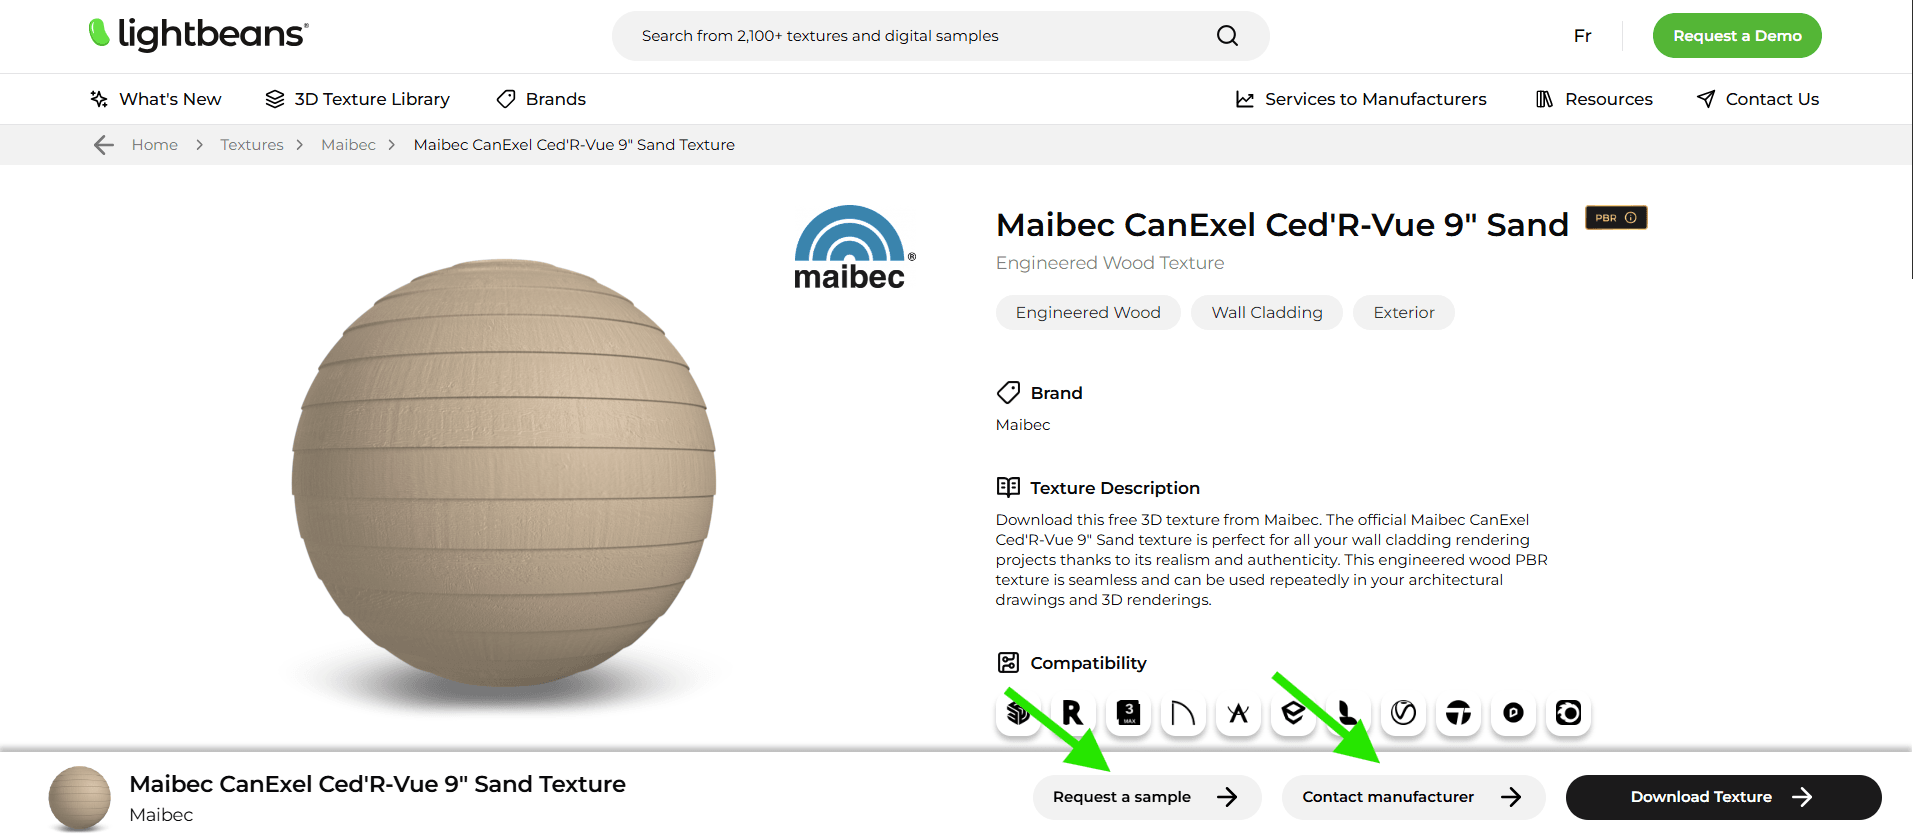
Access manufacturer links on the texture details page to learn more, check stock, or find local distributors.
-
Request samples directly from manufacturers to ensure your digital render matches the real product.
-
Confidently recommend materials to clients, making it easy for them to order the exact products featured in your design.
Step 8: Experiment and Expand Your Library
The beauty of using Lightbeans is the variety and customization available. With thousands of textures across different materials and finishes, you can experiment with combinations to achieve unique, professional results.
- Explore new categories and manufacturers as Lightbeans regularly updates its library with innovative 3D textures and materials.
Final Tips for Working with Lightbeans Textures
-
Stay updated with Lightbeans via our newsletter and social media for new texture releases and tips.
-
Reach out to support if you encounter any issues with file compatibility or quality---our team is here to help!
-
Check out industry resources provided by Lightbeans for more techniques on achieving realism in your renders.
-
Share your projects via our dropbox or tag us on social media using #lightbeans or @lightbeans.
Using Lightbeans can elevate the quality of your visualizations with minimal effort, bringing your concepts closer to real-world results. Happy designing, and enjoy bringing your architectural visions to life with Lightbeans!
Check Out Our Library
Lightbeans offers an impressive array of textures that will give you a hand in your design and architecture projects.
View the Library