


How to integrate realistic PBR materials in Lumion
Discover how to enhance your architectural visualizations by integrating realistic PBR materials in Lumion. Learn the ins and outs of selecting, applying, and fine-tuning materials.
Everyone who's spent at least thirty minutes in the architectural visualization world knows about Lumion. Known for its user-friendly interface --and for being the third most used arch viz tool-- Lumion provides architects and designers with powerful tools to create stunning, lifelike architectural visualizations.
However, none of that would be possible without physically based rendering (PBR) materials, which are crucial to achieving the level of realism we're accustomed to in architectural visualization.
PBR is a shading and rendering technique that accurately represents how light interacts with surfaces. Unlike traditional rendering methods, which only offer an approximate idea of how materials will look, PBR materials follow the physical laws of light absorption and reflection.
So, PBR ensures that materials look realistic under varying lighting conditions, which is crucial for architects and designers to predict how buildings will look in real life. But how do you take a texture file and use it with Lumion to create breathtaking visualizations? Let's find out.
Lumion 2024 and beyond
Lumion has come a long way since 2010. It has definitely improved its graphics, capabilities, and ease of use. Check these two images and see for yourself.
Lumion 1, c. 2010
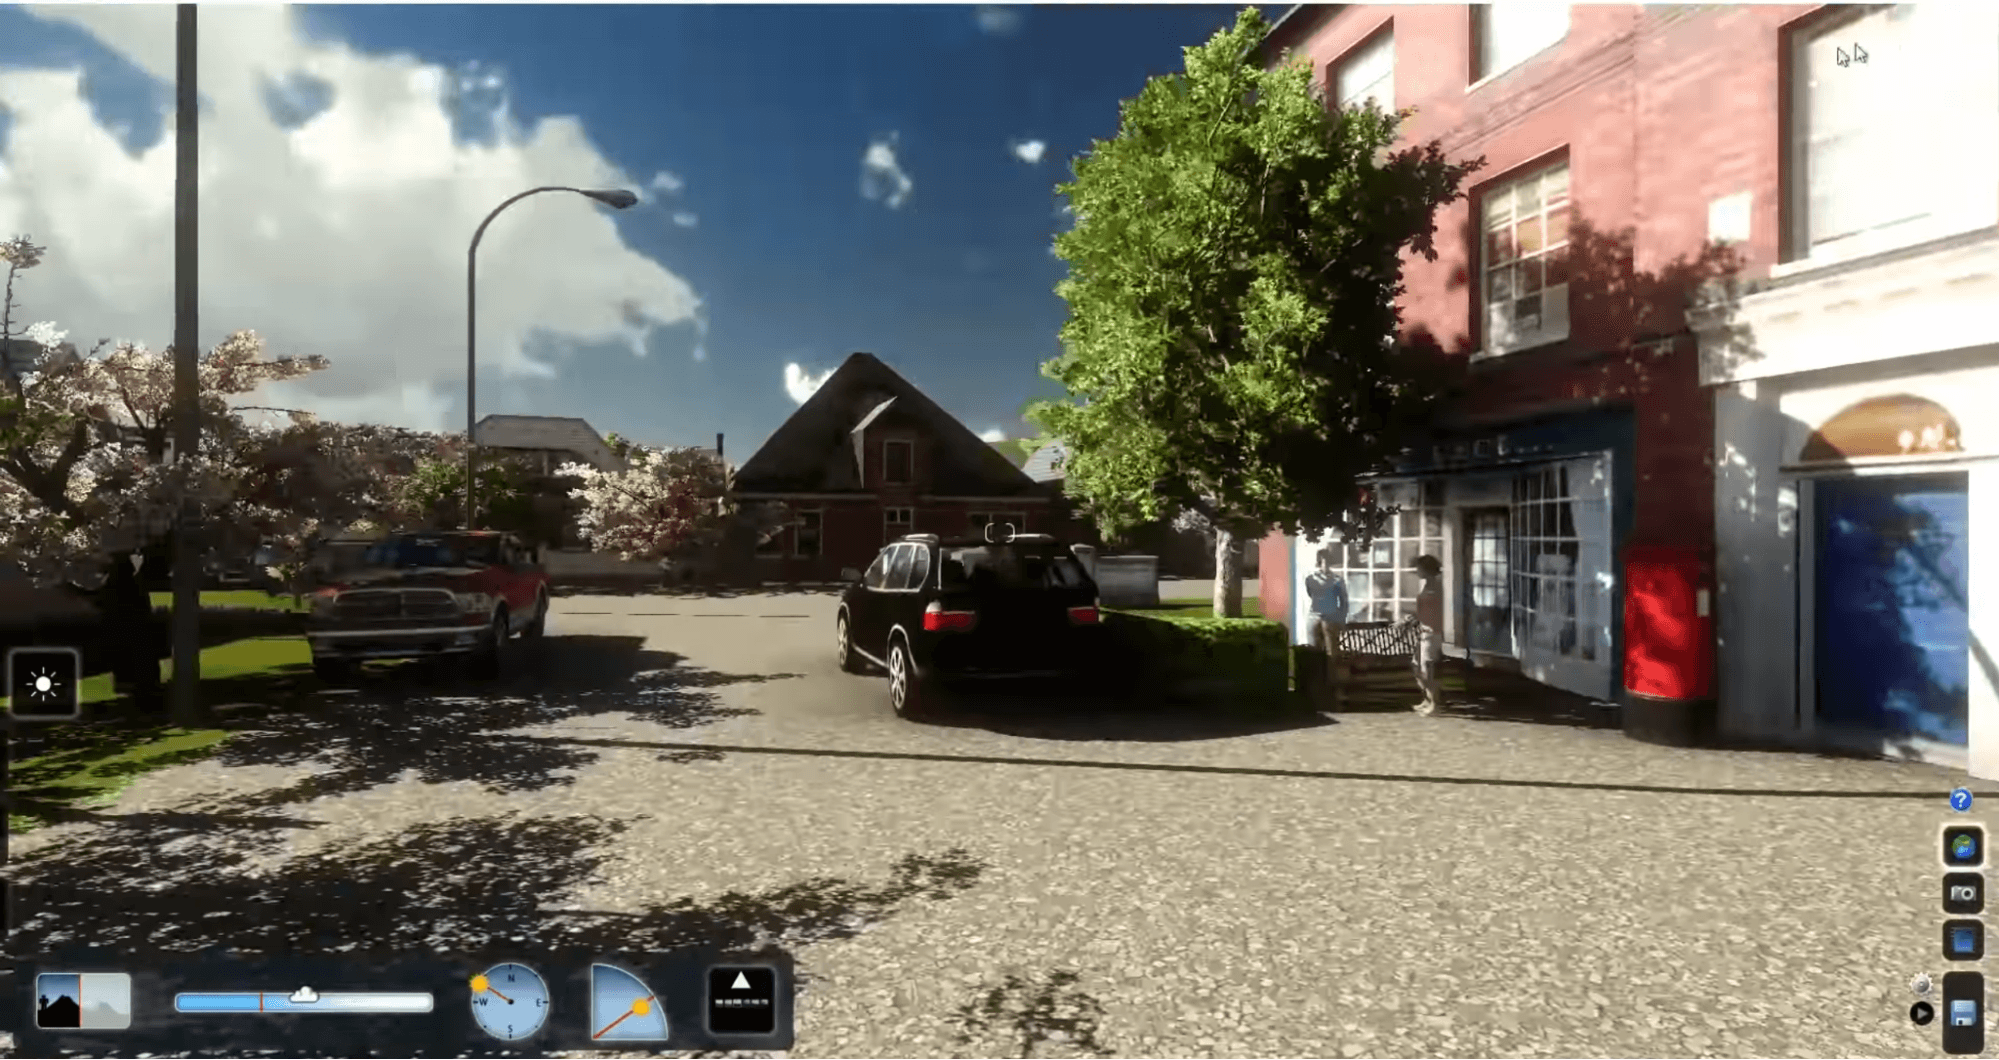
Lumion 13, c. 2024
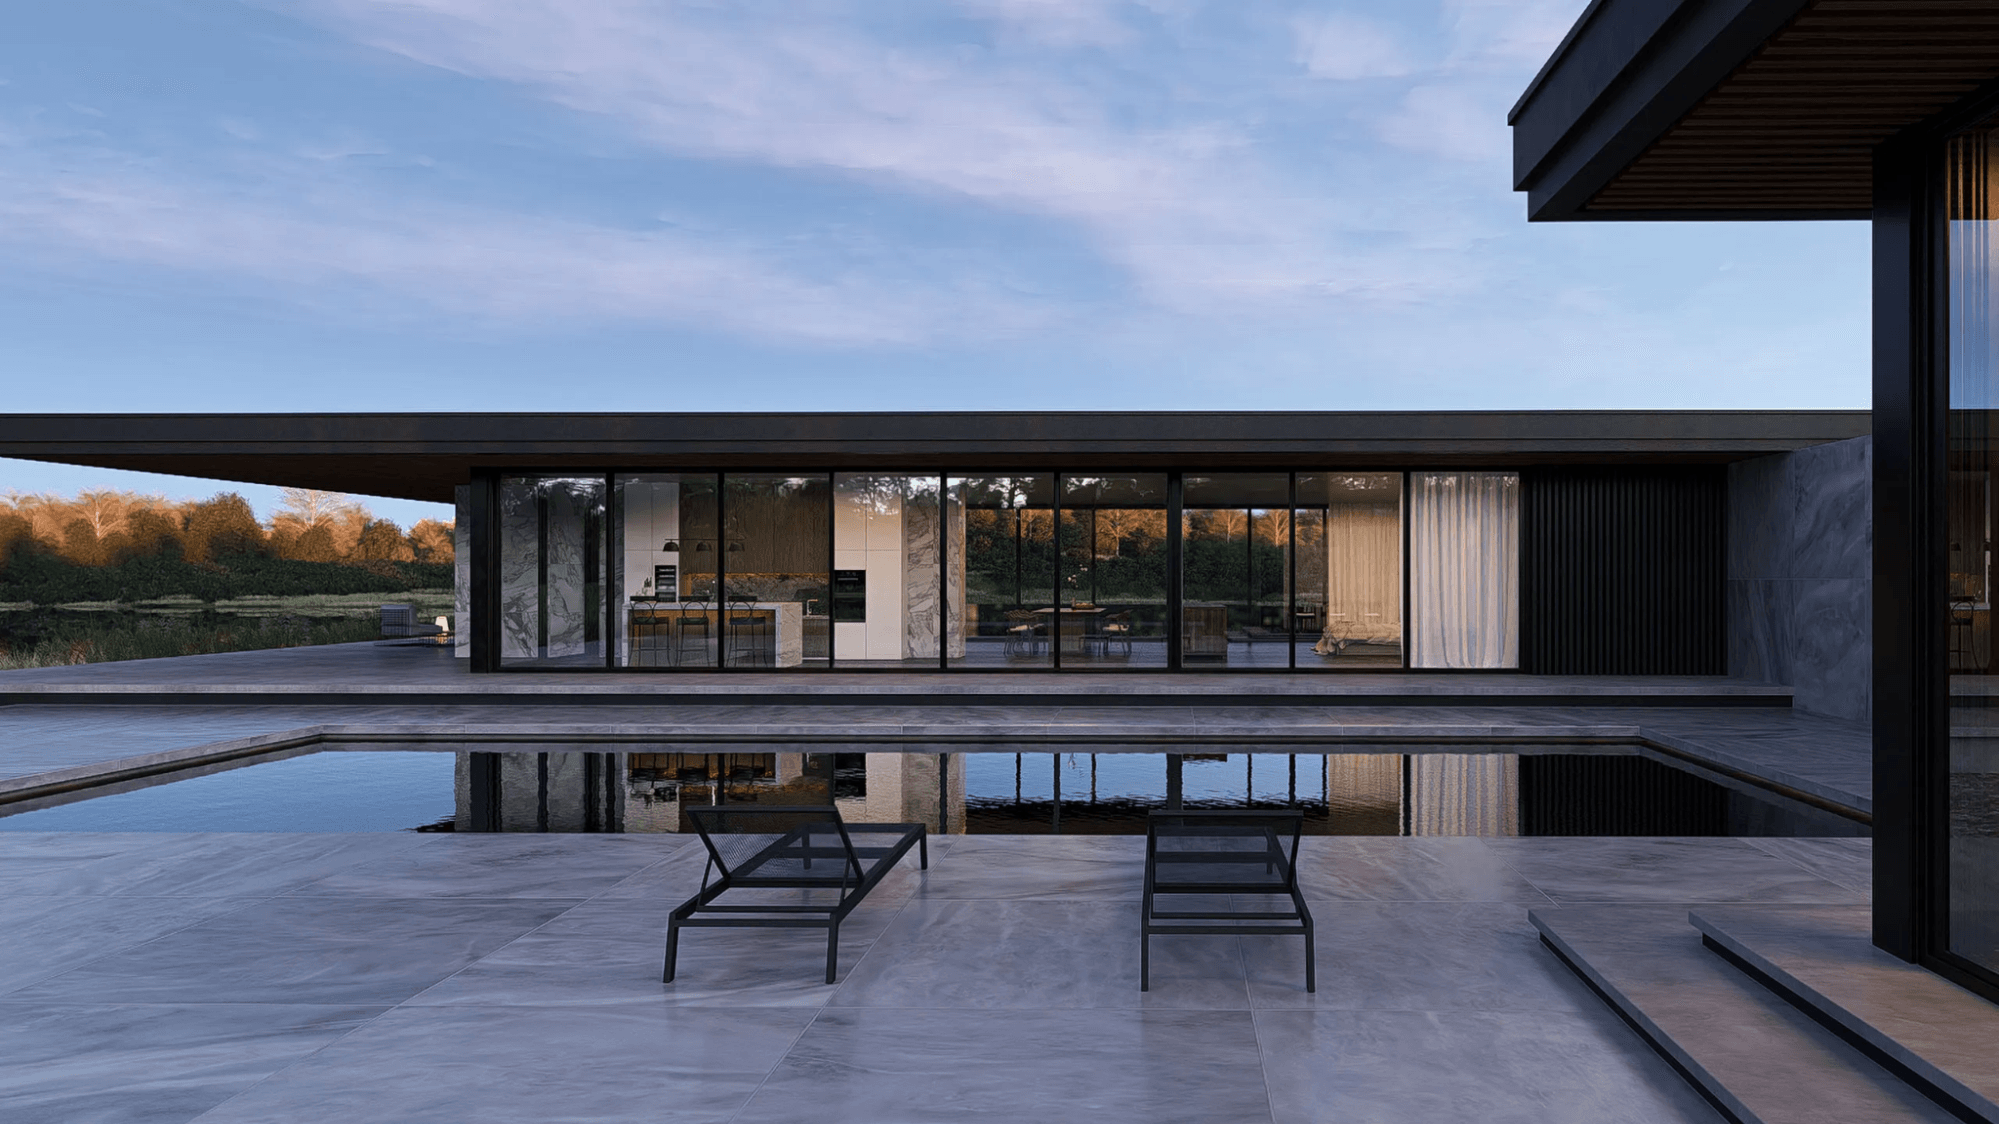
In its newest version, Lumion 2024 introduced new features, such as ray-traced glass and subsurface scattering. Its support for gLTF file format significantly enhances the use and realism of Physically Based Rendering (PBR) materials.
Here's how these new features tie in with PBR materials:
-
Enhanced Realism with Ray Tracing: Lumion's ray tracing technology provides more physically accurate lighting calculations. This means that PBR materials, designed to mimic real-world materials accurately, look even more realistic when illuminated under various lighting conditions. The reflections, refractions, and shadows on these materials will appear more lifelike.
-
Subsurface Scattering: This feature is crucial for materials like marble or wax, which are part of Lumion's PBR workflow. Subsurface scattering allows some light to penetrate the surface of a material, interact with its internal structure, and then exit at a different point. This effect is vital for rendering semi-transparent materials with complex internal light interaction, making them more realistic.
-
gLTF File Format Support: gLTF (GL Transmission Format) is a file format designed for efficient delivery and loading of 3D scenes and models. It supports PBR workflows and can accurately store and transmit data about material properties such as albedo, roughness, and metallicity. Plus, Lumion 2024's support for gLTF enhances its compatibility with PBR materials created in other 3D modeling tools, ensuring that materials look consistent and realistic when imported into Lumion.
Choosing PBR Materials
When selecting a site to download textures and materials, consider its compatibility with your 3D software, the resolution, the variety of textures available, and how dependable customer support is if you need help.
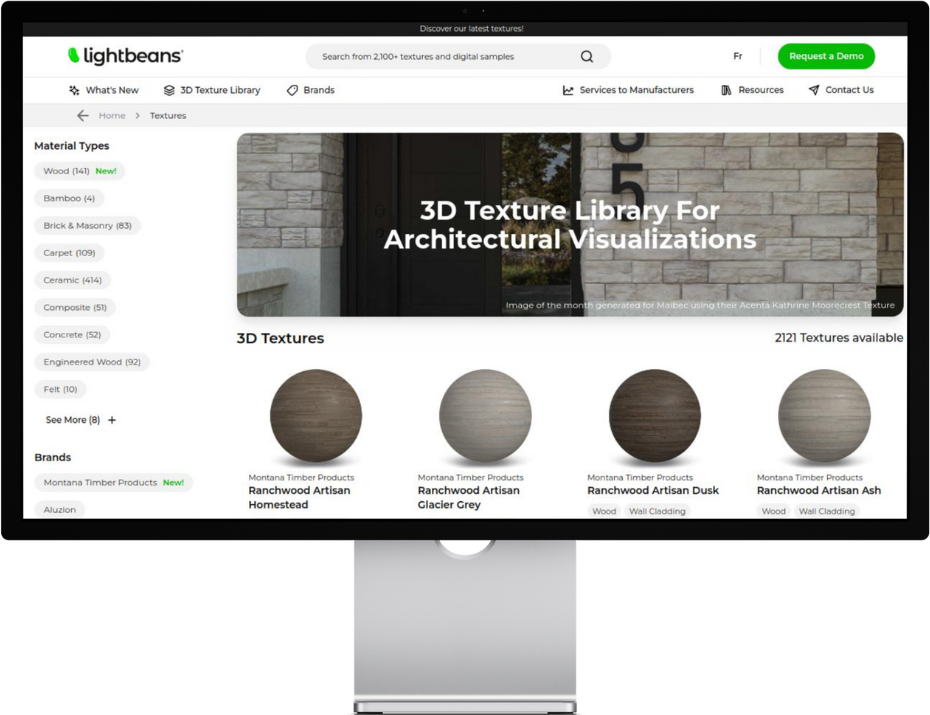
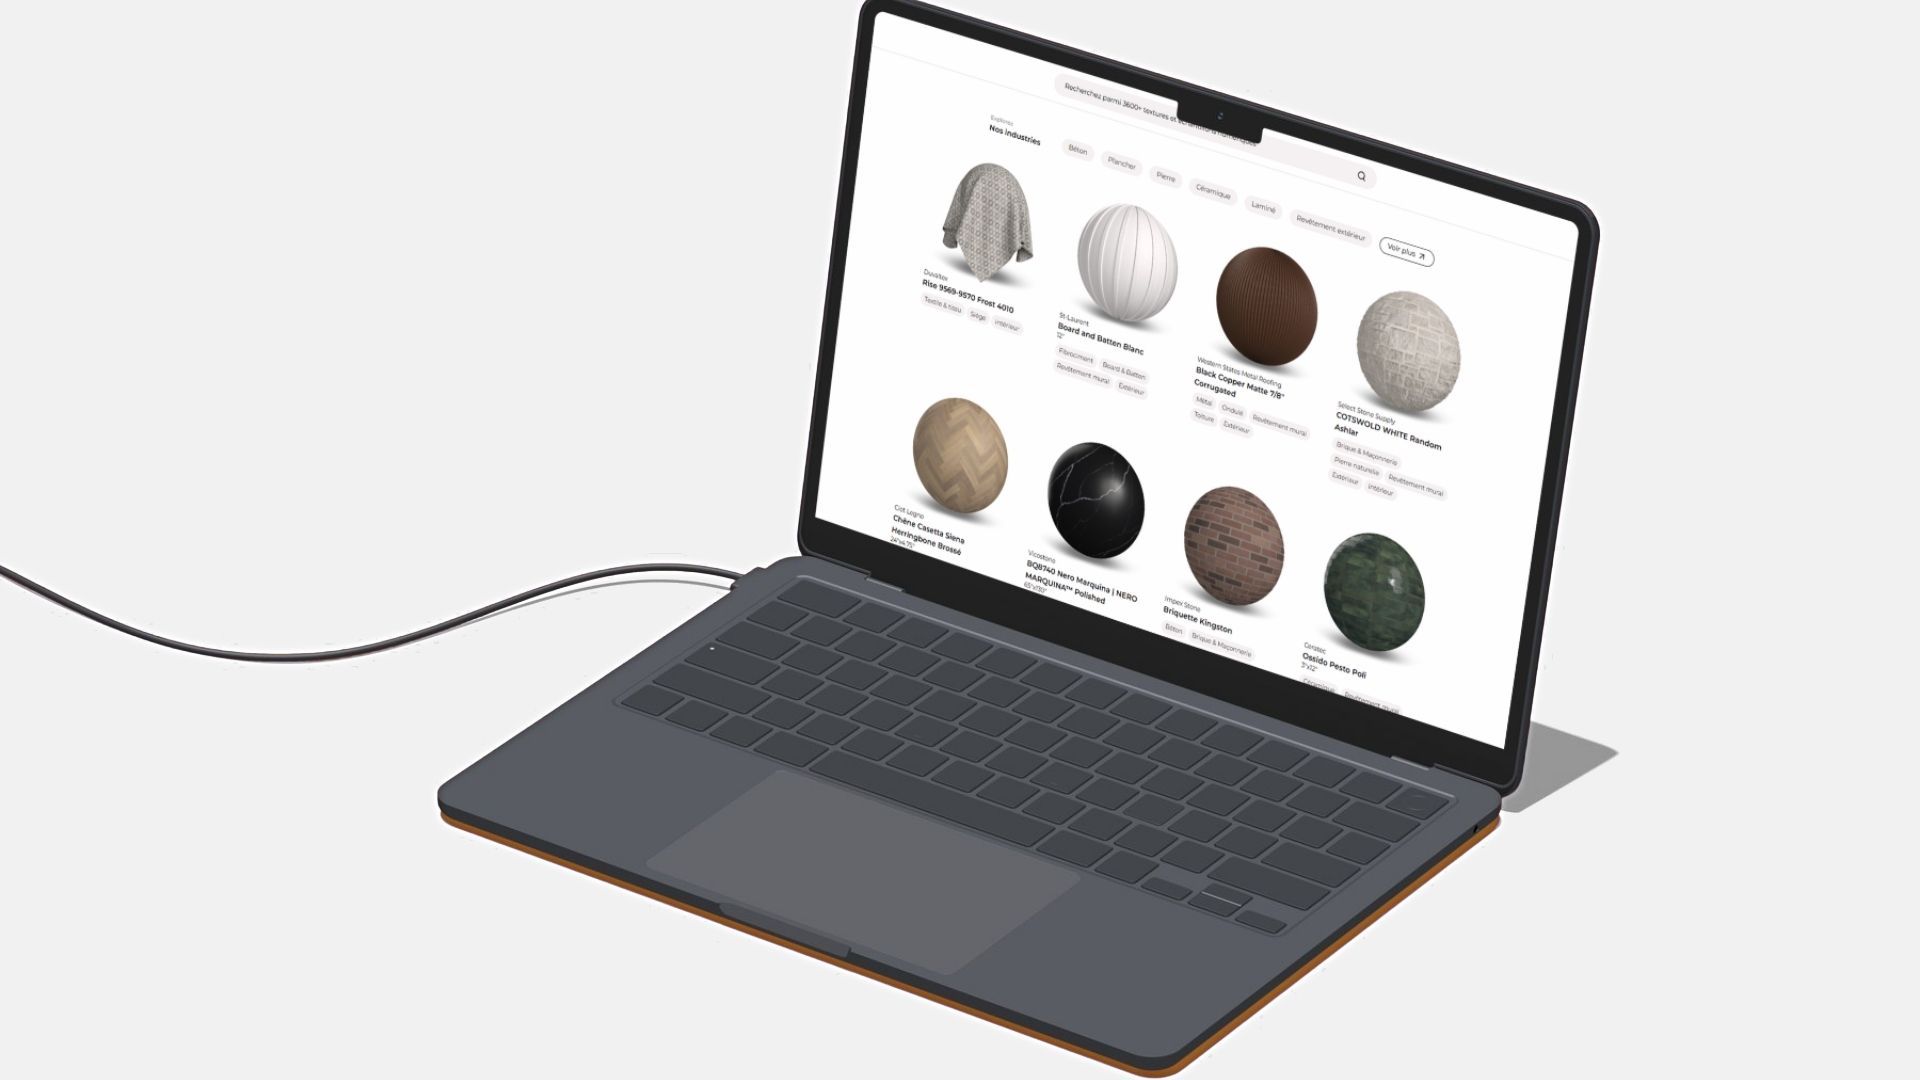
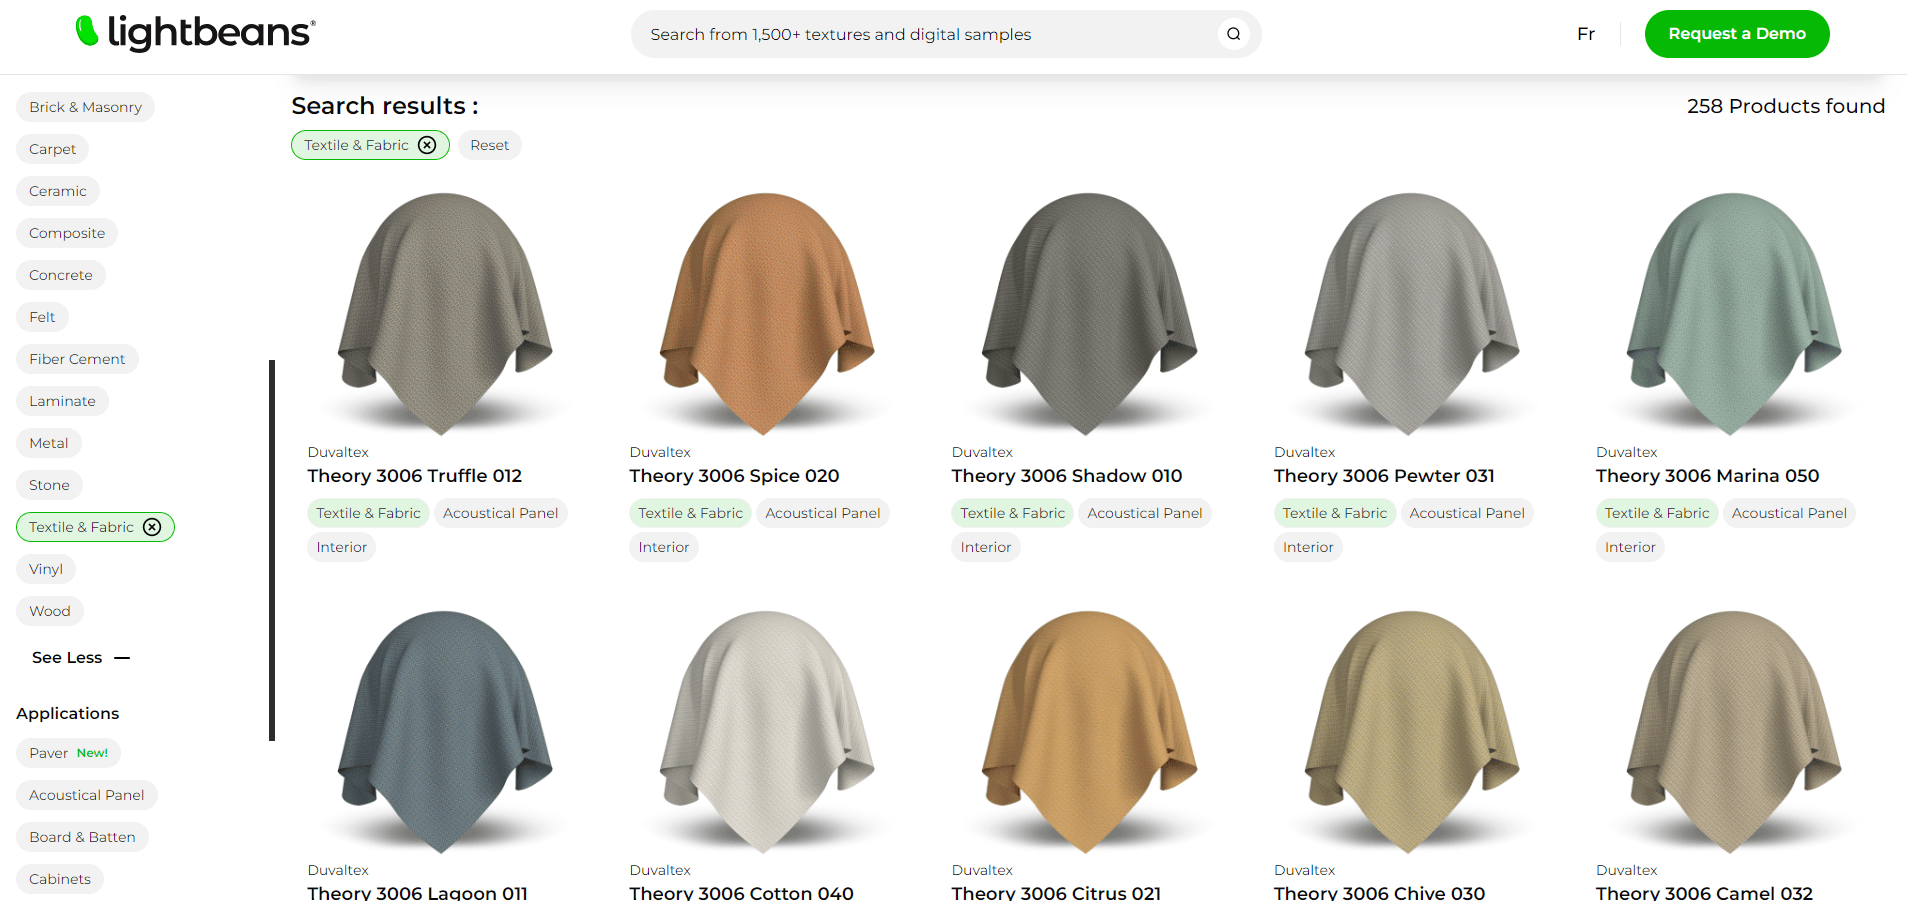
A top-notch texture site like Lightbeans' texture library should feature a wide array of realistic, high-resolution textures appropriate for various architectural and design endeavors. It should also be easy to navigate, facilitate smooth downloads, and include guides on integrating textures with various software applications.
Read more: Top 5 Sites for 3D Textures
Finding and Downloading Top Textures
- Go to Lightbeans Texture Library. There, you'll see hundreds of free, premium textures to download. Let's pick one:
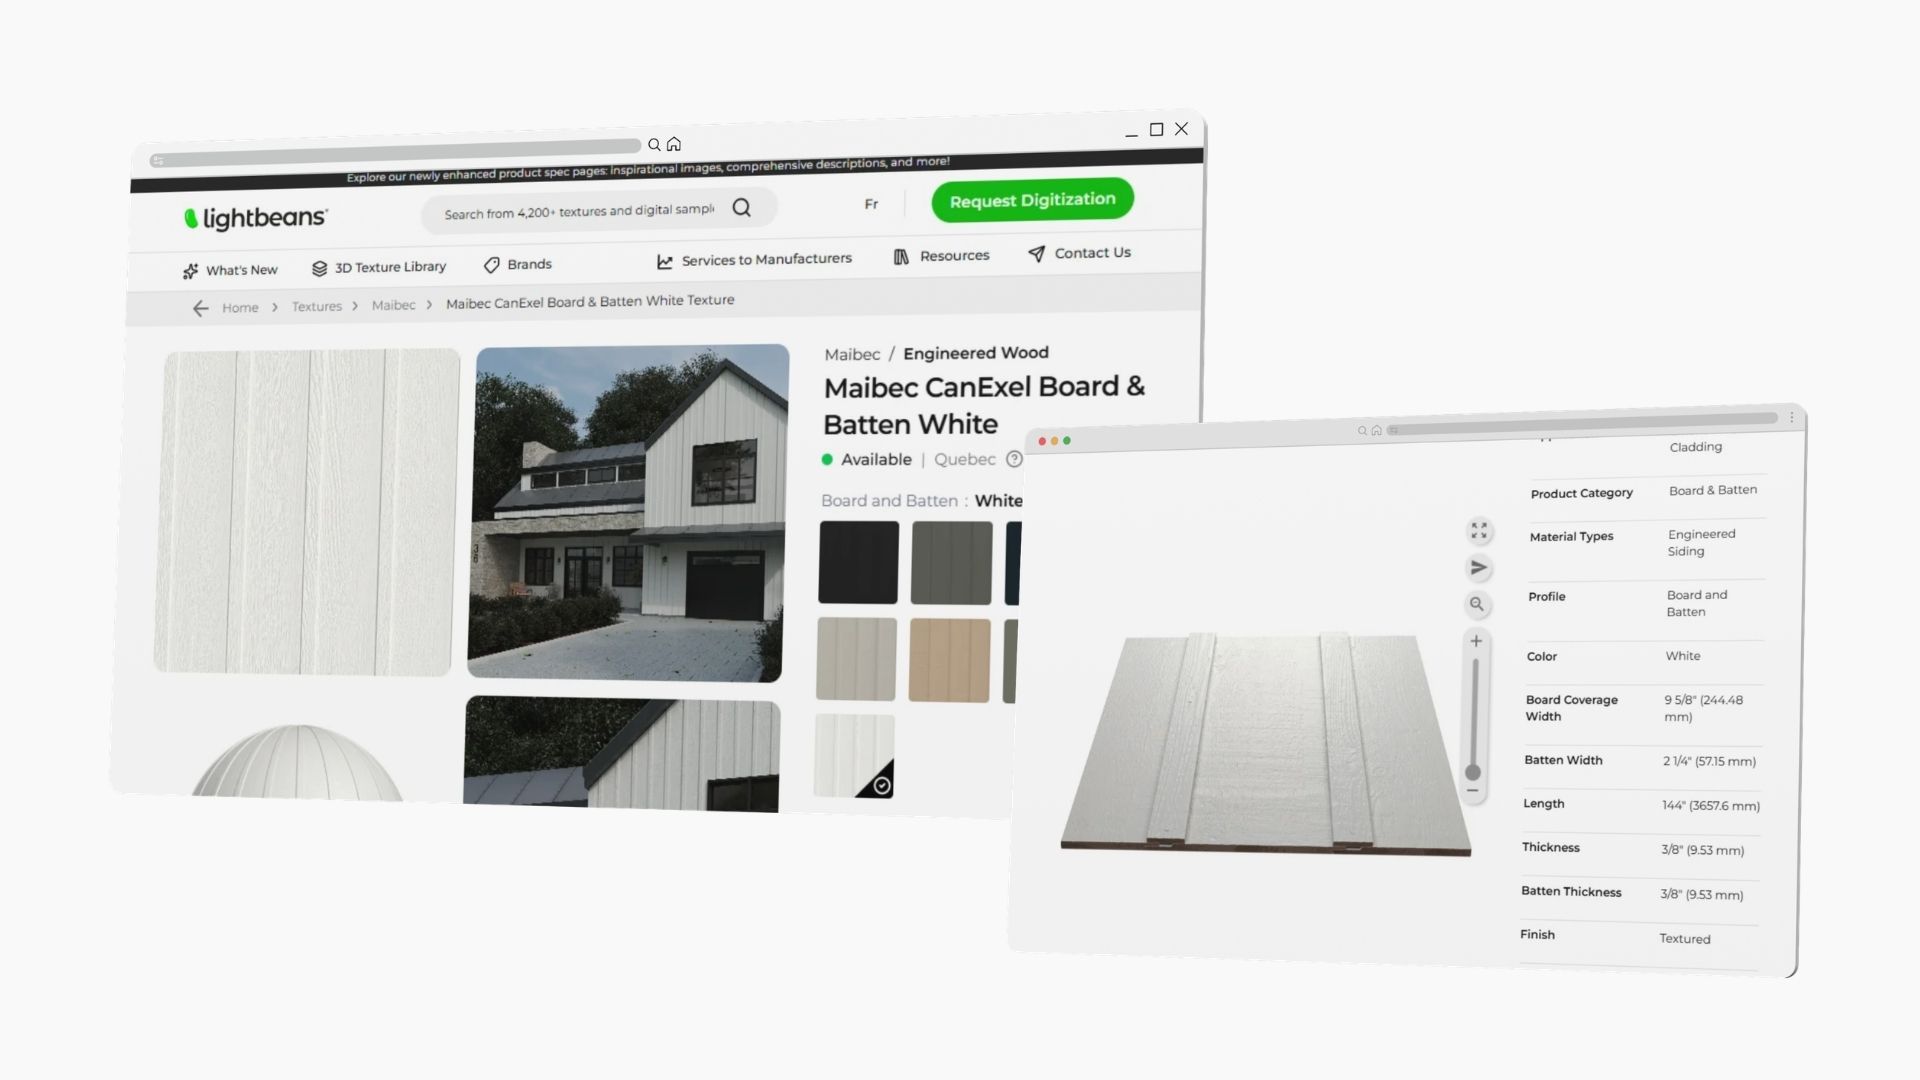
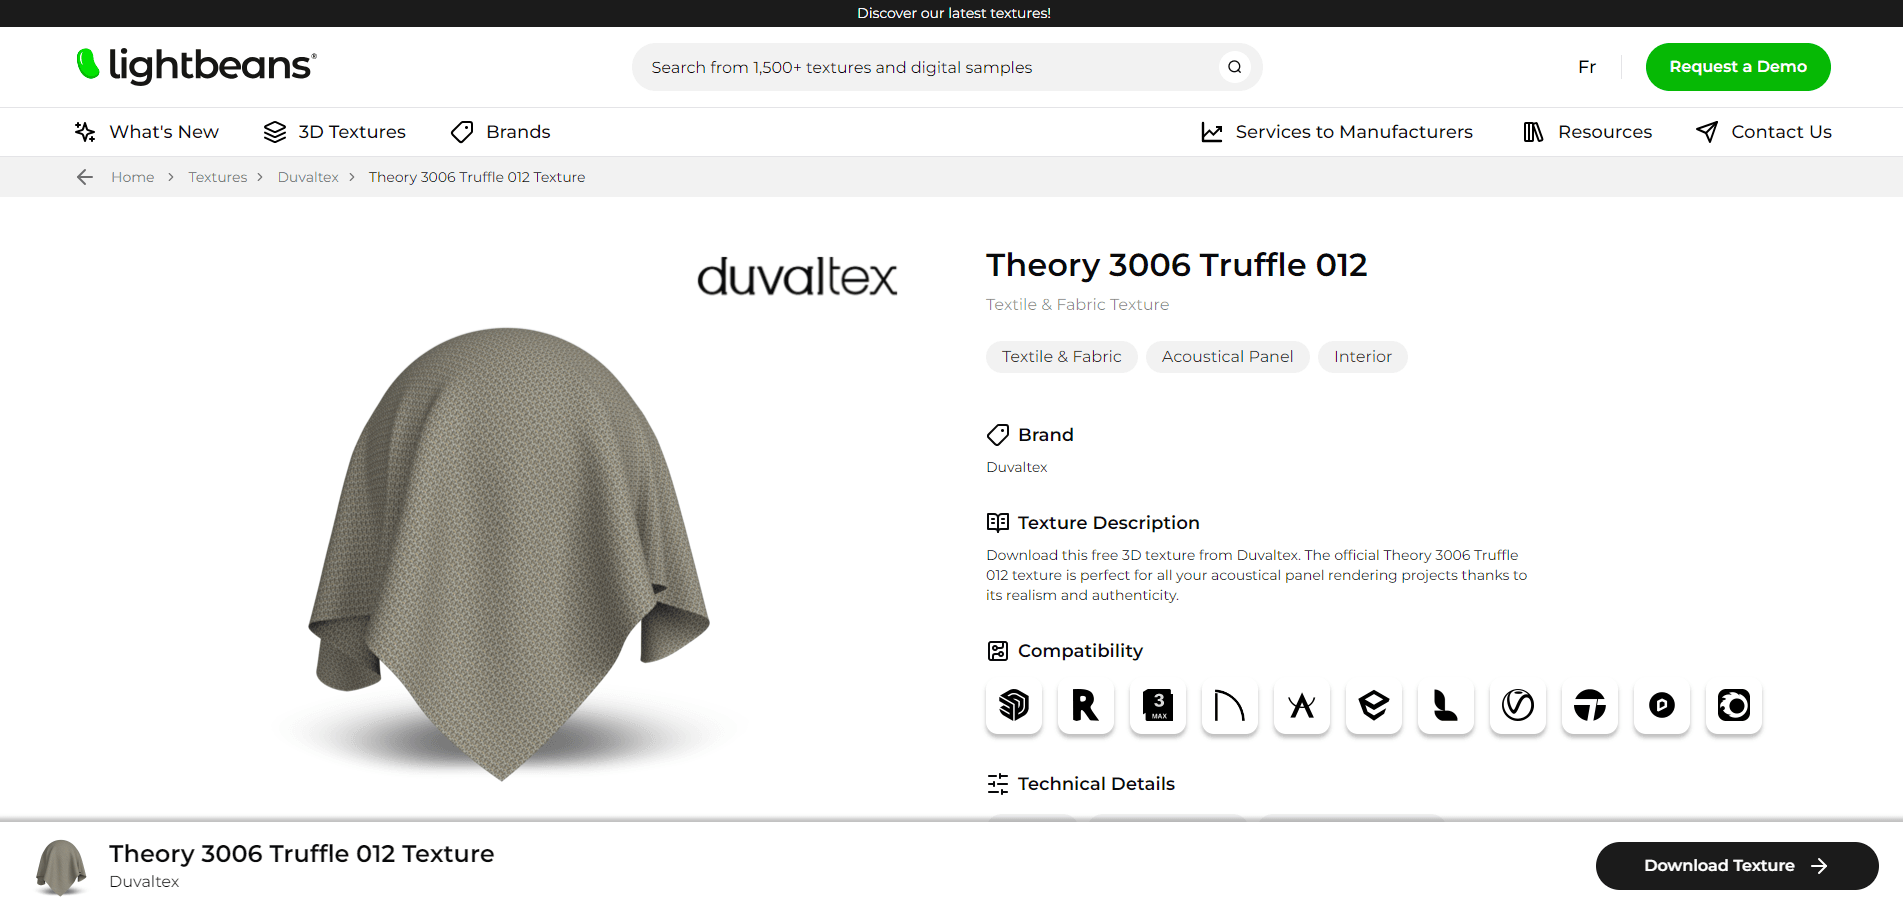
- Choose your texture. You'll see the selected texture page where you can download it.
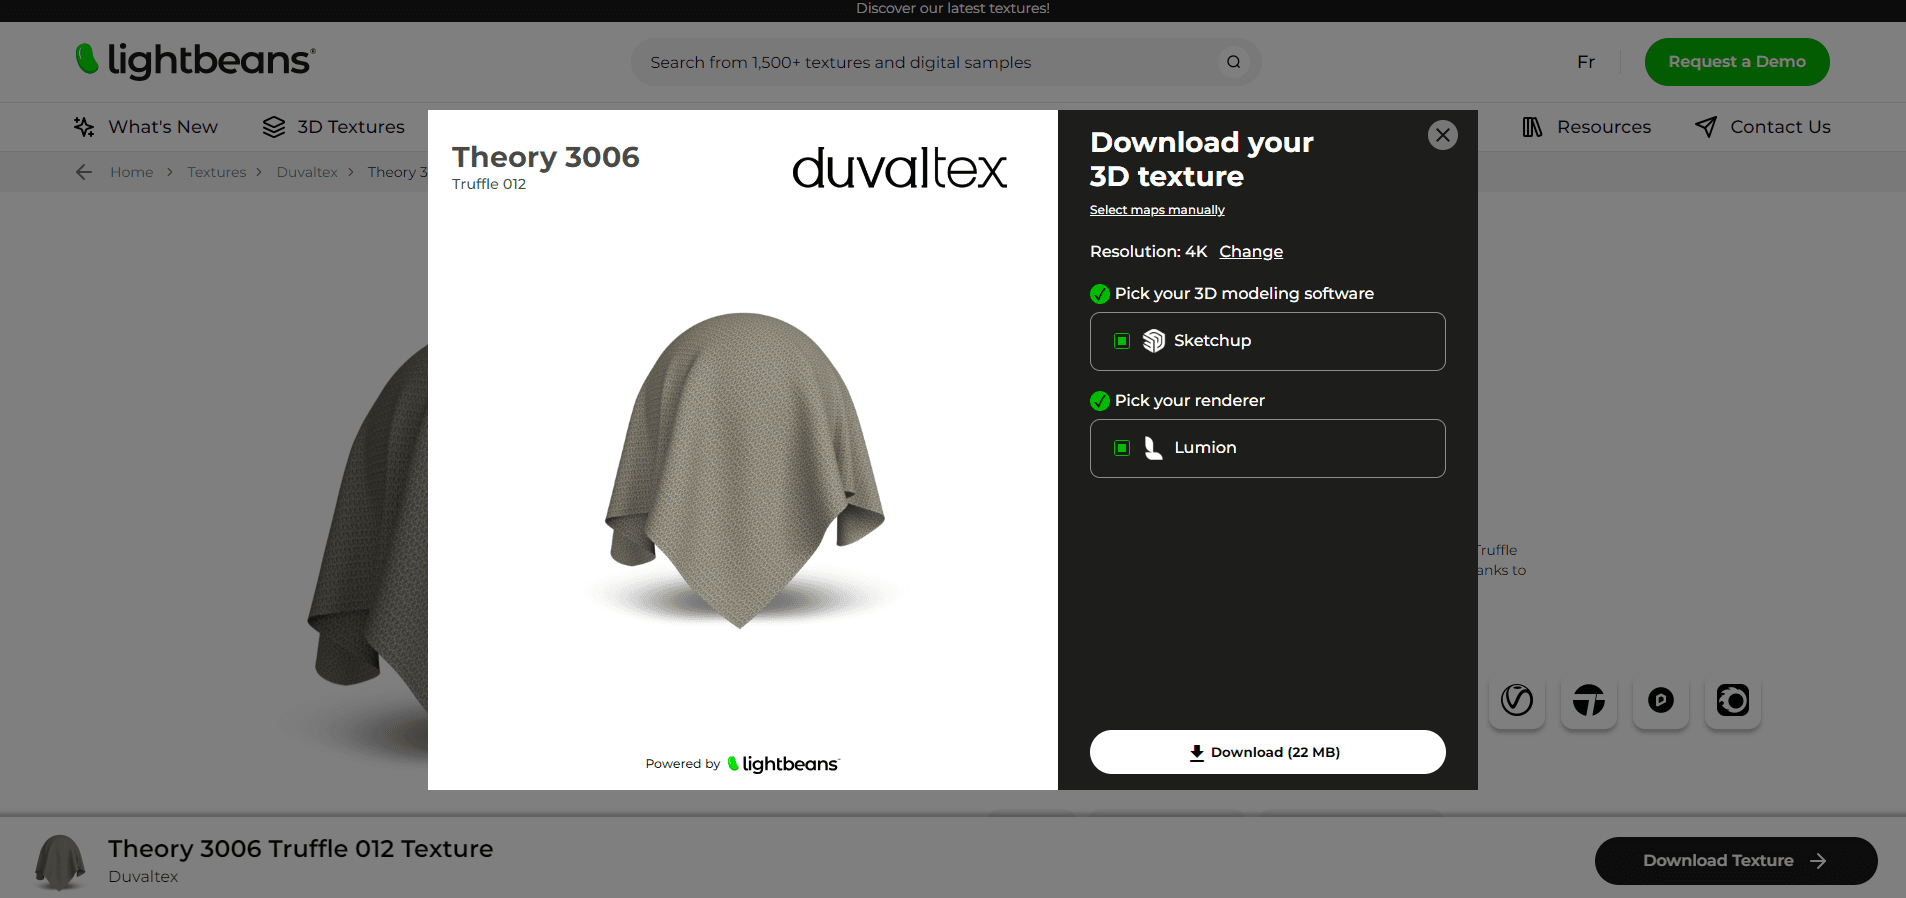
- Before downloading your texture, choose the resolution you need, the 3D modeling software you use, and the renderer. In this case, we’ll choose Lumion as your renderer. Enter your email address and click on download. That’s it!
Understanding Texture Maps in PBR
Texture maps play a crucial role in Physically Based Rendering (PBR) by simulating how real-world materials behave under different lighting conditions. Each texture map serves a unique purpose, enhancing the realism and intricacy of materials in a PBR environment.
Types of Texture Maps in PBR
| Texture Map Type | Role | Impact |
|---|---|---|
| Albedo Maps | These are all about color, showing the basic hue without any shadows or lighting. This helps keep colors consistent no matter the light. | Super important for making sure colors look right in all kinds of light. |
| Displacement Maps | These tweak the actual shape of surfaces based on grayscale values. Darker means lower, and lighter means higher. | They add real geometric details to surfaces, making them feel more textured and tactile. |
| Normal Maps | These change how surfaces appear by tweaking the surface details at a pixel level, making them look more detailed without changing the actual shape. | Great for adding complexity and detail efficiently, perfect for real-time rendering. |
| Gloss Maps | These determine how shiny or matte a surface is by adjusting how much light reflects off different parts. | They help make materials look more natural by showing how light bounces off them. |
Selecting and Applying Maps
When using PBR materials, selecting the right texture maps is crucial for achieving realistic materials that behave predictably under various lighting conditions.
Here's a guide on how to choose and apply different types of texture maps based on material properties and environmental settings:
1. Evaluate Material Characteristics
-
Reflectivity: Use darker albedo maps and metallic maps for metals; lighter, varied textures for non-metals.
-
Roughness: Adjust gloss maps based on surface finish; lower roughness values for glossy surfaces and higher for matte.
2. Select Key Texture Maps
-
Albedo Map: Set base color, choosing textures that reflect true material colors without lighting effects.
-
Normal Map: Essential for adding detail without extra polygons, suitable for textured materials like fabrics or metals.
-
Roughness Map: Manage how light reflects off surfaces, affecting texture appearance.
-
Metallic Map: Define metallic characteristics with greyscale values; metals should be highlighted.
-
Displacement Map: Use pronounced textures like stone or carved wood to enhance relief and depth.
3. Adjust Map Properties
-
Scale: Ensure maps are correctly scaled to the model to maintain realism. Note: Lightbeans provides the real-world scale in the Product metadata.txt file contained in the texture package.
-
Intensity: Modify the impact of normal or displacement maps to suit the material's visual needs.
4. Consider Environmental Effects
-
Lighting: Adapt roughness levels to match the lighting conditions.
-
Aging: Incorporate maps that mimic wear and weathering for added realism.
5. Iterate and Refine
-
Testing: Perform renders under various lighting to evaluate material appearance.
-
Iteration: Refine map settings based on test outcomes for the most realistic effect.
Setting Up Materials in Lumion
To help us in this mission, we've taken some screenshots from Nuno Gomes' tutorial Master PBR Materials in Lumion.
Using Lightbeans Textures With Lumion
Before you choose the best textures for architectural renders from the Lightbeans website, consider the following:
-
Purpose and Scale: Choose textures that align with the scale of your project. Large surfaces require high-resolution textures to prevent pixelation and maintain realism in detailed views.
-
Material Accuracy: Lightbeans textures are designed to accurately represent real-world materials, which sets them apart from many other texture libraries. This ensures your renders achieve higher authenticity and realism, enhancing the overall quality of your architectural visualizations.
-
Resolution: High-resolution textures are critical for quality, especially when your render will be viewed in detail or printed in large formats. They ensure that surfaces appear crisp and detailed, even up close.
Implementing Materials in Lumion
Open Lumion and load the project where you intend to apply the new textures. Navigate to the 'Materials' tab on the toolbar to access the material editor.
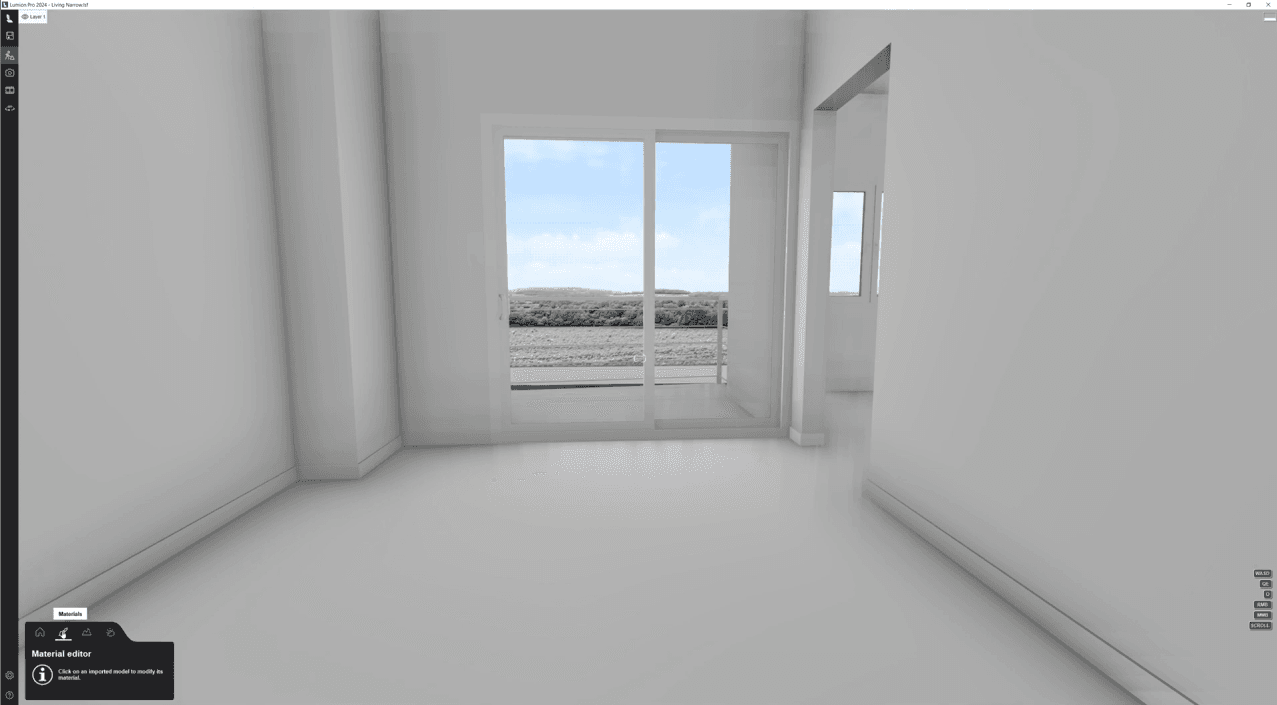
In the material editor, select the object or surface (e.g., a floor) where the new texture will be applied. This ensures that any adjustments you make will directly affect the intended area.
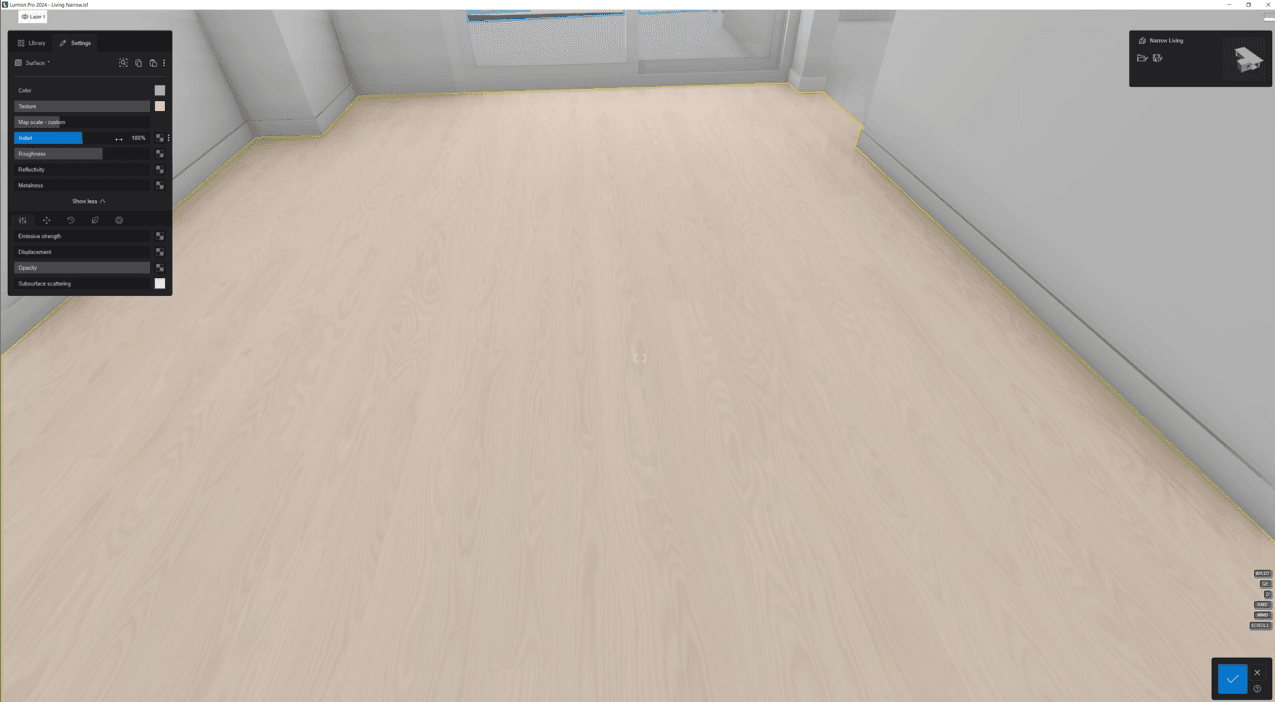
Choose the 'Standard Material' option. This selection is crucial as it allows for extensive customization necessary for PBR textures. Now import the Normal Map and flip the green channel to correct light interaction because texture sites like Lightbeans use openGL and Lumion uses DirectX.

Now, select Inverse Map to invert the Gloss Map to create a roughness map. Then, add the Reflection Map to control reflective properties.

Configuring and Fine-Tuning Texture Maps
Inside Lumion, we have the roughness map. In this case, we have a texture called gloss. It's important to note that a gloss map is essentially the opposite of a roughness map. While a roughness map has higher values indicating more roughness, a gloss map has higher values indicating more smoothness.
To invert this map inside Lumion, you just need to click the three vertical dots next to the map and click Inverse map. Leave the slider at 100%.
Final Adjustments for Maximum Realism
Now, let’s optimize the final appearance of the texture to ensure it looks natural and convincing.
To do so, we will integrate the Displacement Map to add depth to the texture. You will find the displacement map if you click the ‘Show More’ button on the first tab. This map will create some depth in the texture with the help of the normal map. Just load it. Then, fiddle with the slider until you don’t see much distortion.

Now, carefully adjust the depth intensity to avoid an exaggerated appearance, which can make it less realistic.
Enhancing Material Realism
Add the final touches to your materials to enhance their appearance and integration into the scene.
Translucent Materials
Translucent materials can create realistic effects in objects like curtains, lampshades, vegetation, and marble. These materials allow light to pass through them revealing intricate details and contributing to the overall atmosphere of the scene.
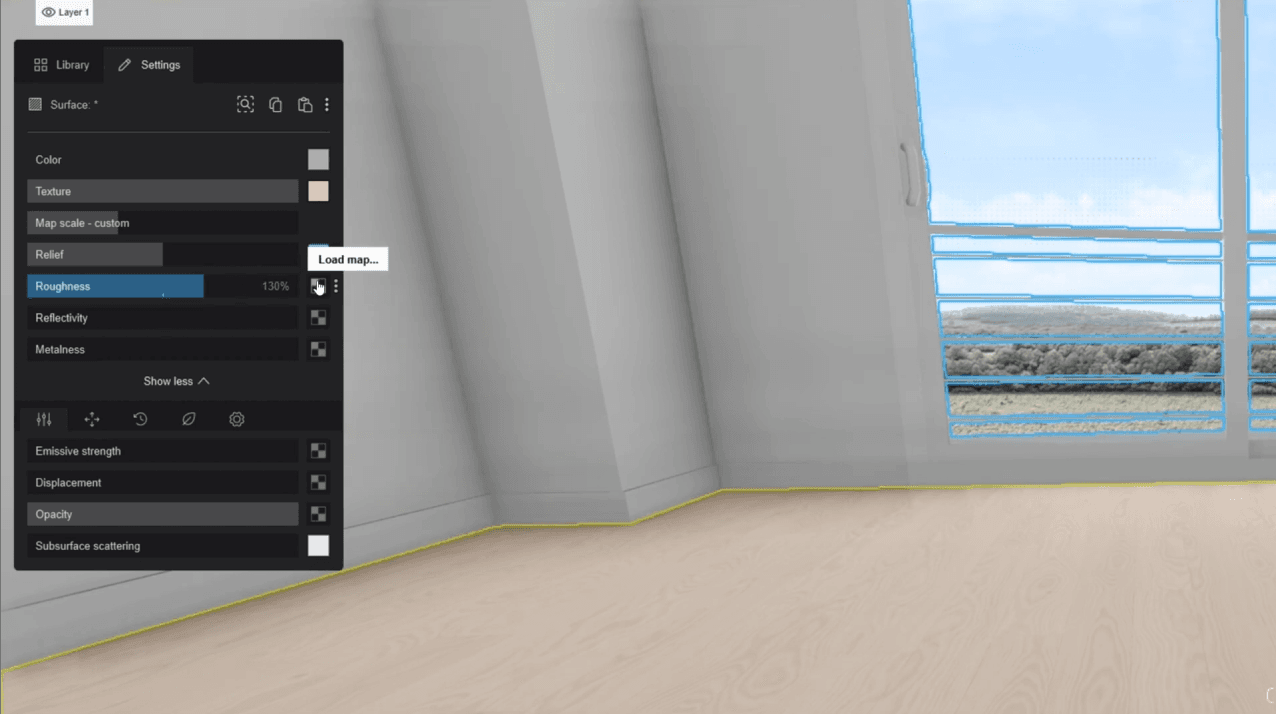
Lighbeans offers an extensive selection of fabrics from different manufacturers like Duvaltex, Feltkutur, and Venture Carpets, among other designer-grade providers perfect for simulating realistic materials. To start, navigate to the 'Material Library' and choose the 'Fabrics' category. If you downloaded your textures correctly from Lightbeans, you'll find the textures there
Once you've chosen your curtain material, double-click to edit its properties, focusing particularly on opacity and subsurface scattering. Initially, you might set the opacity to 100% to render the curtain completely opaque, blocking all light. However, adjusting the subsurface scattering allows you to simulate light filtering through the fabric.
For a subtle effect, try setting subsurface scattering to around 30% with a gray color; this allows the curtain to softly diffuse light, making it appear more natural.

Closing thoughts
Now that everything's said and done let's look ahead and speculate on what Lumion will likely do in the future.
Future updates might include:
-
Advanced AI-Driven Tools: Lumion may integrate more AI-based features to automate and refine the texturing process, making it easier to achieve photorealistic results with less manual tweaking.
-
Improved Real-Time Rendering: As hardware capabilities increase, Lumion could offer even more powerful real-time rendering options, allowing for instant feedback and faster iteration during the design process.
-
Enhanced Texture Resolution Management: To help manage the often resource-intensive nature of high-resolution textures, Lumion might introduce smarter compression techniques or resolution scaling options that maintain visual fidelity without compromising performance.
Broader Library of PBR Materials: Expect Lumion to expand its built-in library of PBR materials, providing users with a wider variety of realistic and easy-to-customize ready-to-use options.
Additional Resources
For further details on Lumion’s material system, refer to Lumion's official documentation: Lumion – Standard Material Properties Guide
Need some help? Contact our team at info@lightbeans.com
Check Out Our Library
Lightbeans offers an impressive array of textures that will give you a hand in your design and architecture projects.
View the Library