How to Integrate Lightbeans' Realistic PBR Materials Into Enscape
Learn how to use Lightbeans textures in Enscape with this guide.
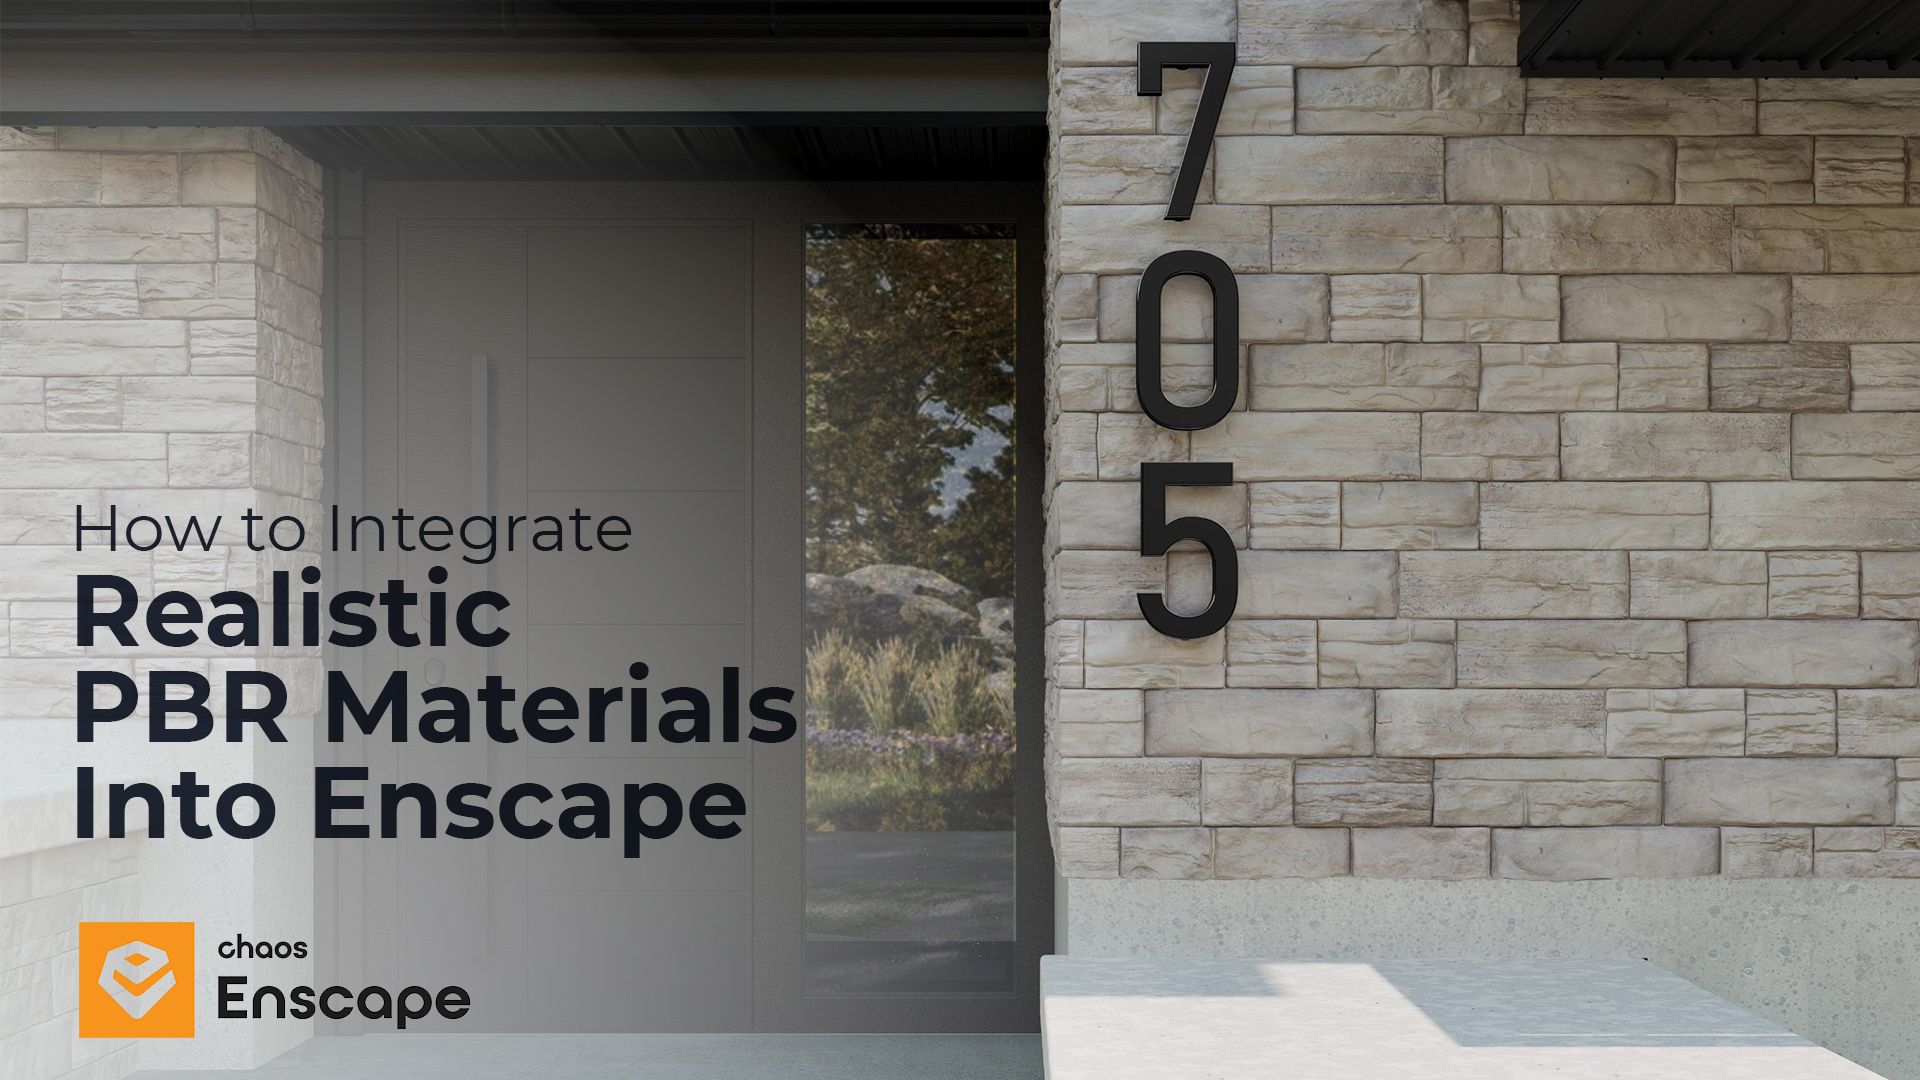
The global visualization and 3D rendering software market, which includes tools like Enscape, was valued at USD 4.4 billion in 2023 and is expected to grow at a compound annual growth rate (CAGR) of 25% from 2024 to 2032. This rapid growth shows there's a huge demand for advanced visualization tools. It's the perfect moment to dive into or expand your 3D visualization offerings and take advantage of this trend.
With the vast offer of visualization and rendering software, it could be easy to get caught up in the tech lust for realism, but not every tool handles PBR materials --or at least not as well as clients have come to expect.
By adopting Physically Based Rendering (PBR) materials, your projects achieve new levels of photorealism, captivating clients with lifelike visuals. The seamless integration of Lightbeans' rich material library into Enscape simplifies this process, offering a wide range of high-quality textures easily accessible to your designs.
Mastering PBR is not just about staying afloat in the competitive market; it's about soaring above and ensuring your work meets and exceeds industry standards.
A Quick Look at Enscape
Enscape 3.5 is an essential tool for architects and interior designers. It offers significant enhancements that bridge the gap between design and visualization.
This new version introduces real-time rendering, a feature that lets you see changes to your design immediately, enhancing your workflow efficiency. It also includes VR support, enabling you to experience your design in a fully immersive virtual environment, which can be a powerful tool for client presentations and design reviews. Enscape 3.5 also seamlessly integrates with major design software, such as Revit, SketchUp, Archicad, Rhino, and Vectorworks.
Key updates include adjustable assets, which allow you to customize the appearance of objects in your scene, enhancing your design flexibility. The improved global illumination feature provides more realistic lighting and reflections, enhancing the overall visual quality of your renders. Enscape 3.5 also introduces realistic digital humans, which can add a human scale and context to your designs.
Why Use PBR?
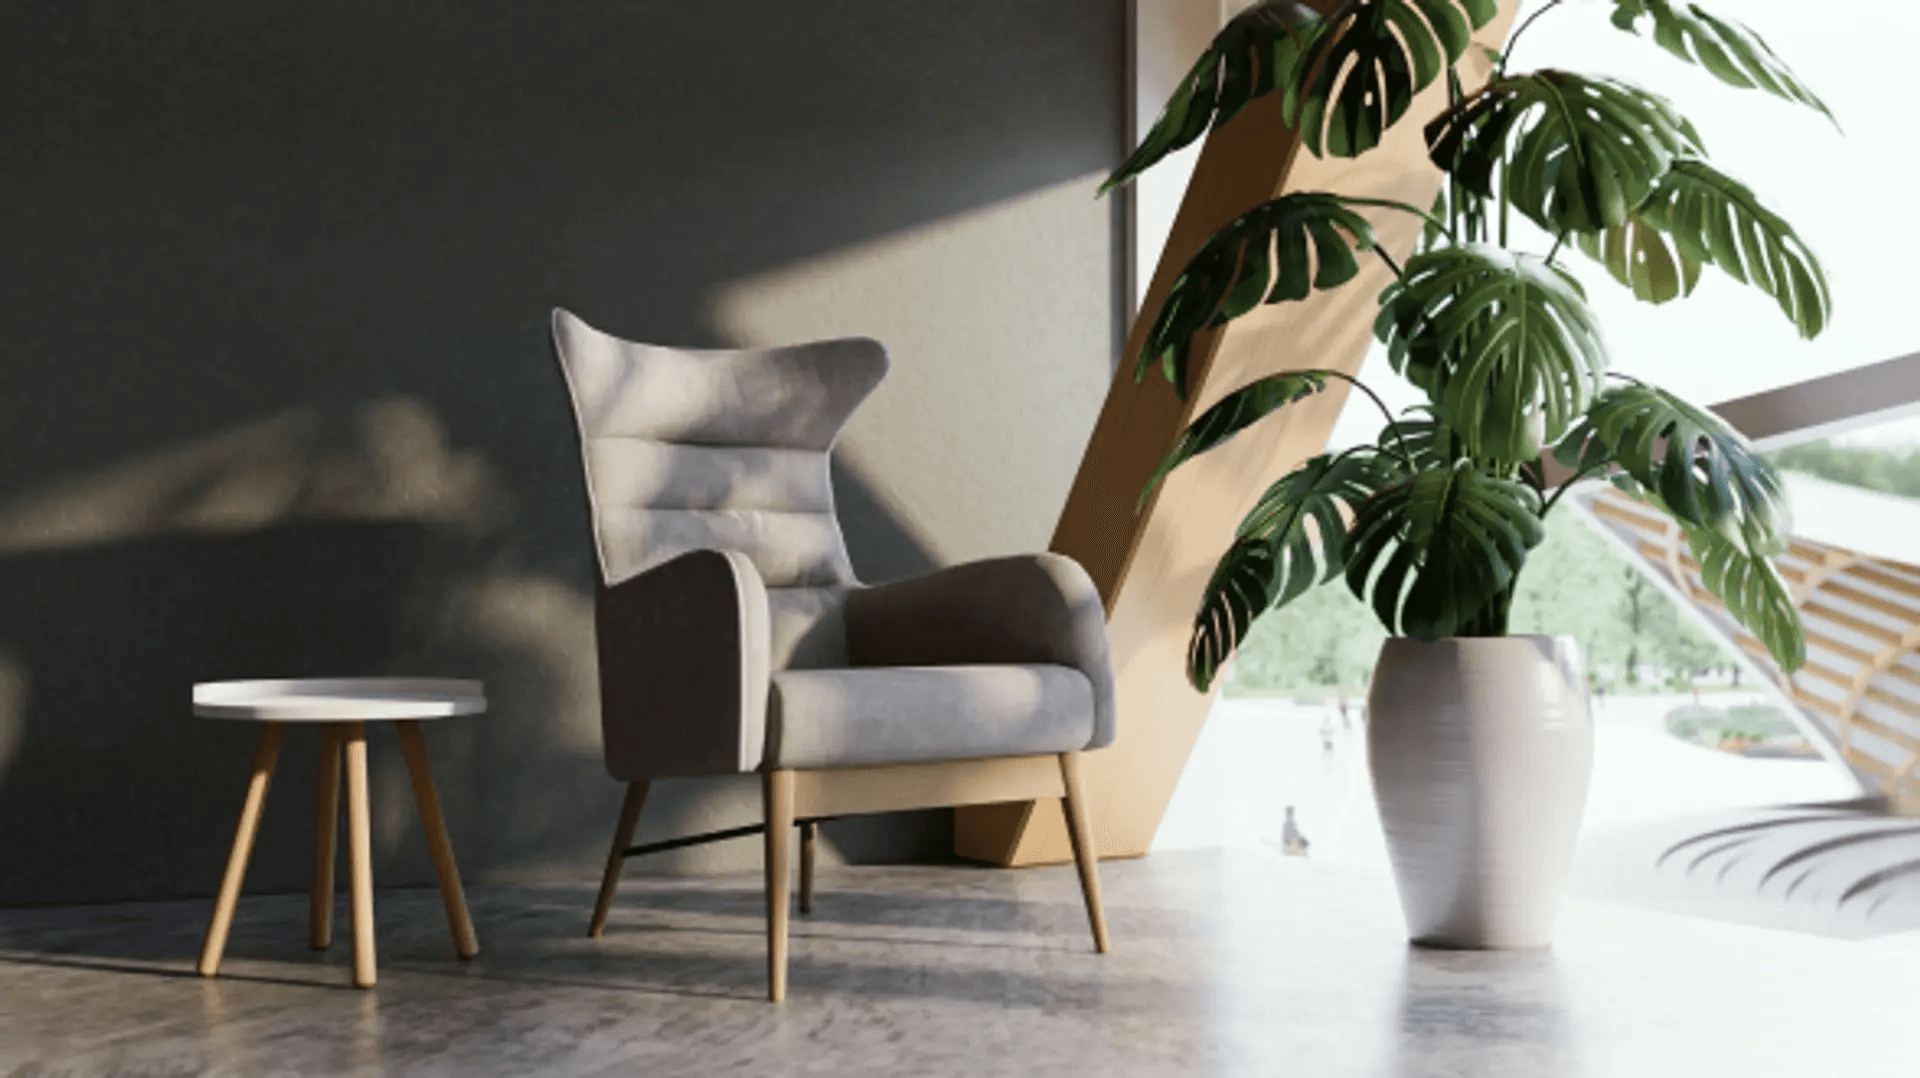
PBR is a rendering technique that simulates the interaction of light with materials in a physically accurate way, resulting in more realistic and consistent visual effects. Incorporating Physically Based Rendering (PBR materials) into your workflow isn't just a technical upgrade; it's a strategic move that enhances your ability to deliver stunning, realistic designs.
-
Realism Like Never Before: Realism is crucial in 3D visualizations for architecture and interior design because it bridges the gap between concept and reality, helping clients and stakeholders fully understand and appreciate your vision. Imagine working on a project with varying lighting conditions; PBR materials adapt seamlessly, making every scene look naturally beautiful, whether bathed in sunlight or illuminated by artificial light.
-
Stunning Visual Quality: PBR materials provide unmatched detail and depth. The 'depth' in this context refers to the perception of three-dimensionality in a two-dimensional image, which is achieved through texture maps like the normal and displacement maps. Multiple texture maps (albedo, normal, roughness, metallic) create rich, detailed surfaces. Imagine a client mistaking a render for a photograph because of the intricate wood grain and subtle imperfections on metal surfaces. The normal and displacement maps add such realistic depth that they bring the entire design to life.
-
Better Workflows: With PBR materials, you can streamline your workflow, saving valuable time and effort. Think about the hours you used to spend adjusting materials for different platforms---PBR eliminates that hassle. The consistent appearance across rendering engines means less tweaking and more reliable results, making collaborations and handovers smoother.
-
Versatility and Future-Proofing: PBR materials are versatile and integrate seamlessly into various visual fields, including games, VR, and traditional renders. If you're creating VR experiences, PBR makes a significant difference. Whether using PBR materials in residential interiors or complex VR environments, the results are always impressive. By mastering PBR, you stay ahead of industry trends, open up new opportunities, and make your work stand out.
How to Choose The Best PBR Materials
Choosing the right PBR materials is crucial for achieving the desired level of realism in your projects. For this example, we'll use wood from Lightbeans.
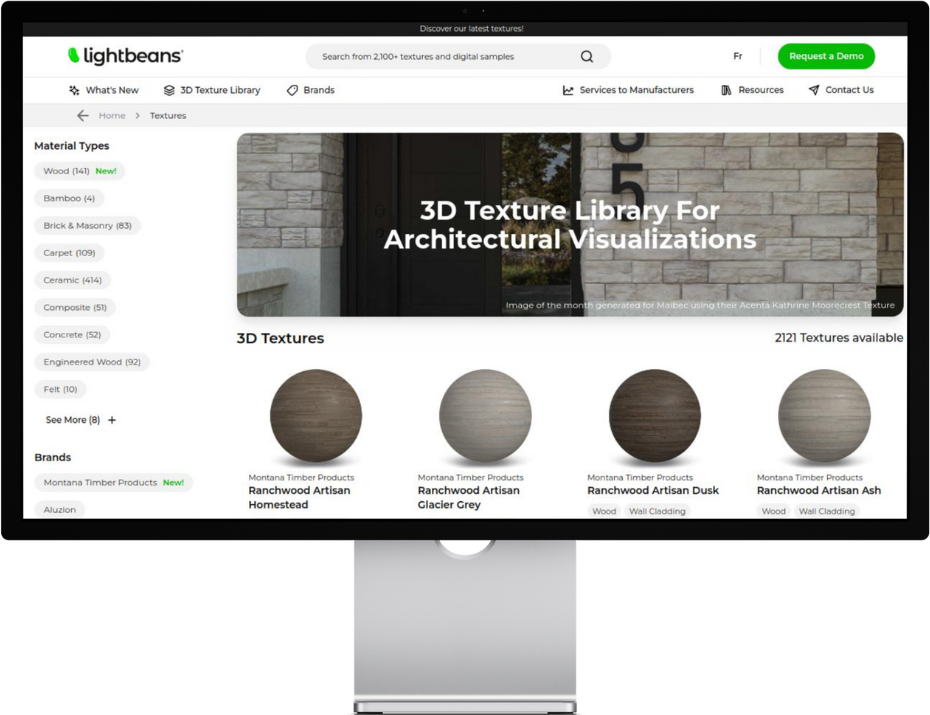
Lightbeans provides high-quality PBR and seamless textures for both interior and exterior projects. Their materials come from local suppliers and manufacturers across North America, ensuring authenticity and diversity in your designs. The textures are available for direct download and are free to use.
- Search and Select: Go to Lightbeans' texture library, type "wood" in the search bar, and select a material. You could choose Vendôme Lannoy by Ciot Legno, for example. Our extensive library makes it easy to find precisely what you need.
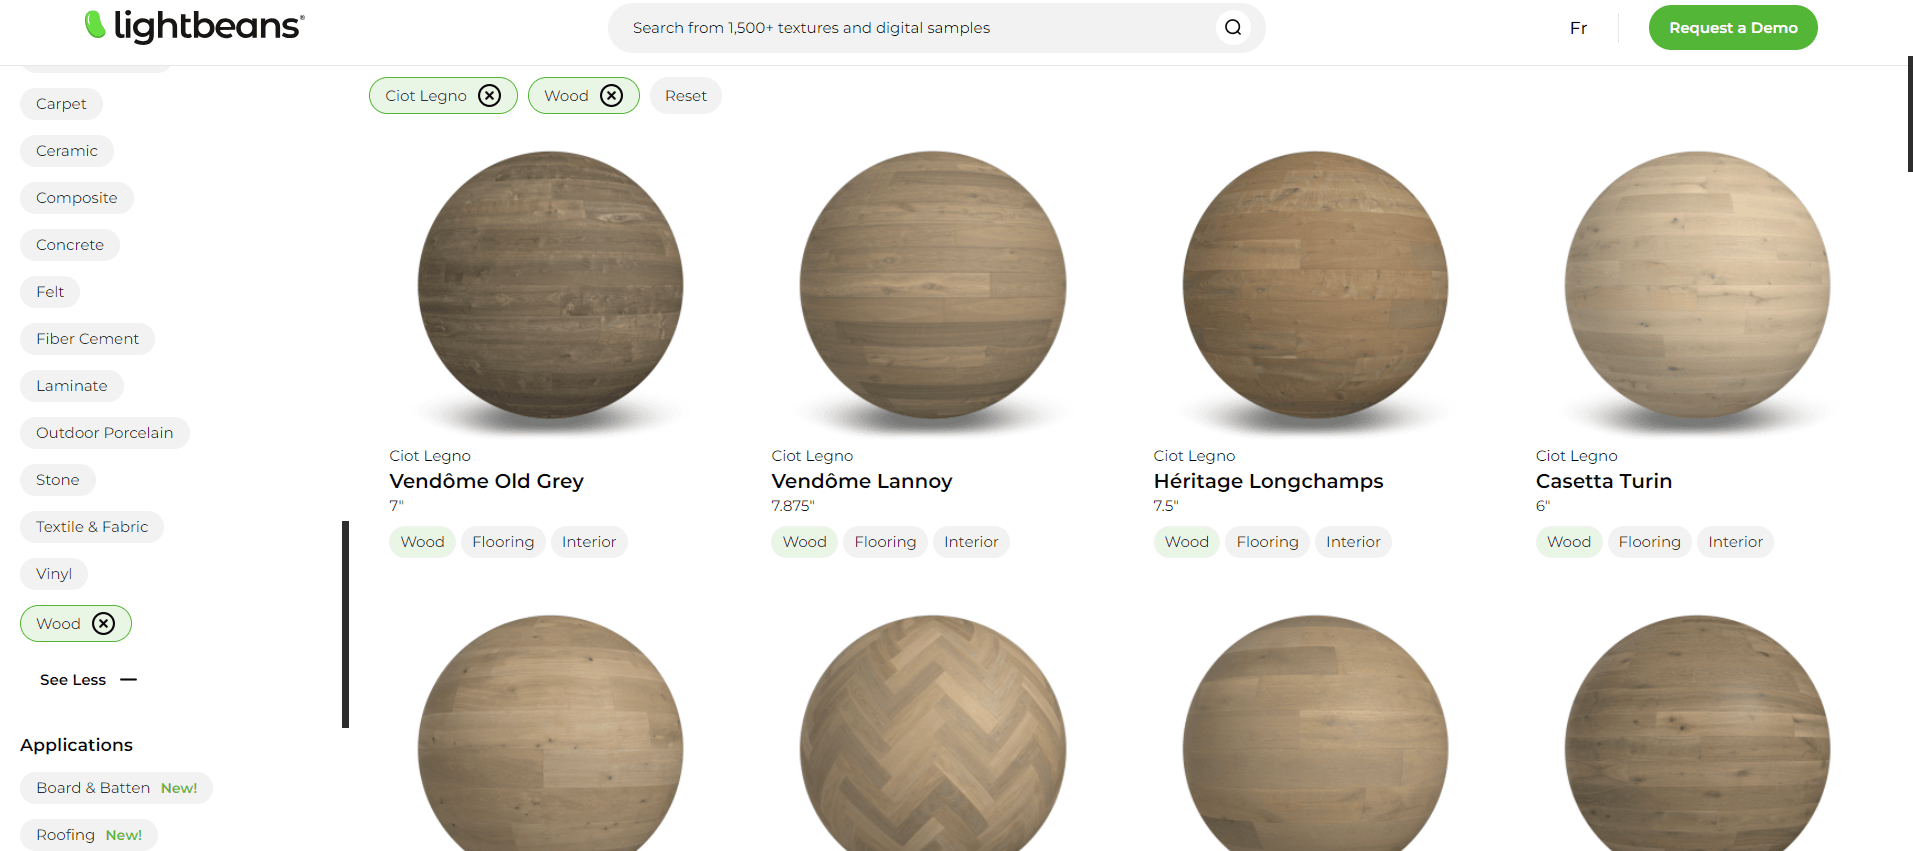
- Download Options: Choose the appropriate resolution based on your project needs. Higher resolutions are ideal for close-up renders, while lower resolutions can save resources for broader views. Select the 3D modeling software and your renderer to ensure compatibility.
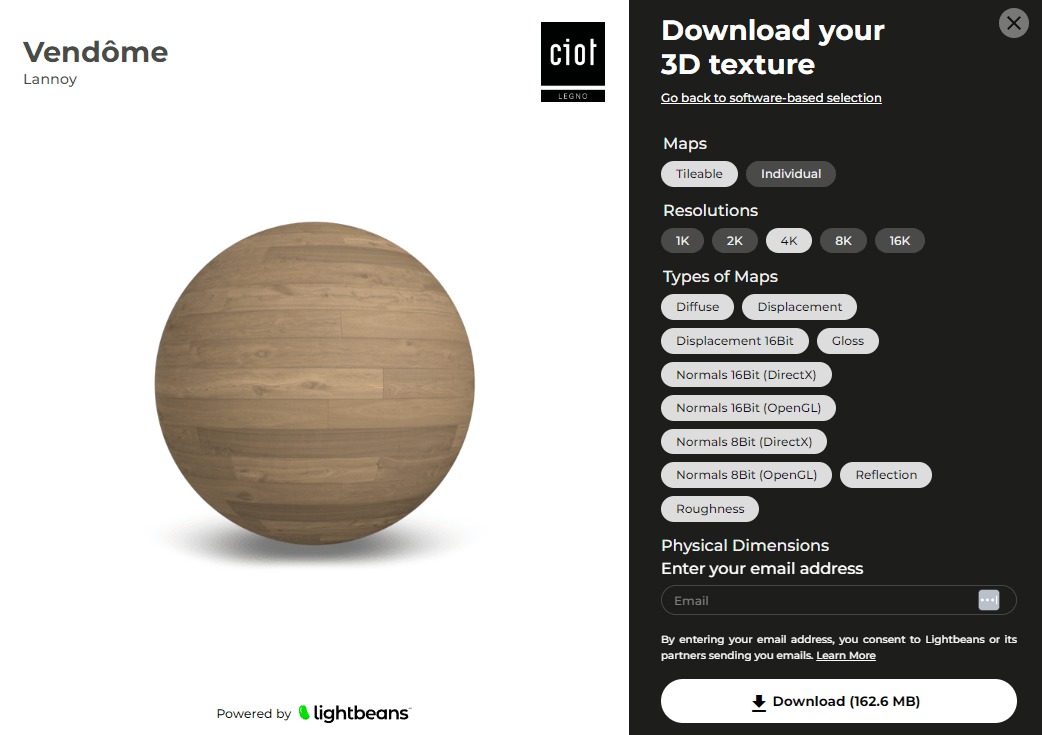
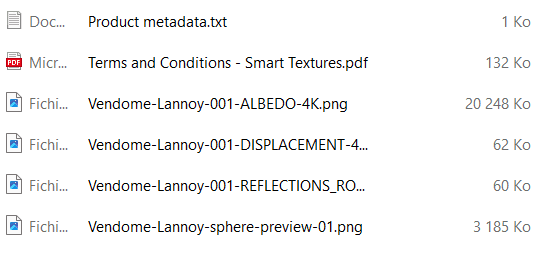
- Preparing the Materials: Once downloaded, the material file will include various textures such as color, displacement, normal map, and roughness map. These textures are essential for creating a realistic look. Ensure all maps are correctly applied in your rendering software to achieve the best results.
Organizing Your Materials Library
Efficiently organizing your materials library can supercharge your rendering process and save you a ton of time. Imagine having all your textures at your fingertips, sorted neatly into categories like metal, wood, and concrete. No more scrambling to find that perfect texture in the middle of a project! Create subfolders within each category to make navigation even smoother.
Need a visual guide? Check out Melos Azemi's fantastic tutorial, "How to Create Realistic PBR Materials in Enscape." It's packed with step-by-step instructions and images showing how to organize your materials library.
Trust us, a well-organized library is a game-changer.
Importing into SketchUp
Now, let's get these materials into SketchUp:
- Create Material: Open SketchUp, go to Materials and click the Enscape Material Editor plus icon to create a new material.
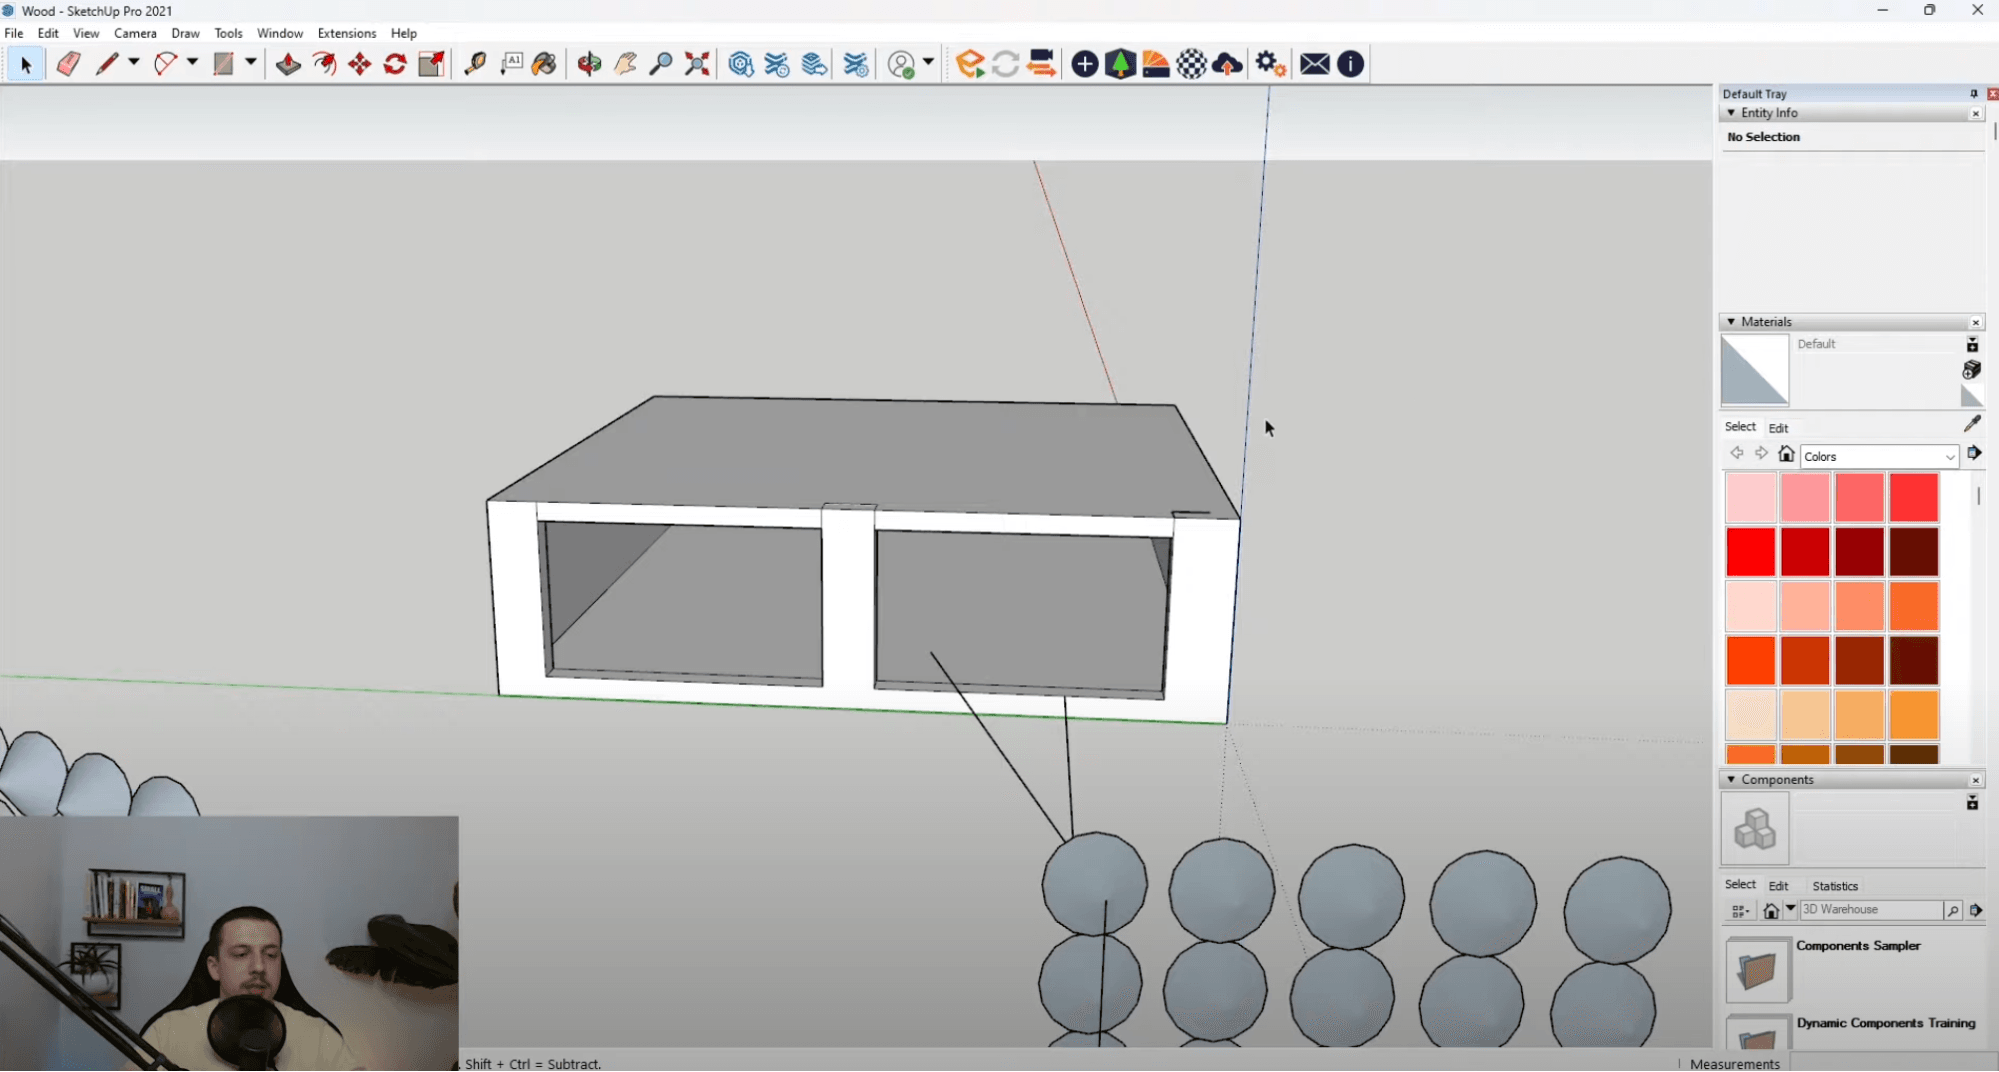
Image from Melos Azemi's PBR materials with Enscape Video Tutorial.
-
Open Enscape Material Editor: Make sure you have the Enscape toolbar active.
-
Load Texture: Click the folder icon to browse and select the color texture (Albedo or Diffuse map) from your folder.
Pro tip: Remember there are three things you can do before you move on to the rest of the maps. Ensure I have the correct material size, see if you don't need to tweak the material's color, and double-check the positioning .Lightbeans provides the exact size of the material to be entered into Enscape in the texture's Product metadata.txt file.
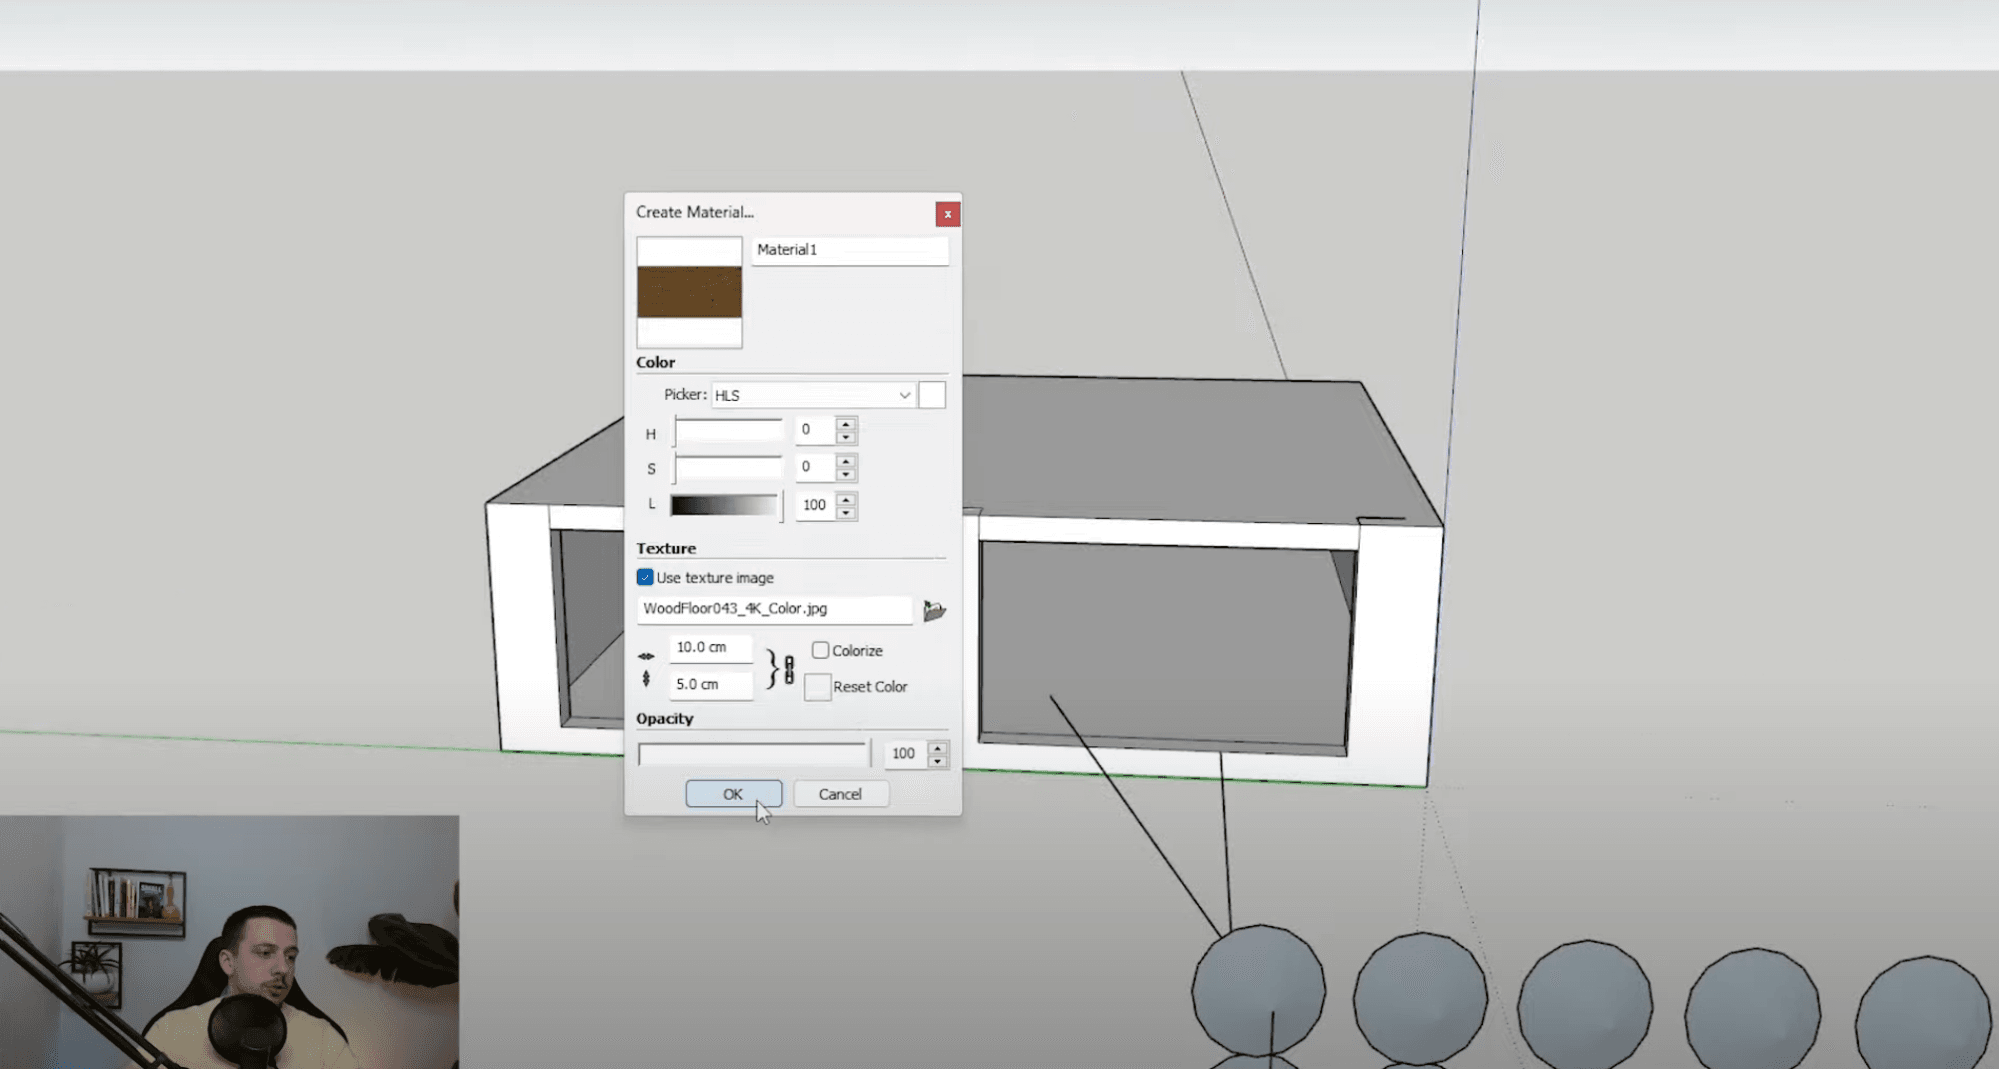
Image from Melos Azemi's PBR materials with Enscape Video Tutorial.
- Apply Material: Apply the material to your model.
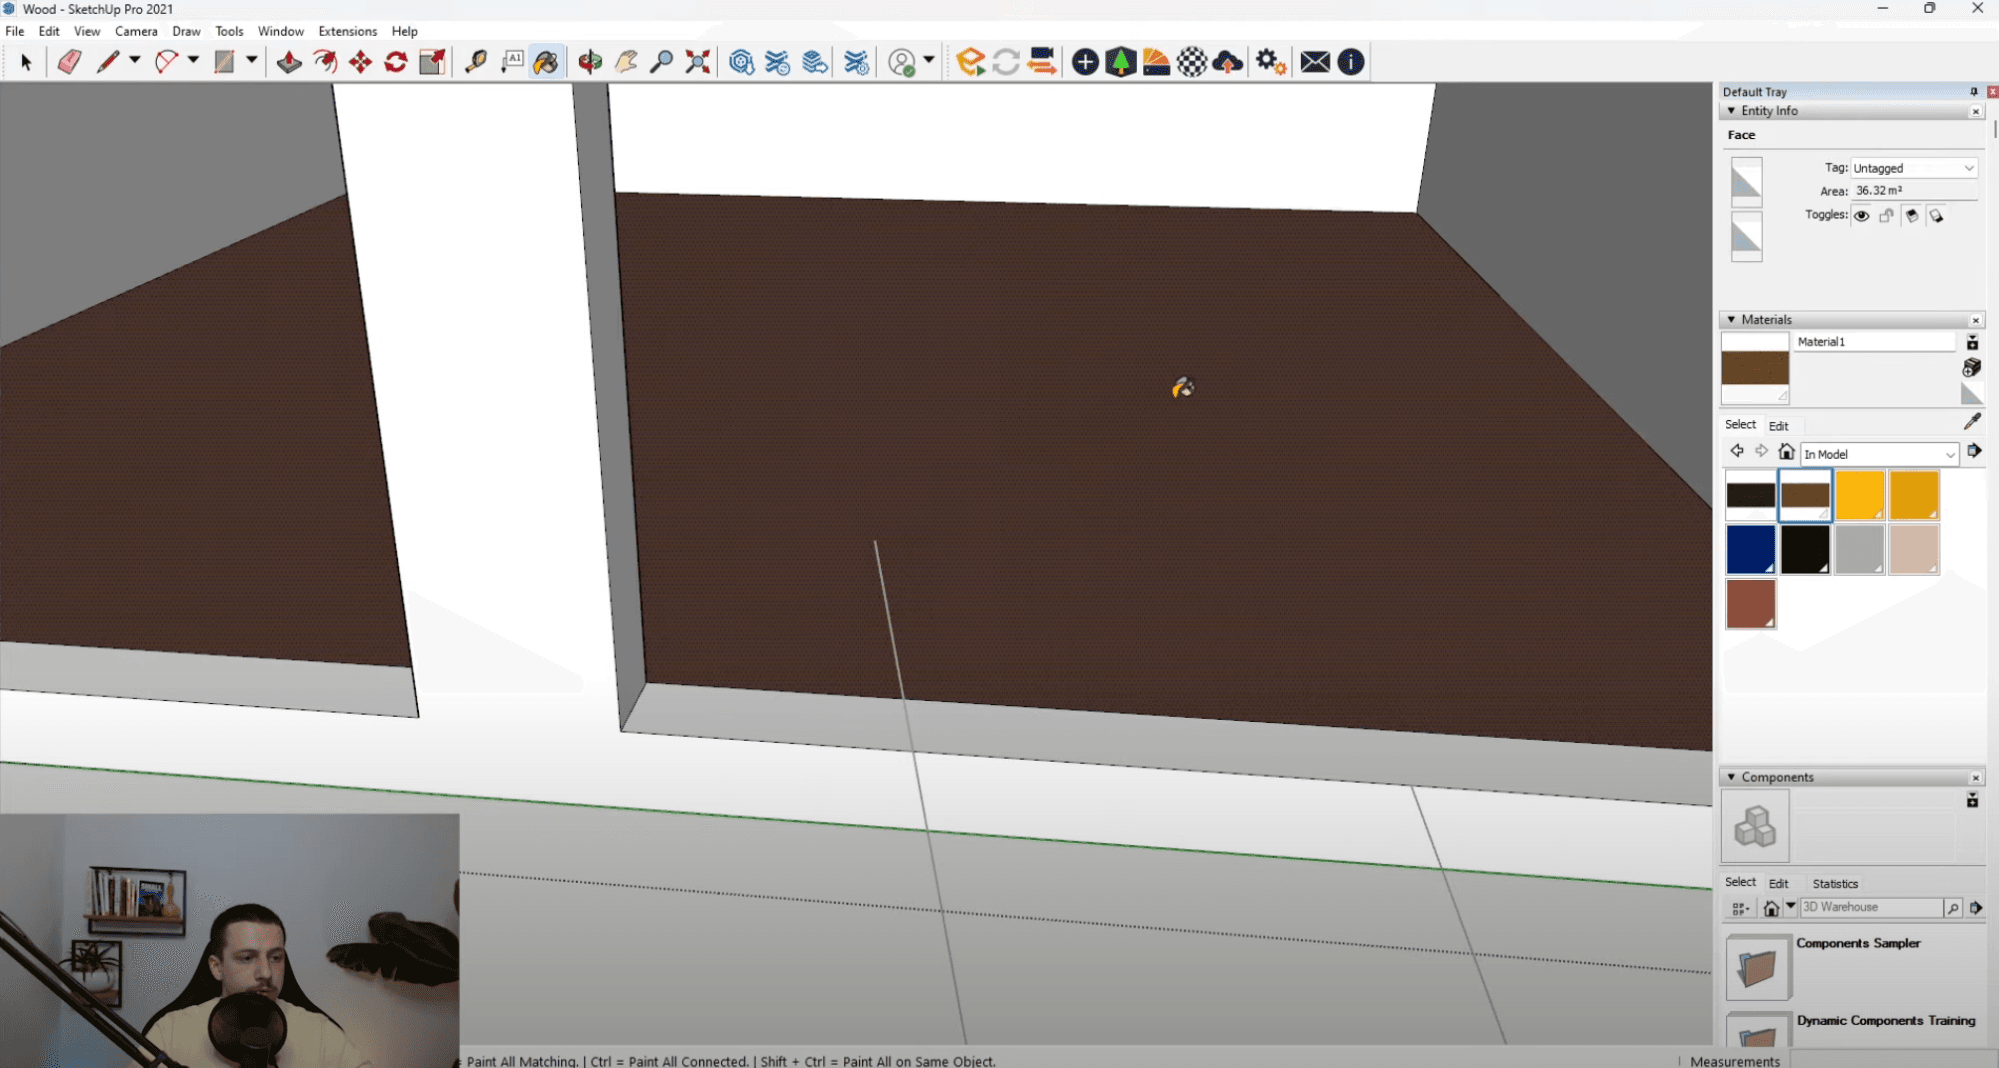
Image from Melos Azemi's PBR materials with Enscape Video Tutorial.
Configuring in Enscape
Time to make those materials pop in Enscape!
- Open Enscape Material Editor: Select the texture you want to edit.
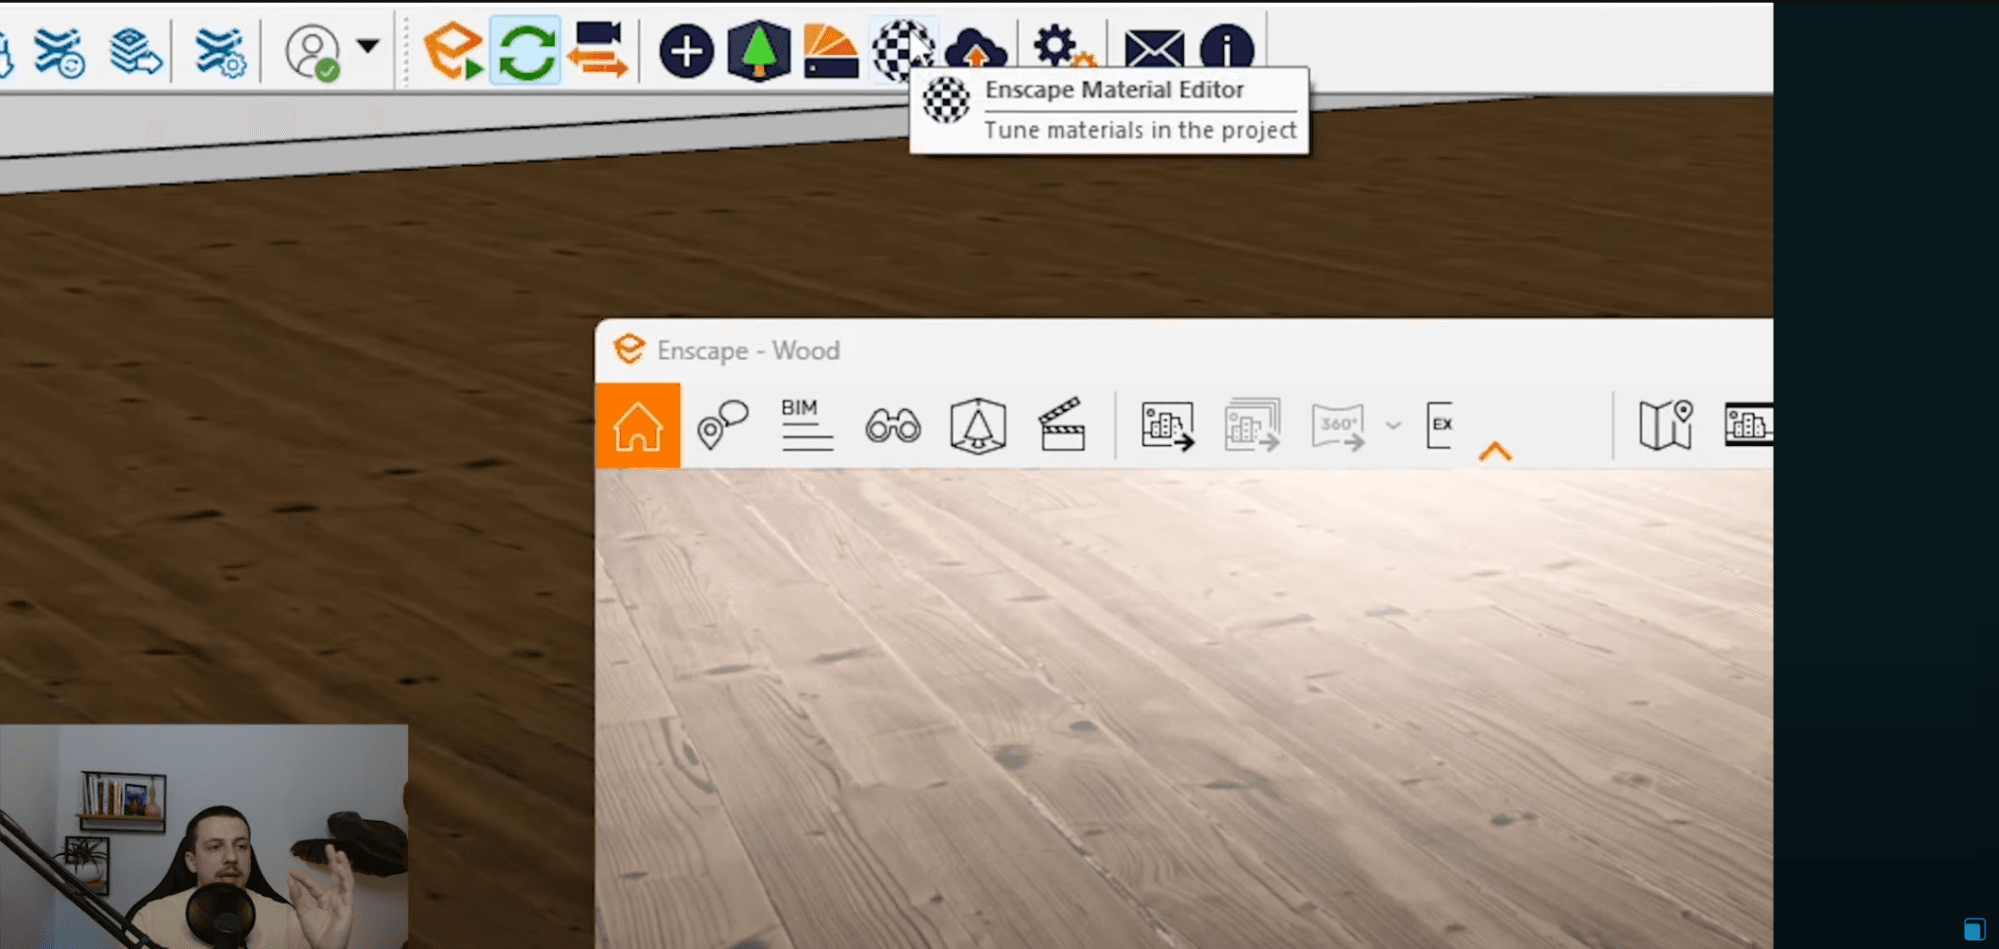
Image from Melos Azemi's PBR materials with Enscape Video Tutorial.
- Configure Albedo: Set the Albedo section correctly. Adjust the image fade if necessary.
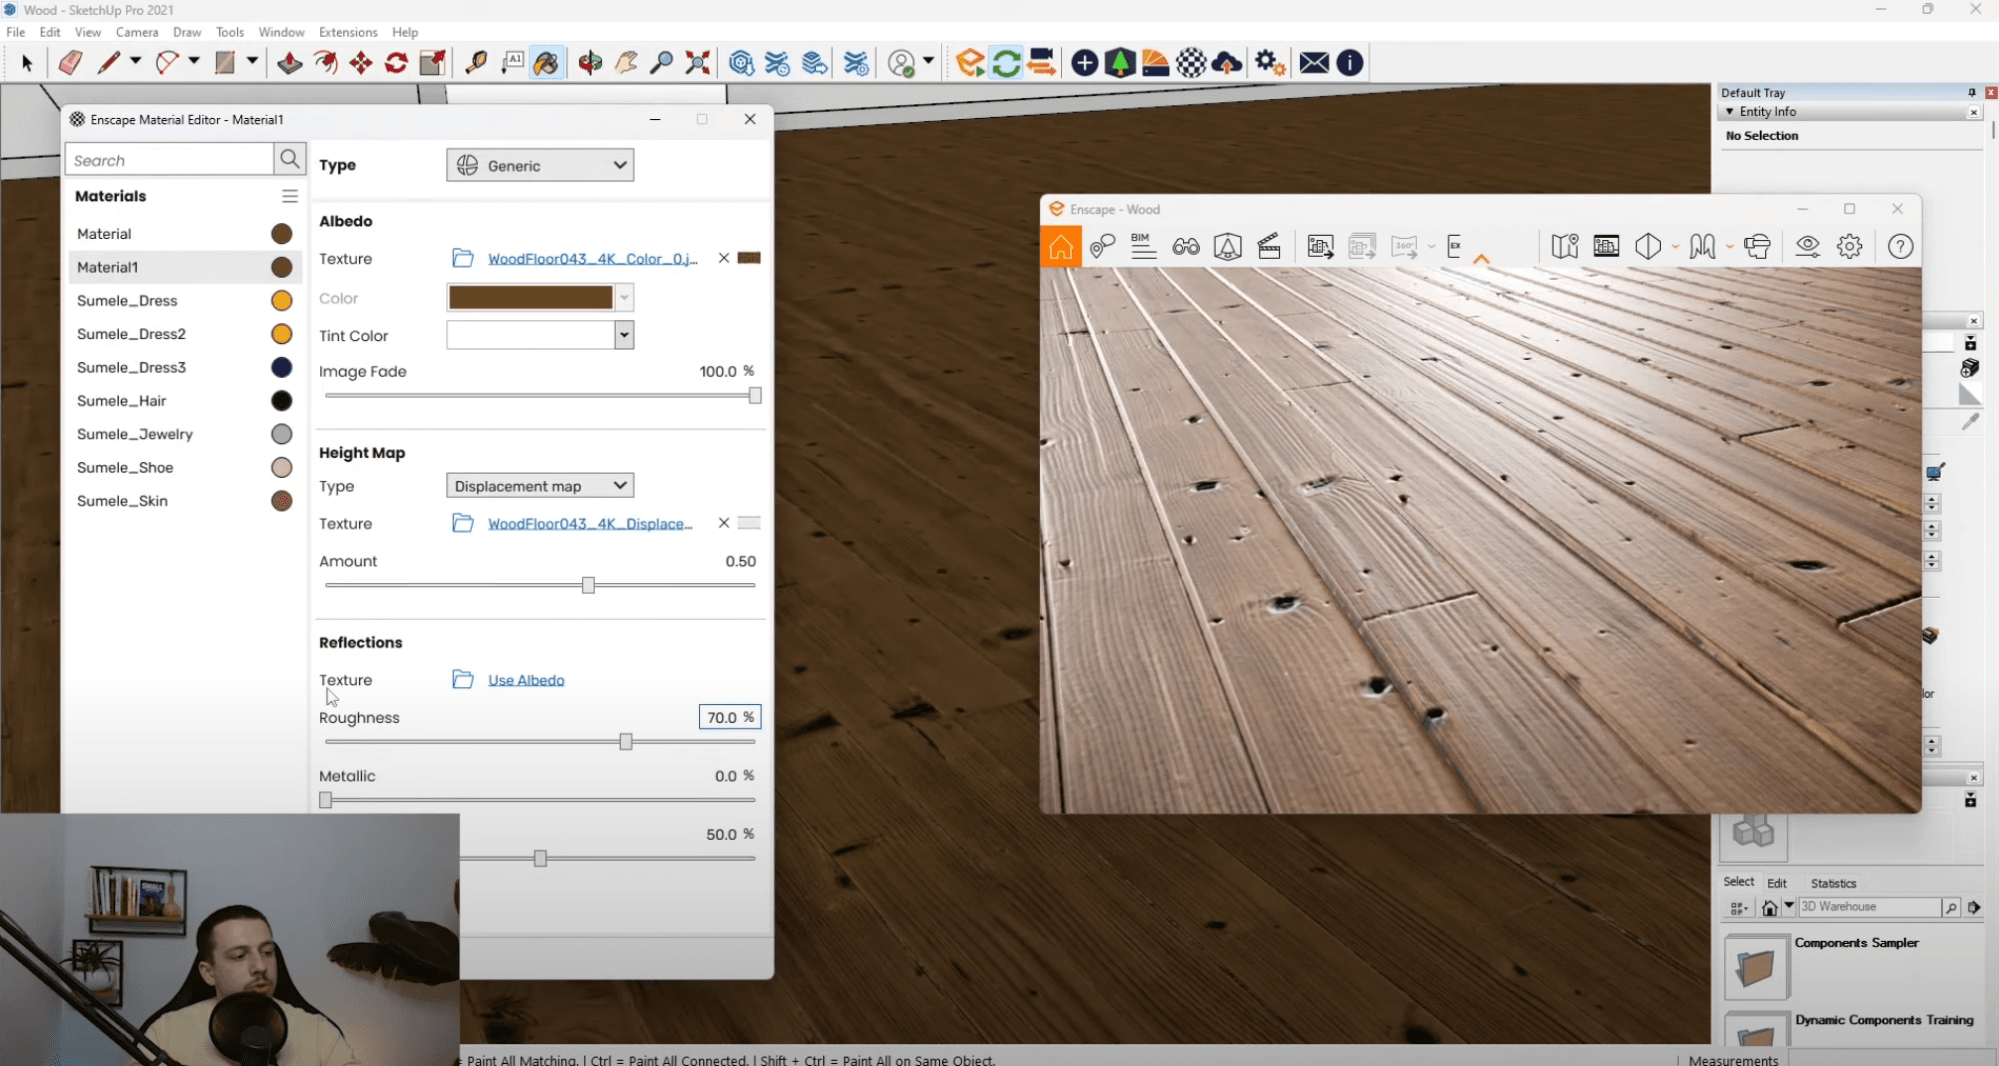
Image from Melos Azemi's PBR materials with Enscape Video Tutorial.
- Add a Height Map. Enscape only lets you import one of the following height maps:
-
Bump Map: Used for small-scale details and textures, effective for adding simple surface detail without altering geometry.
-
Normal Map: Used for more complex and accurate surface detail, providing better light interaction and texture fidelity.
-
Displacement Map: A 'displacement map' is a type of texture map that modifies the geometry of a 3D model, creating real depth and relief. It's used for significant surface variations, such as the roughness of a brick wall or the smoothness of a glass surface.
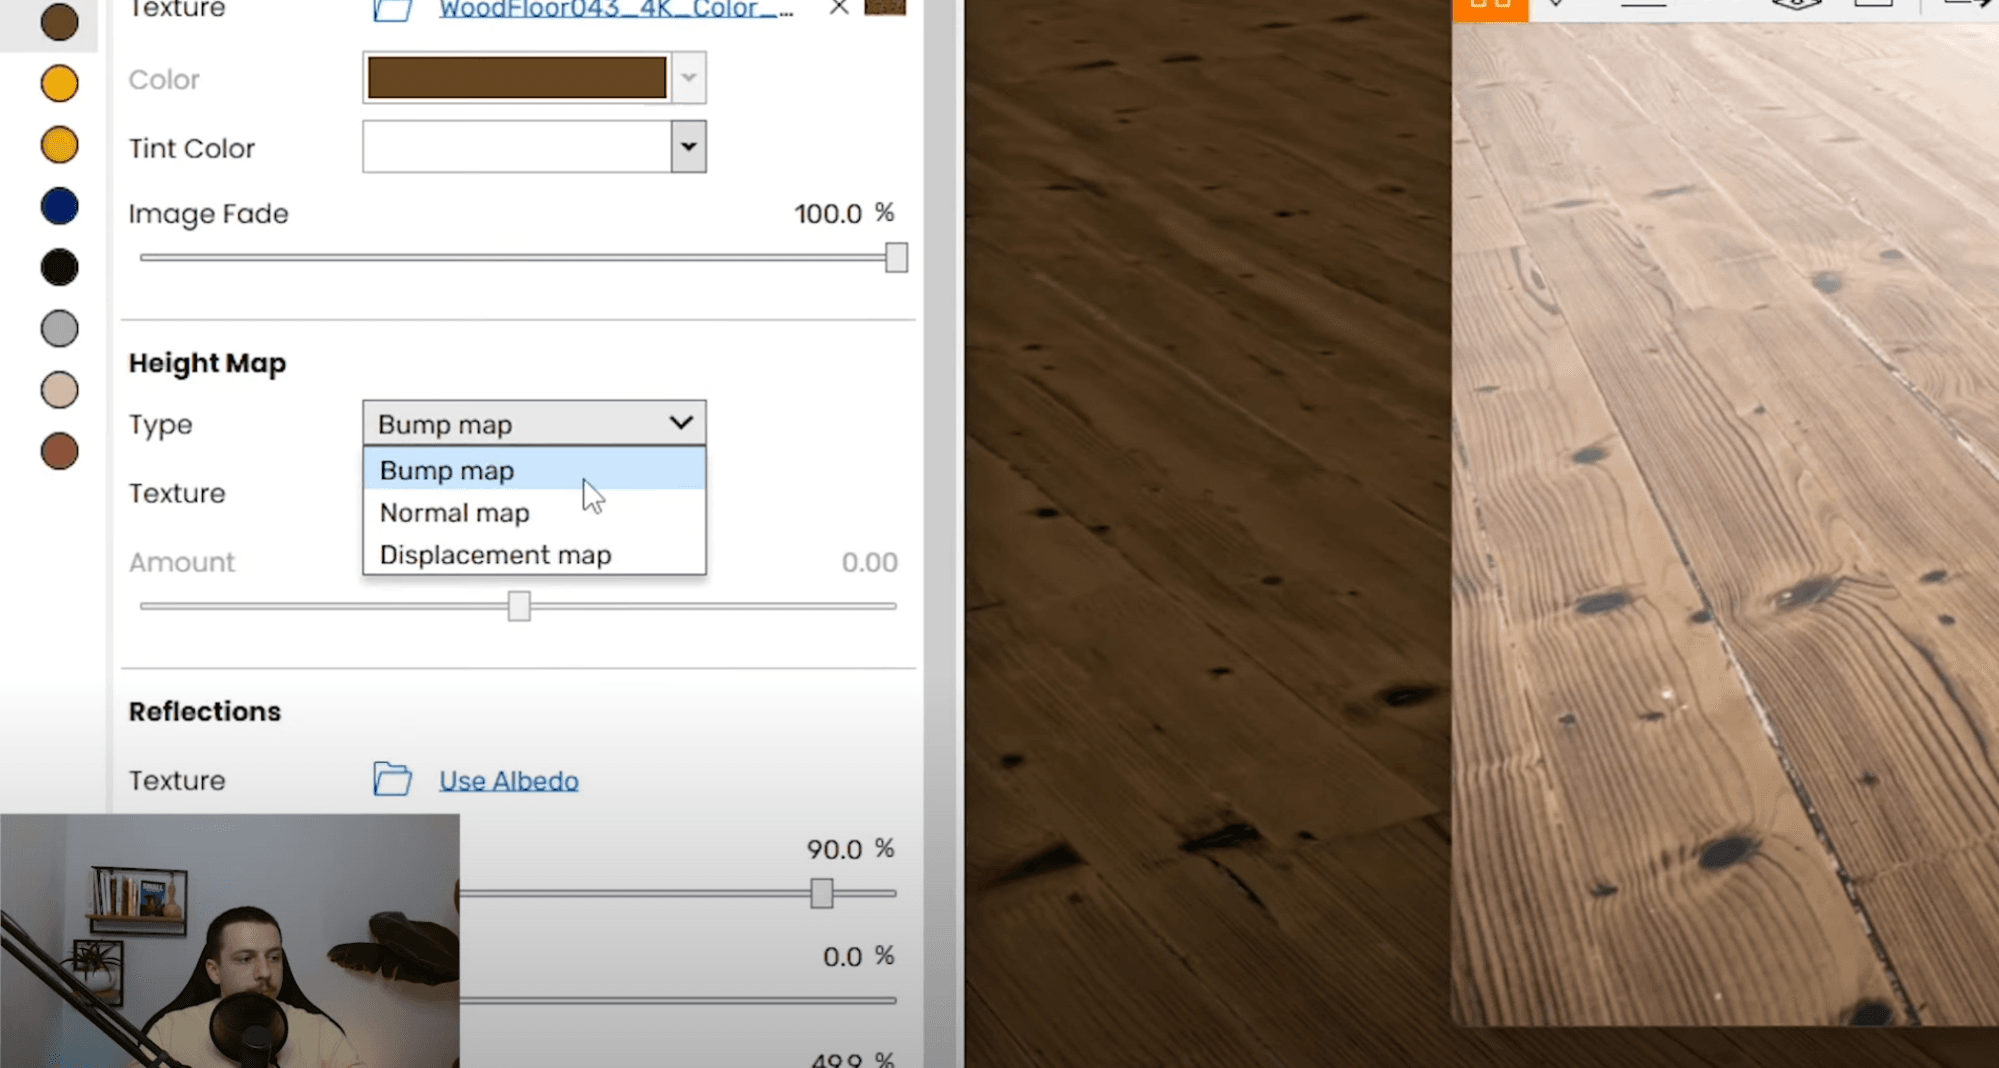
Image from Melos Azemi's PBR materials with Enscape Video Tutorial.
- Reflections and Roughness: Import the roughness map to manage reflections. Use the roughness slider for fine-tuning.
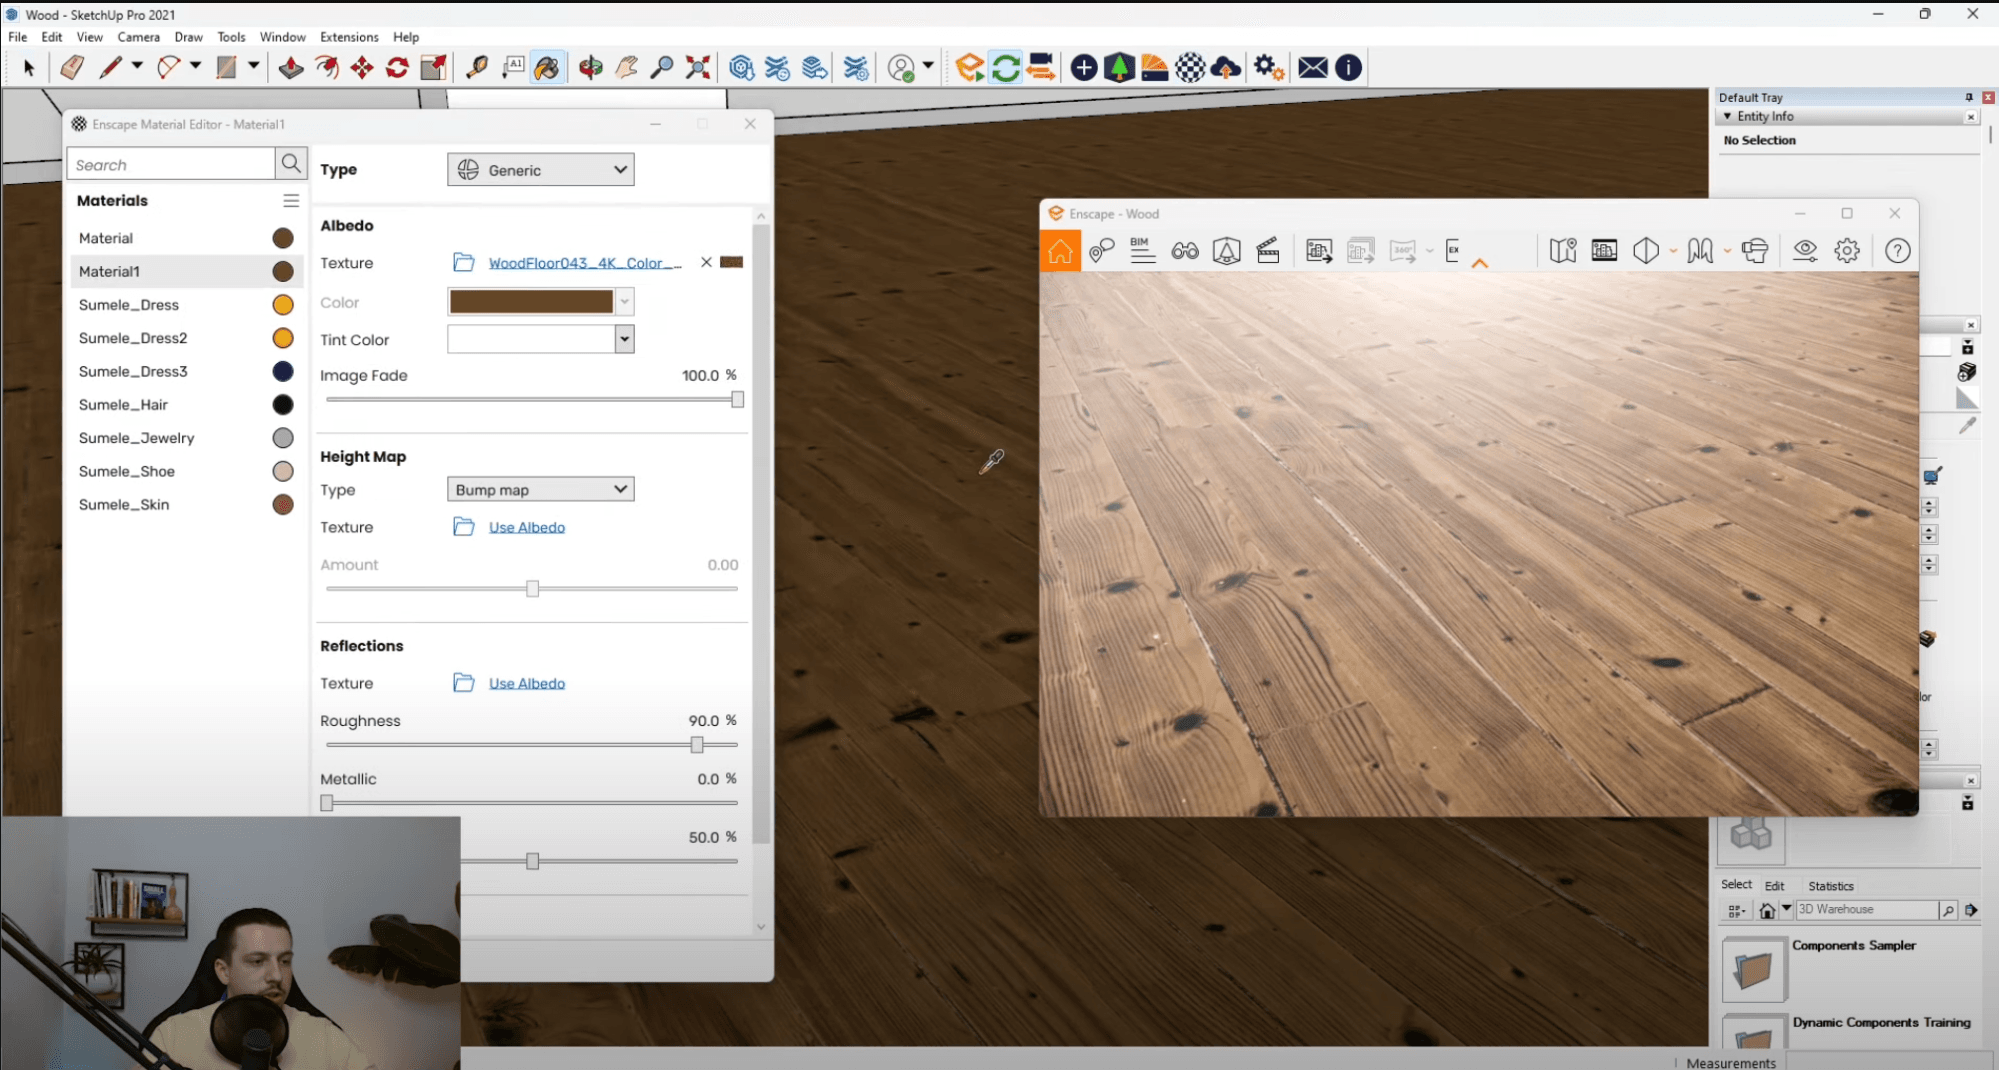
Image from Melos Azemi's PBR materials with Enscape Video Tutorial.
Additional Tips for Realism
-
Use Normal and Bump Maps: Add normal or bump maps to enhance the realism of your material. These can be loaded in the Enscape Material Editor under the respective sections. They help simulate surface detail without increasing the model's geometry.
-
Reflection and Roughness Maps: Use reflection and roughness maps to control how light interacts with the material for reflective surfaces like floors or countertops. These maps help add depth and realism to your renders.
Closing thoughts
Integrating realistic PBR materials into Enscape 2024 revolutionizes your design process, merging efficiency with breathtaking visual fidelity. Thanks to its real-time rendering, VR capabilities, and seamless integration with top design software, Enscape remains an industry leader, cementing its place as a vital tool for AEC professionals.
By adopting PBR materials, your projects achieve new levels of photorealism, captivating clients with lifelike visuals. Integrating Lightbeans' rich material library into Enscape simplifies this process, offering a wide range of high-quality textures that are easily accessible to your designs.
Master these tools to stay ahead in the competitive market, ensuring your work meets and exceeds industry standards.
Check Out Our Library
Lightbeans offers an impressive array of textures that will give you a hand in your design and architecture projects.
View the Library