


What is PBR (Physically Based Rendering) : A Quick Guide
Dive into the world of PBR in the architecture and interior design industries in this guide that covers the basics.
Definition
Physically Based Rendering (PBR) is a technique used in computer graphics to render materials and emulate how light interacts with them in the real world.
PBR aims to achieve realism by simulating the physical properties of materials under any lighting conditions. This approach simplifies the design workflow and helps architects and interior designers create more realistic 3D environments.
Key Components of PBR: Texture Maps
PBR relies on specialized texture maps that work together to define a material's properties and how it interacts with light.
Key Point: These maps don't represent what the material looks like in a photo. Instead, they provide the raw 'ingredients' that the rendering engine uses, in conjunction with light and physics-based calculations, to produce the final, realistic image.
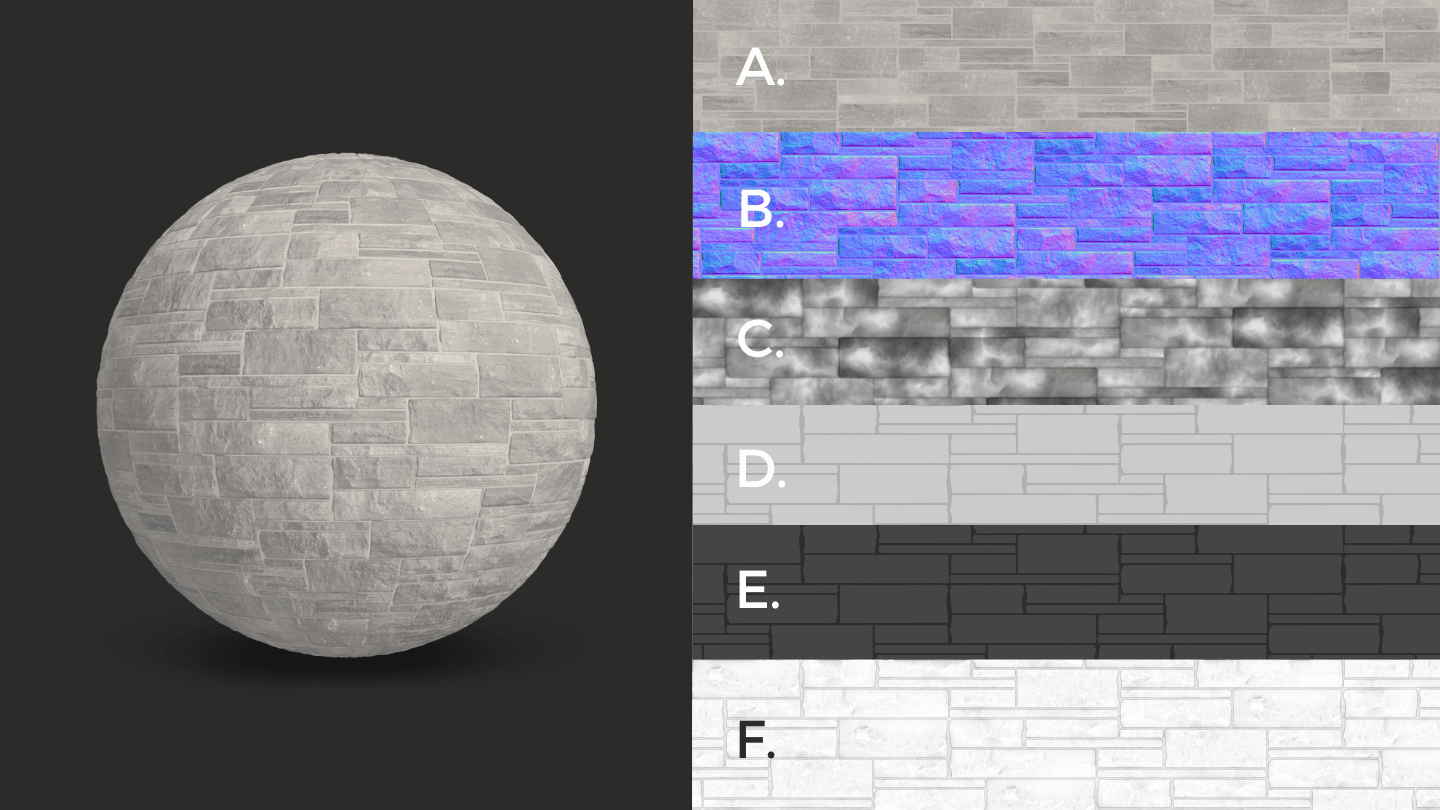
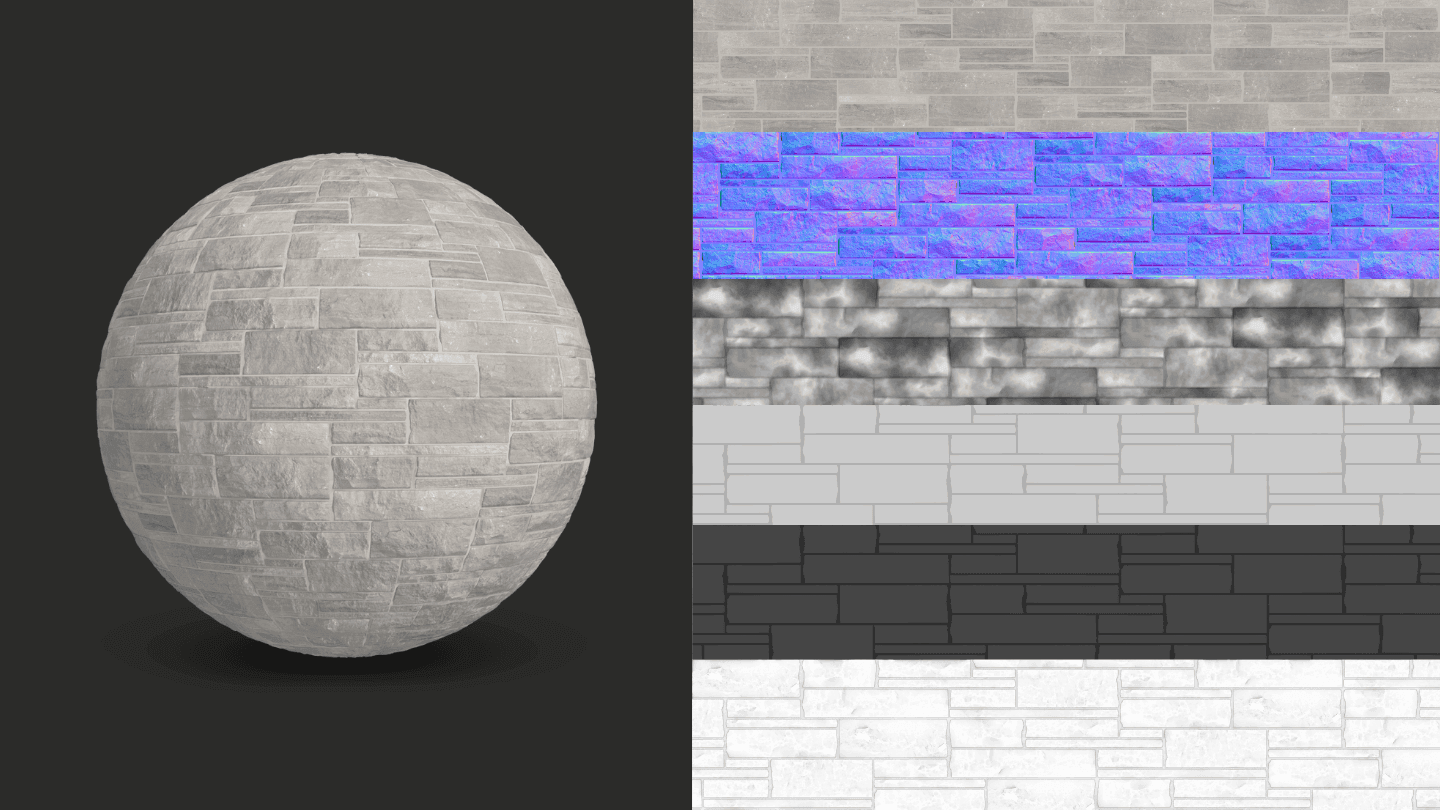
Figure 1.
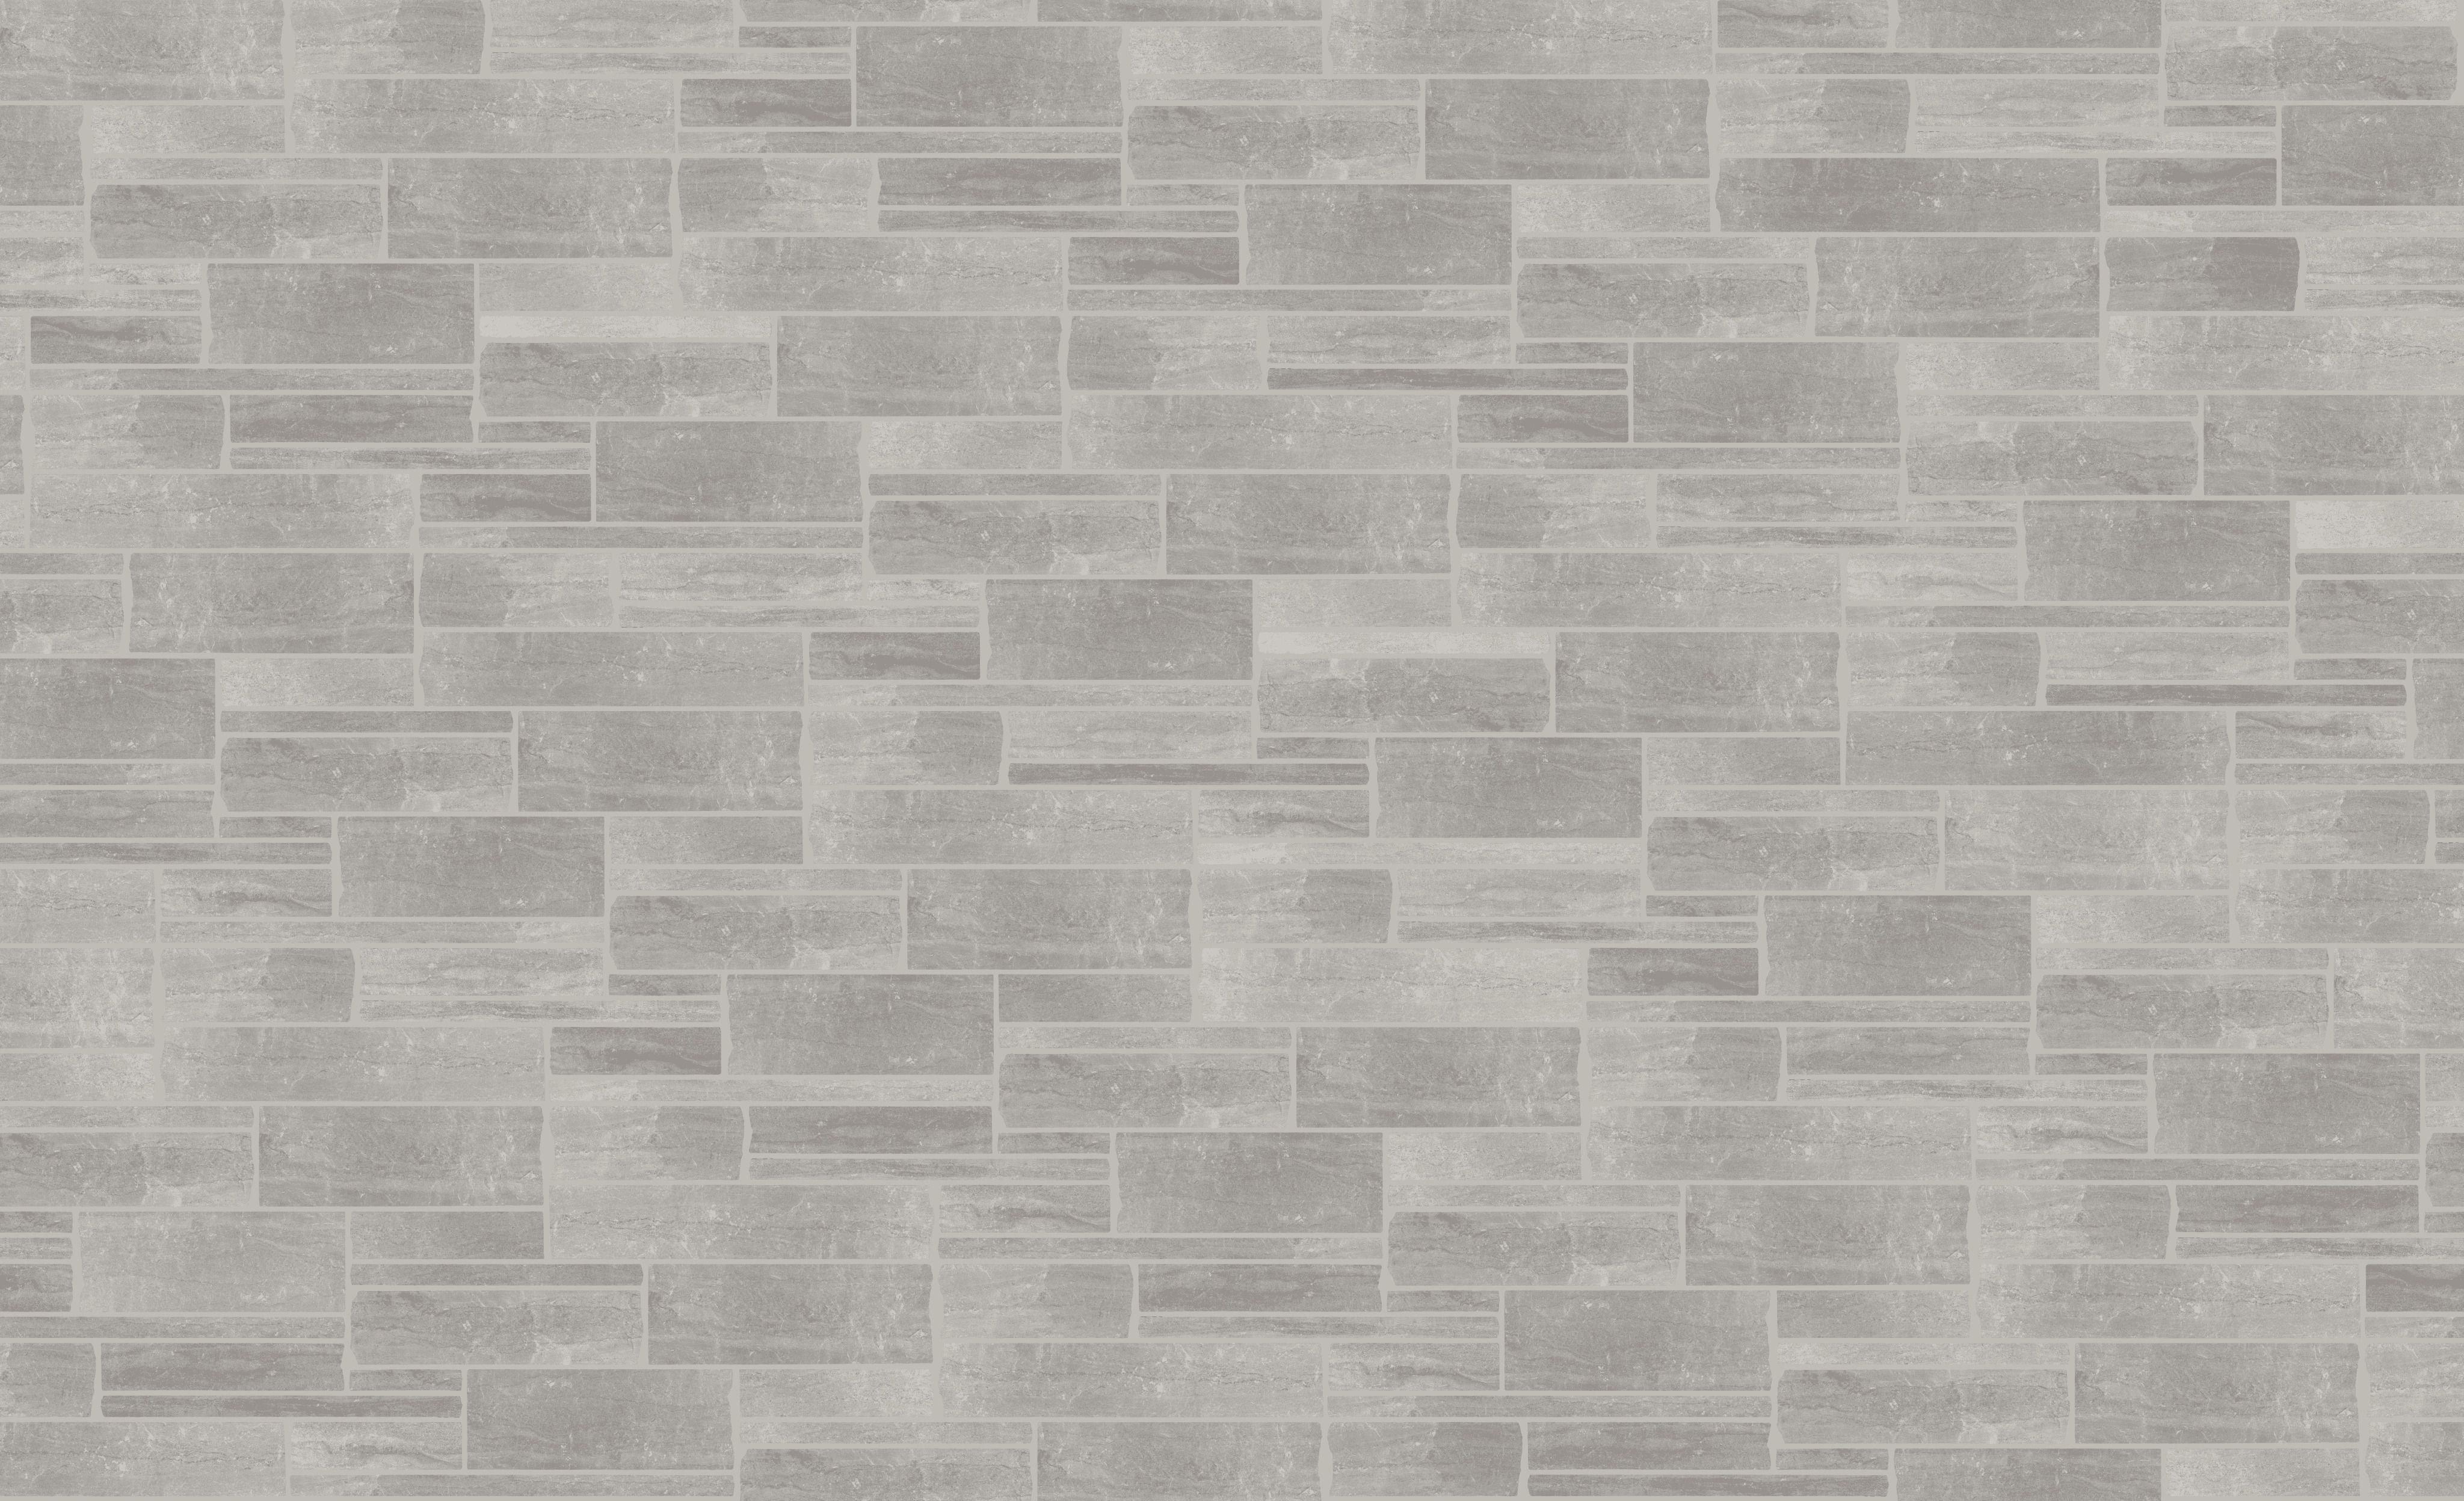
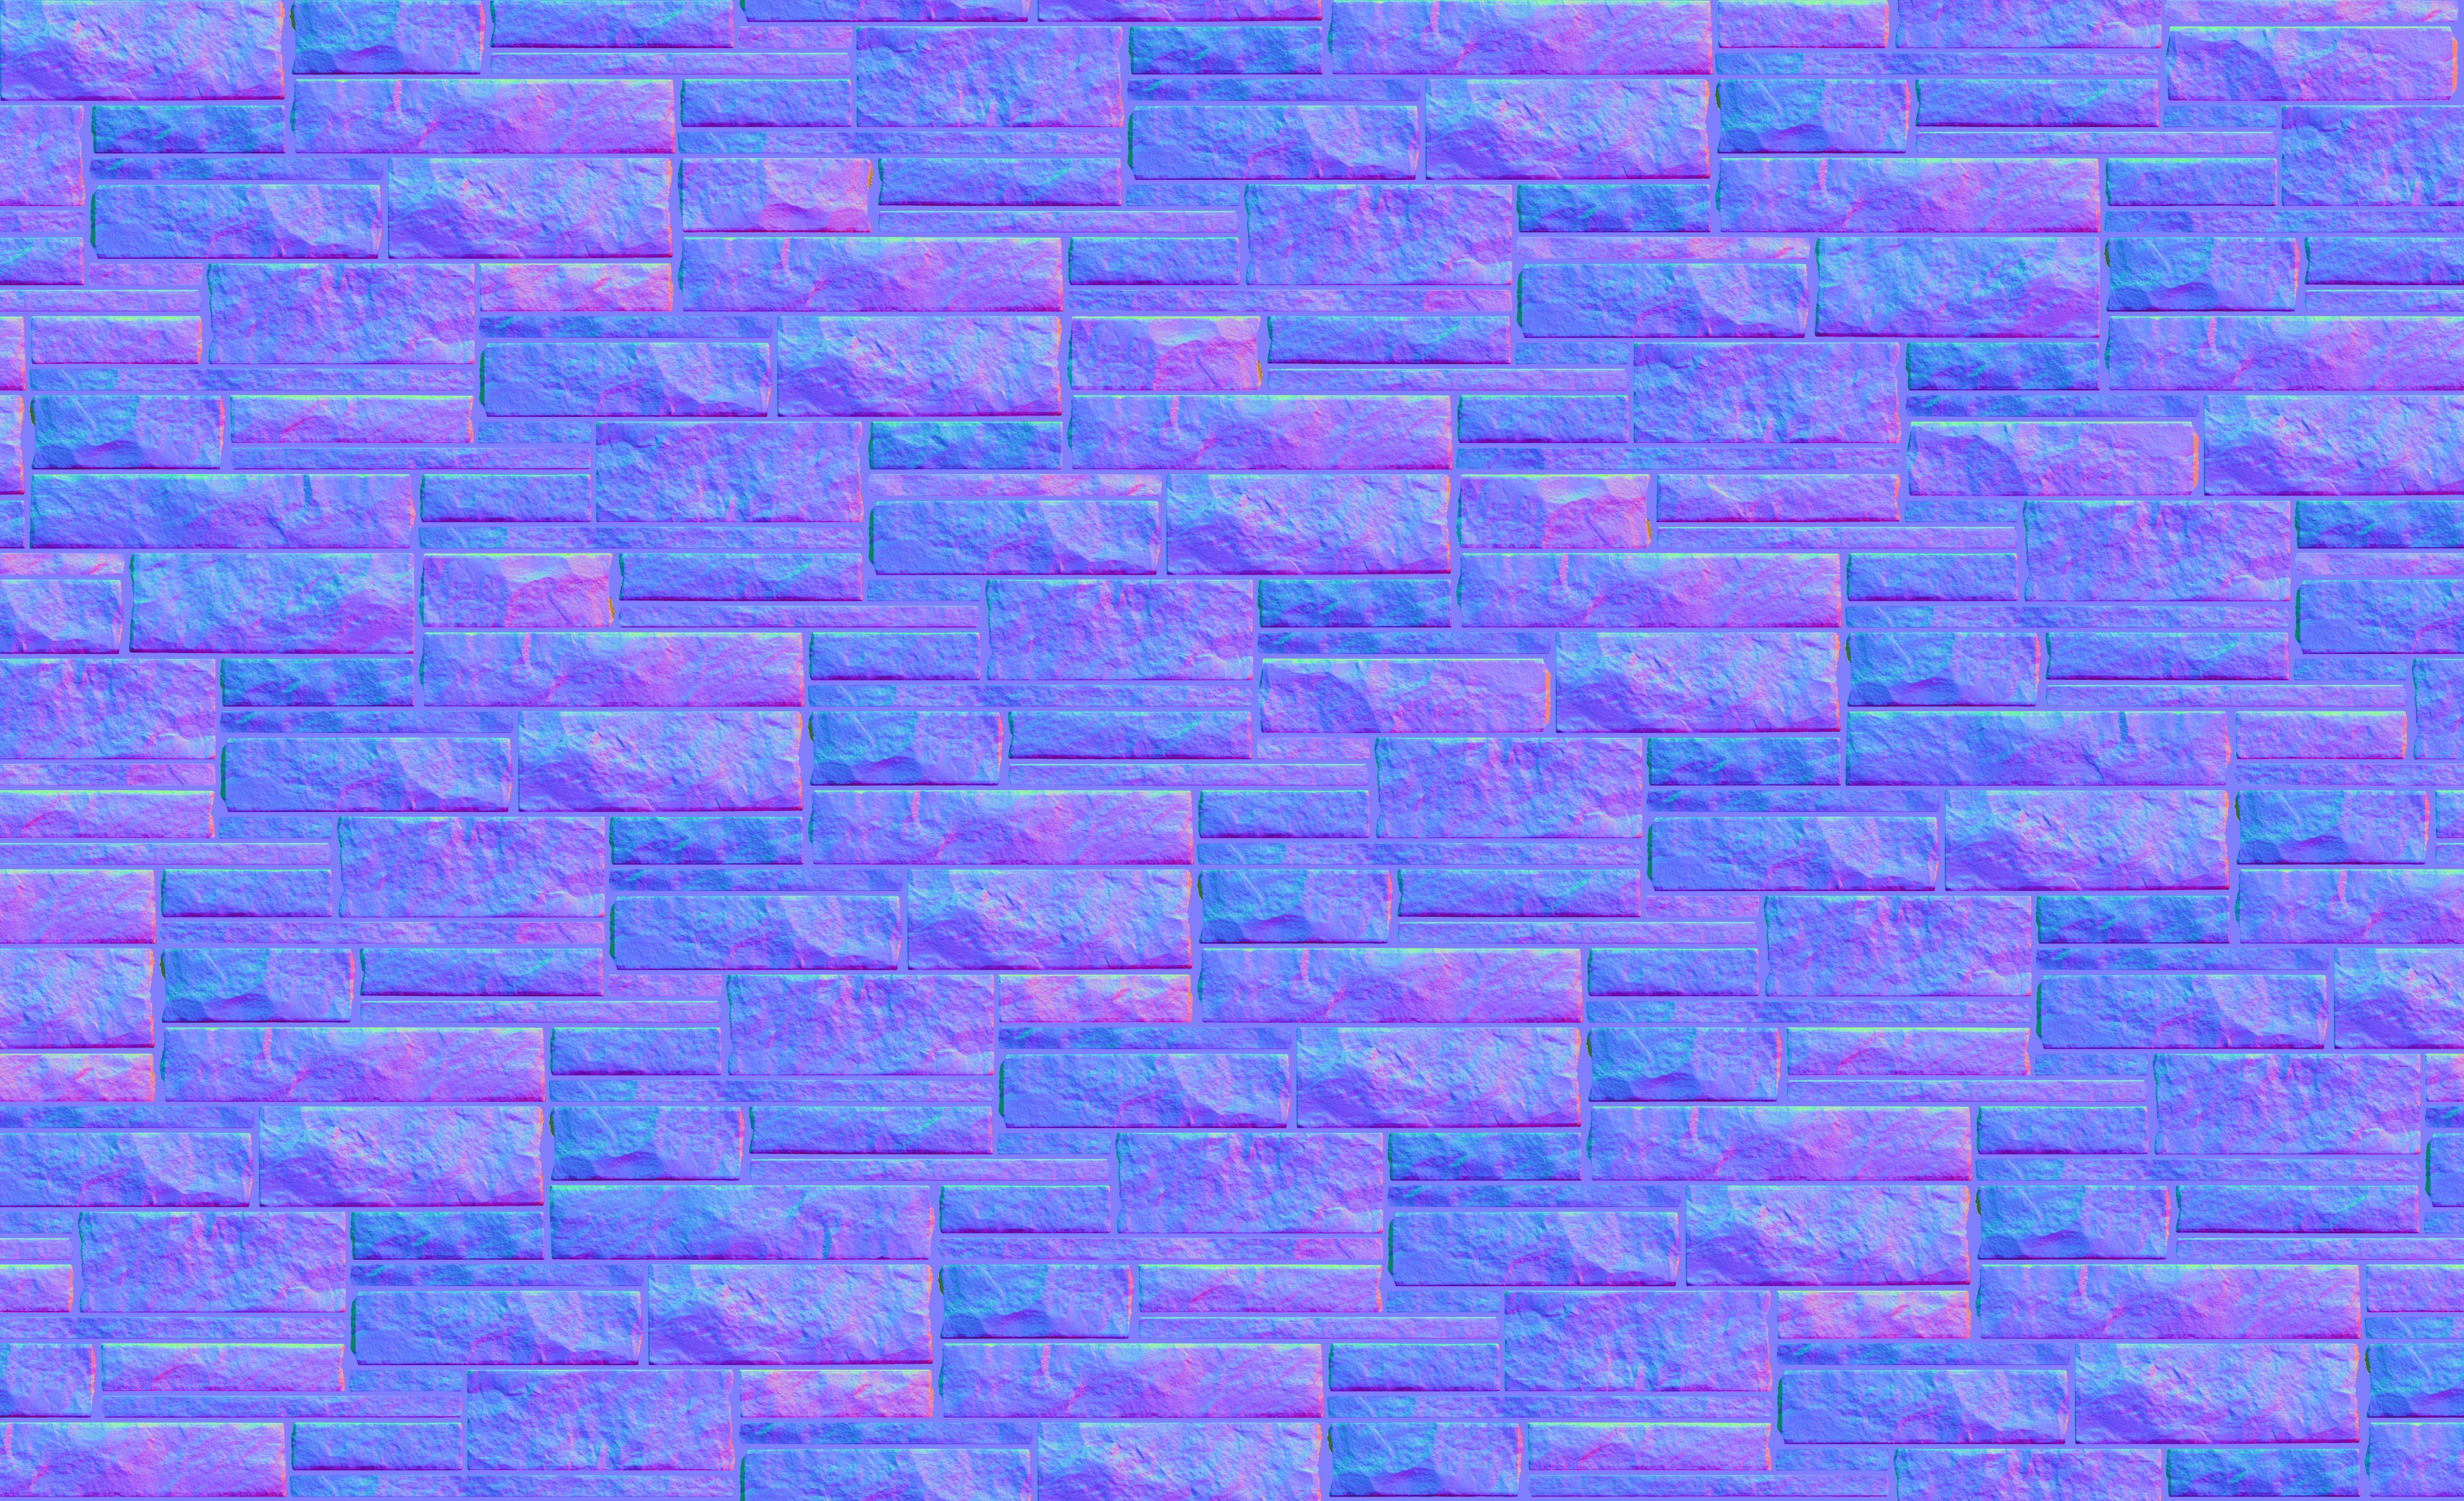
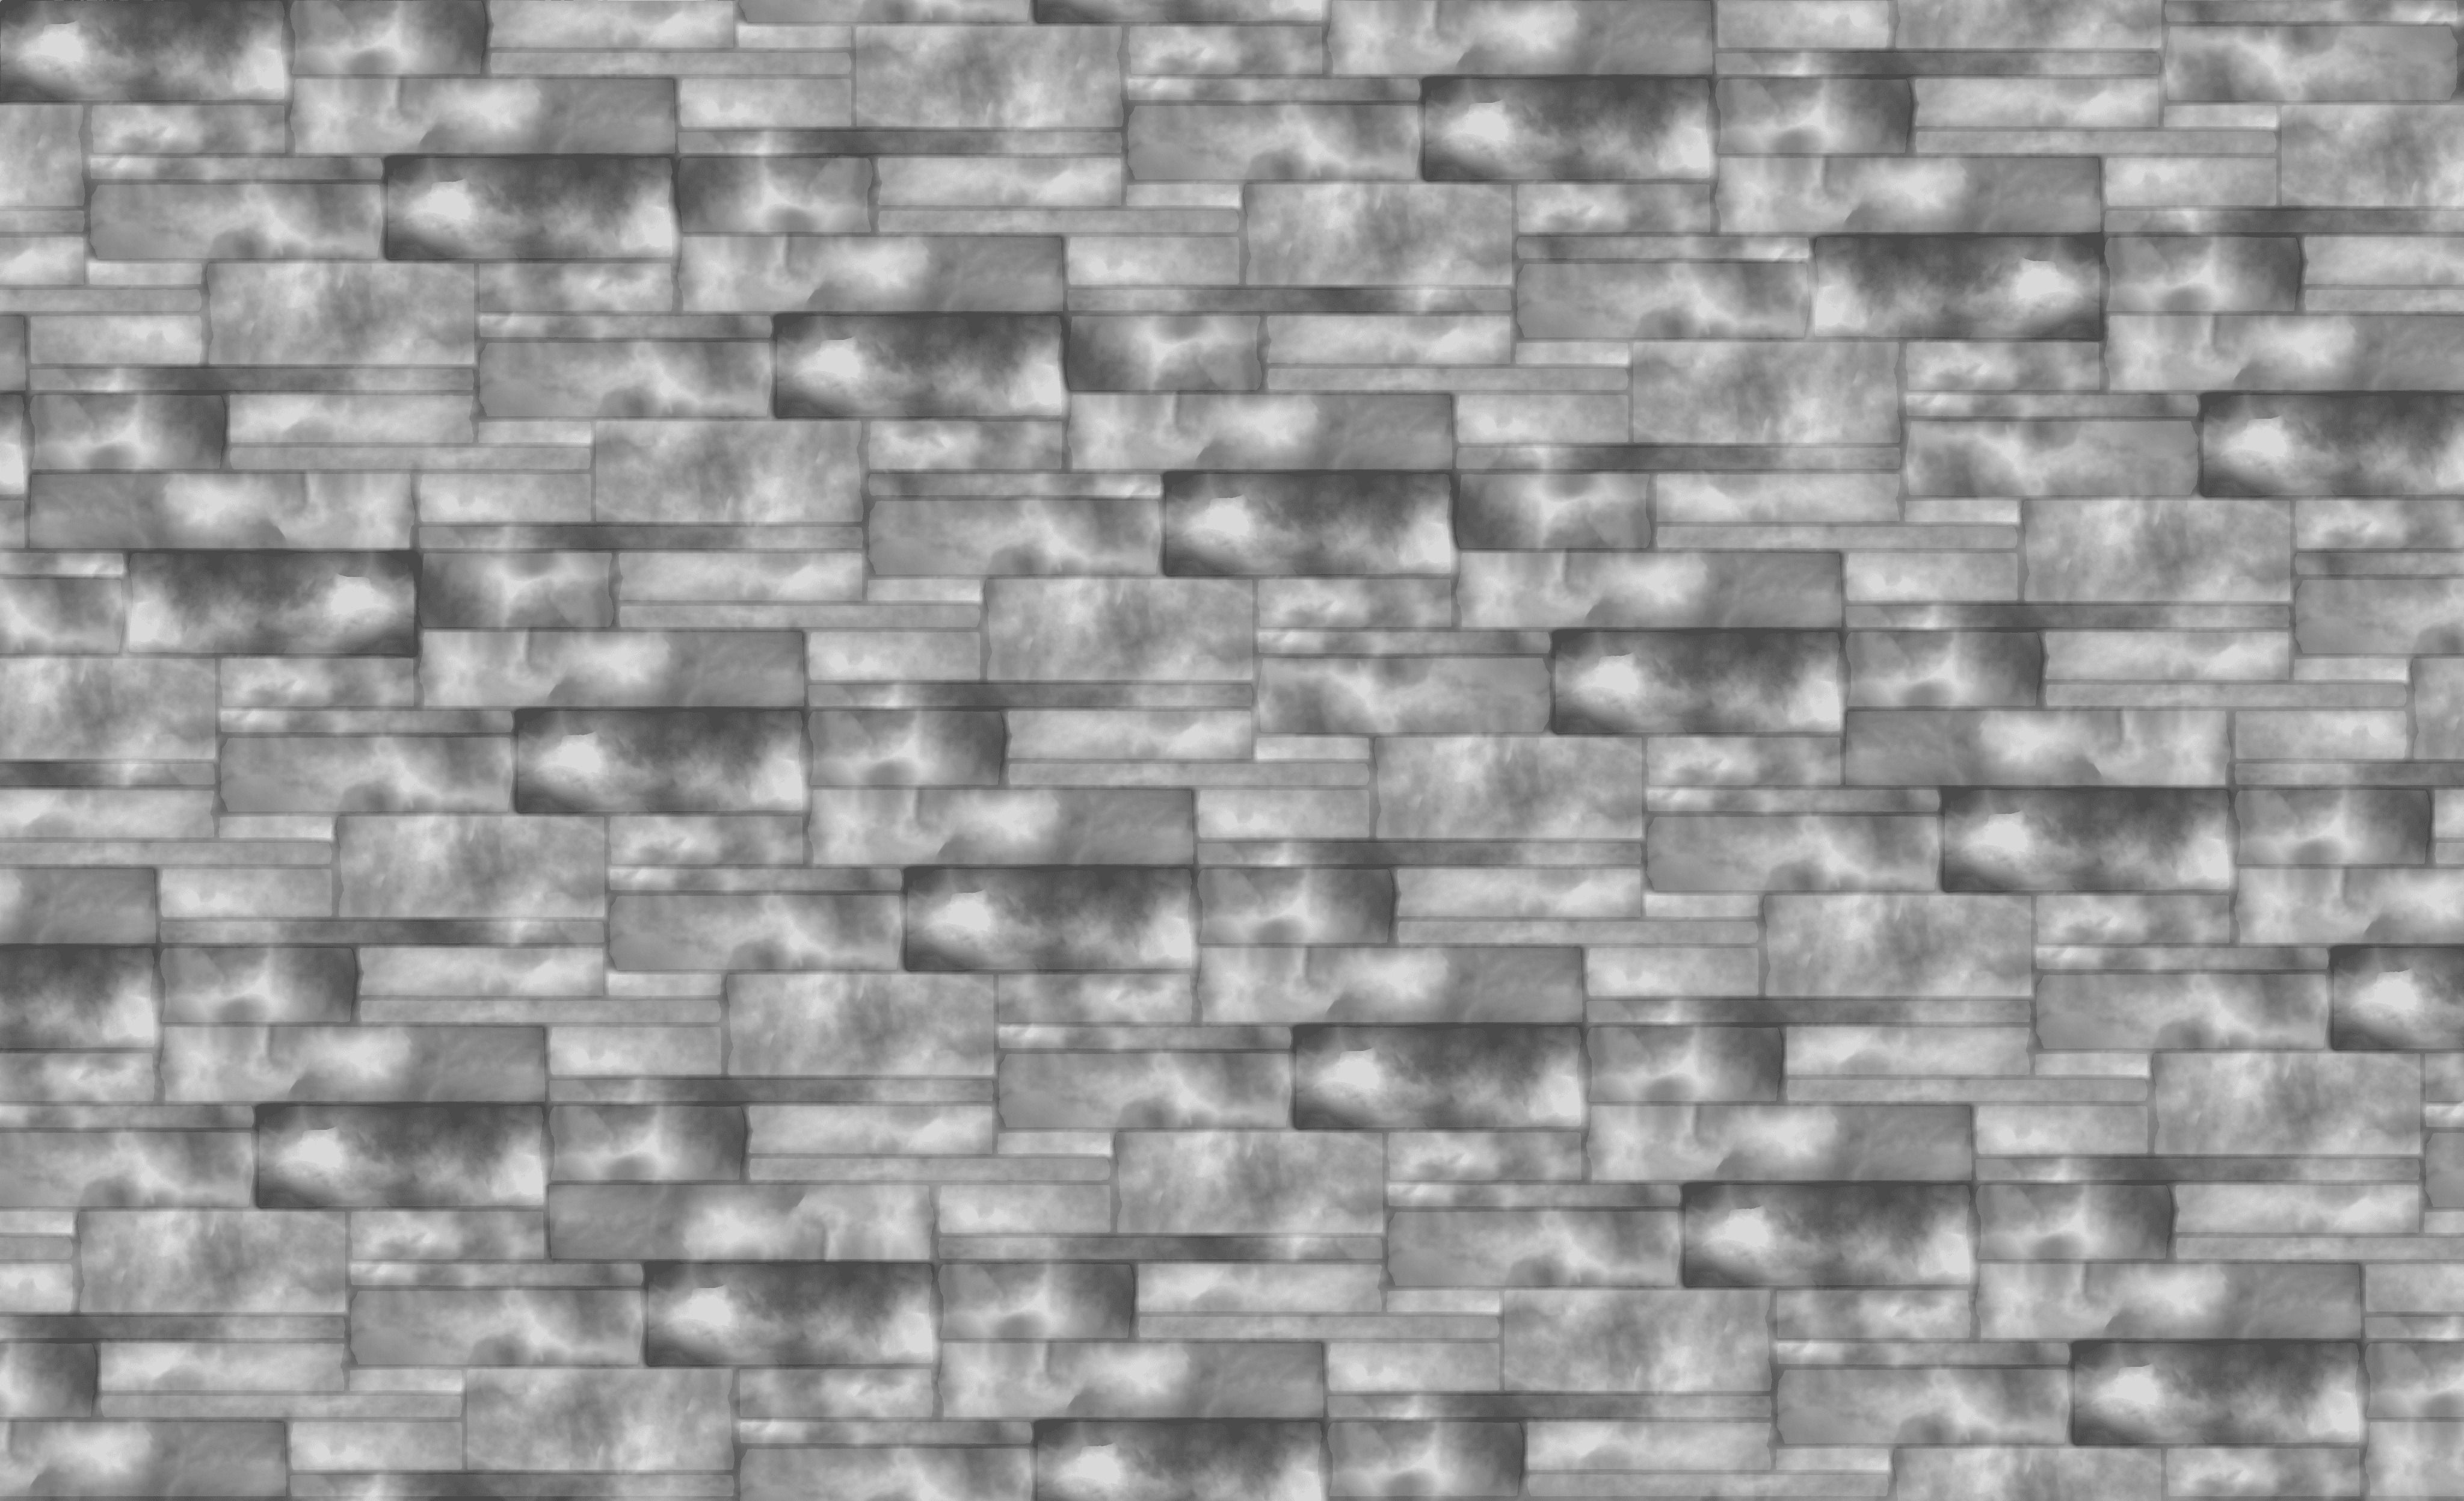
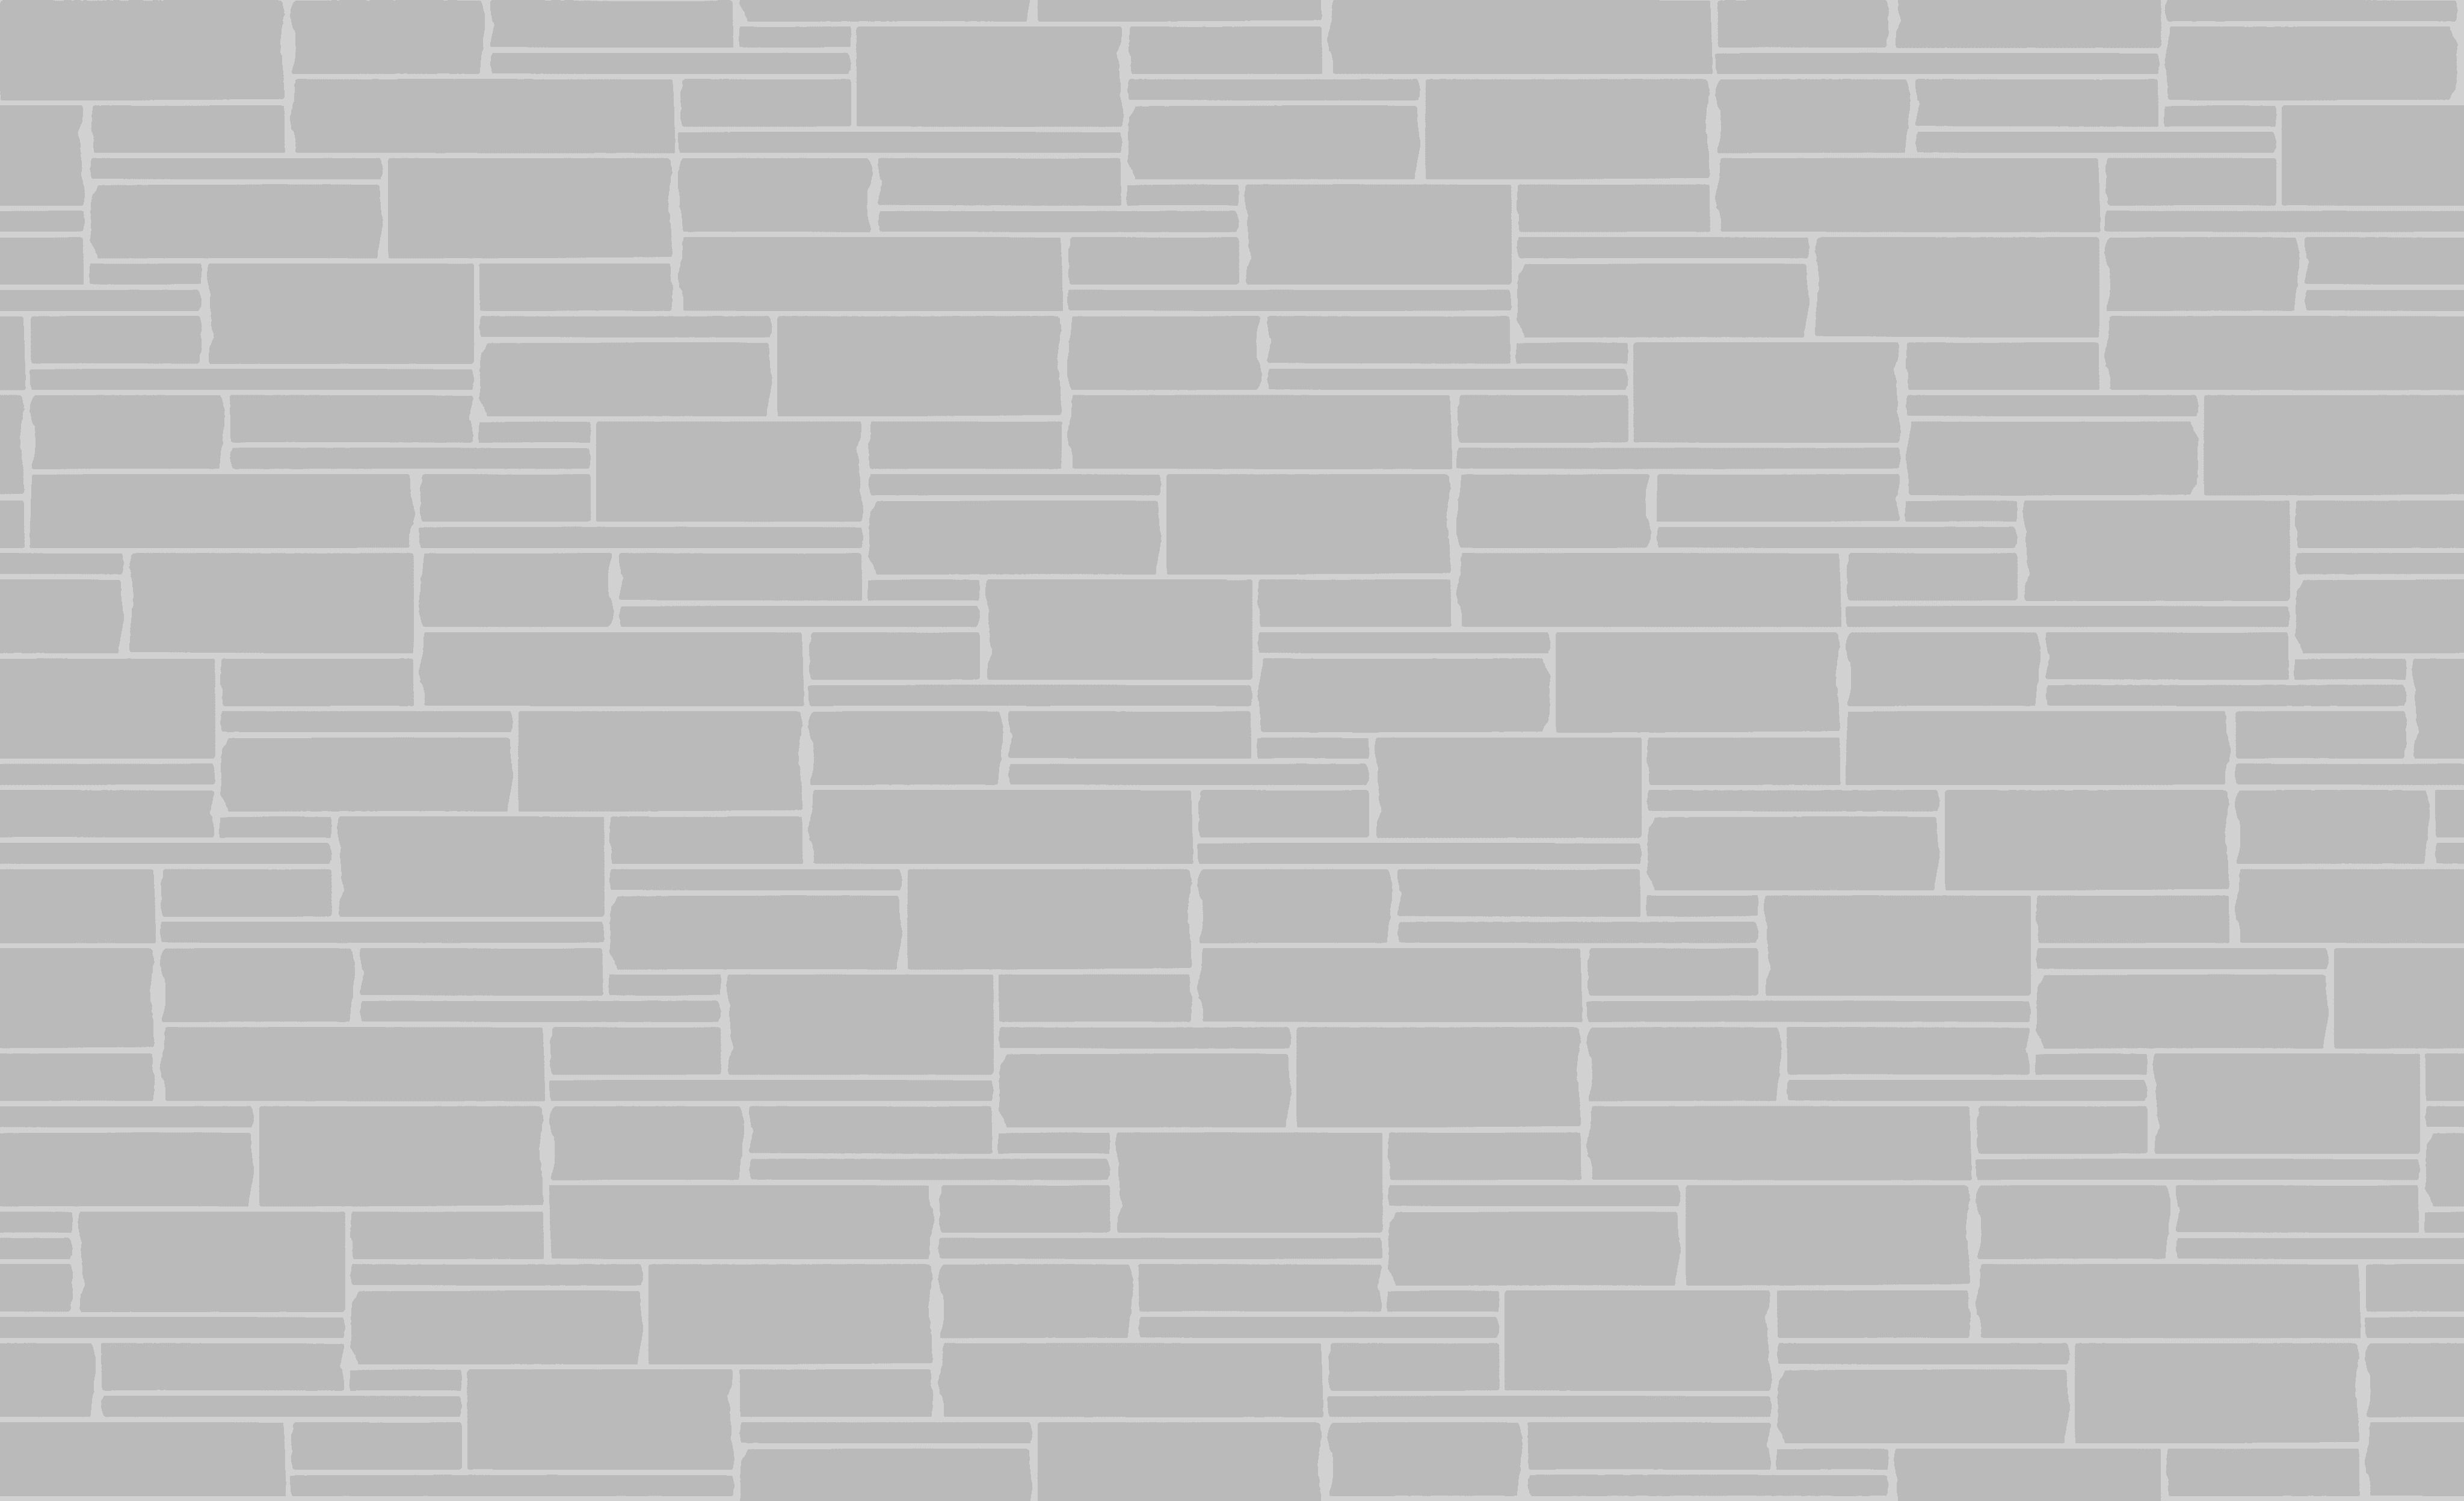
On the left of the above image, a 3D model of a sphere has been overlaid with a set of PBR texture maps from a stone material. PBR textures are commonly represented on spheres to showcase how the light interacts with the surface depending on its orientation.
On the right, these texture maps describe the material's light-reflecting properties. They were measured on a real-world material with a specialized scanner developped by Lightbeans. Together, the maps describe how light interacts with the material.
Here's a look at the core maps:
A. (Figure 1.)
Albedo Map (Base Color)
This map defines the raw color of a surface. Think of it as the material's true color when evenly illuminated by neutral white light. In a PBR workflow, Color, BaseMap, Albedo and Diffuse are all synonyms. The color results from light reflected from the material after having scattered inside.
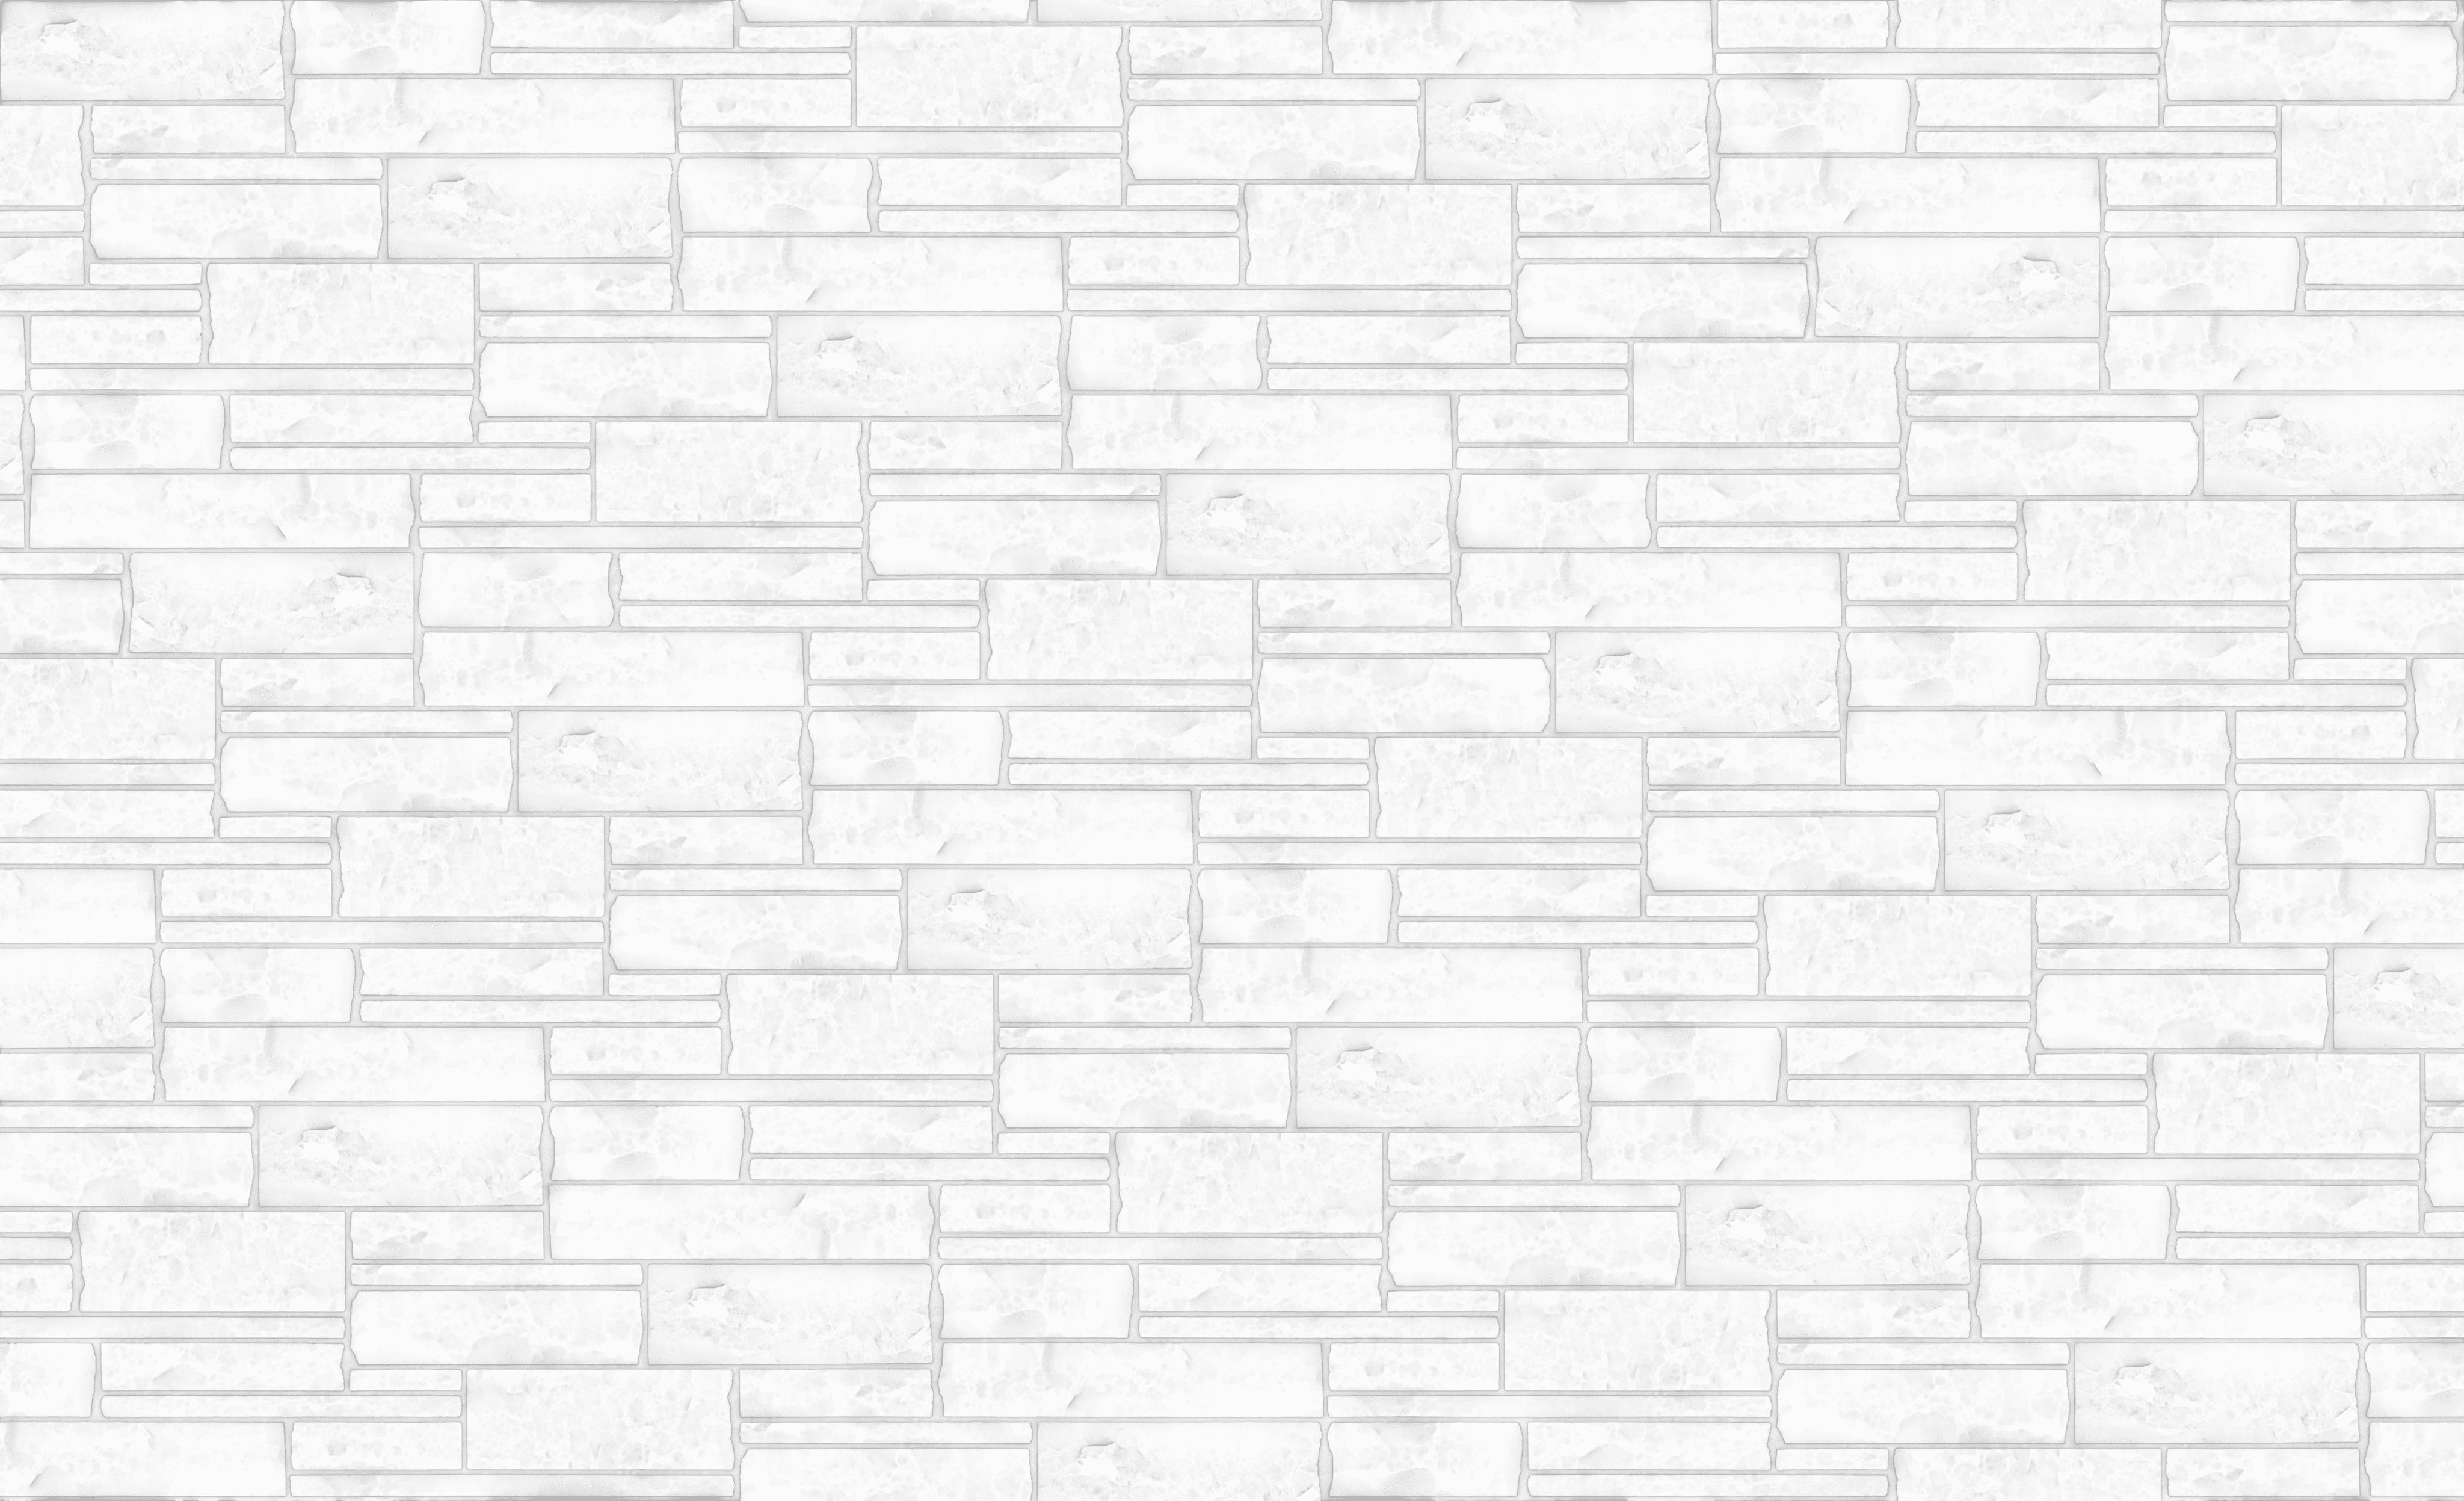
You may have noticed that the edges of the map match up perfectly when repeated, creating a seamless pattern. The map is said to be tileable. This means that the image can be repeated in any direction without showing visible seams or edges as if it were a continuous image. This feature is particularly useful for stone and brick products that are often arranged in a structured, repetitive pattern.
B. (Figure 1.)
Normal Map (aka Bump)
This map adds a layer of simulated high-frequency surface detail. It effectively "tricks" the rendering engine into believing there is geometric detail (bumps, scratches, etc.) without requiring complex 3D models, enhancing realism significantly. Its colors typically range from tones of blue to pink, and cyan to purple. They encode surface orientation. Depending on convention, cyan indicates the surface is facing upwards, while pink indicates it's facing downwards.

C. (Figure 1.)
Displacement Map (aka Height or Depth)
As the name indicates, these mappings physically displace the surface to which they're applied. Displacement is used for large changes in geometry and then normal or bump for fine details. Displacement will also enhance the realism of silhouettes as can be seen on the contour of the sphere of Figure 1.
D. (Figure 1.)
Roughness map (or Gloss)
Depending on your software, this map may be called Gloss or Roughness. This map controls how smooth or rough a surface is at a microscopic level. This roughness affects how light reflects without scattering inside the material - smooth surfaces create sharp specular reflections (like a mirror), while rough surfaces produce blurred or diffused reflections. A roughness value of 0 corresponds to a surface with no light scattering and sharp reflections, while a value of 1 indicates maximum light scattering and diffuse reflections. Roughness maps use a grayscale color scheme where white represents the highest roughness and black indicates a smooth, glossy surface. A gloss map is essentially the opposite of a roughness map in terms of its values. In other words, where a roughness map has higher values indicating more roughness, a gloss map has higher values indicating more smoothness.
E. (Figure 1.)
Reflection Map (aka Specular)
Reflection maps are tightly coupled to the glossiness (roughness) and indicate the intensity of the specular reflection. Materials that do not conduct electricity will typically reflect the color of the light source with more or less intensity depending on the reflection value. For metal (conductors), the reflection will be colored and referred to as the reflectance color.

F. (Figure 1.)
Ambient Occlusion Map
Used to simulate subtle shadows where surfaces come together (creases, corners), adding depth and realism.
PBR in Architecture and Interior Design
PBR's ability to model the behavior of light and its interaction with materials makes it incredibly valuable for architects and interior designers. Here's why:
-
Realistic Visualizations: PBR renders offer photorealistic images, allowing clients to preview spaces with remarkable accuracy. This is key when it comes to visualizing different lighting conditions throughout the day, showcasing the subtle nuances of materials under varying light directions, or demonstrating the impact of different light sources.
-
Informed Design Choices: Clients can make choices with confidence by visualizing different exterior siding or masonry, fabric textures, countertops, or even paint colors (albedo map) under accurate, realistic lighting scenarios. This avoids costly surprises and enhances the overall design collaboration process.
-
Streamlined Workflow: PBR's focus on physically accurate parameters helps streamline workflows. Assets are more reusable, reducing the need for scene-specific hand-tuning that was common with older methods. This allows designers to focus more on creativity and less on technical workarounds.
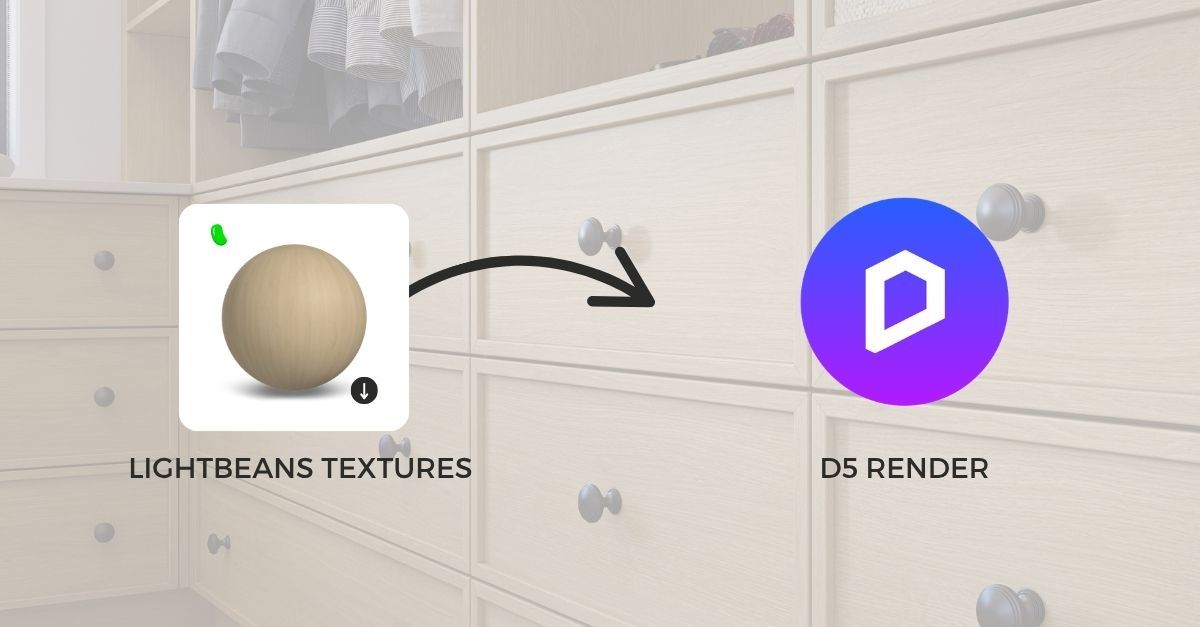
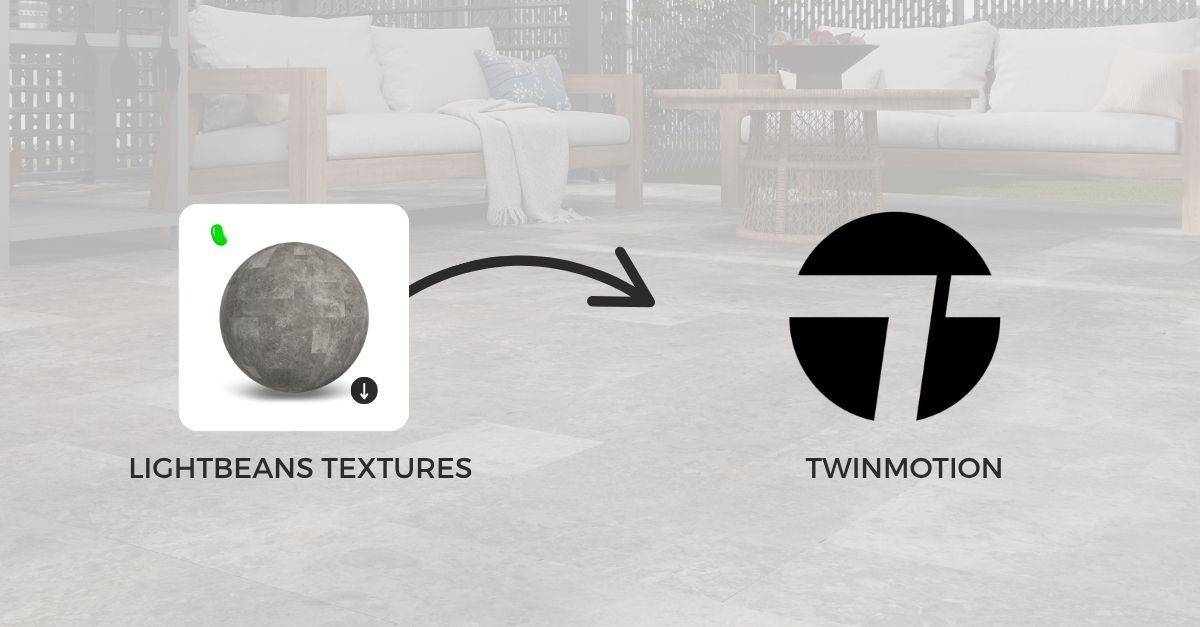
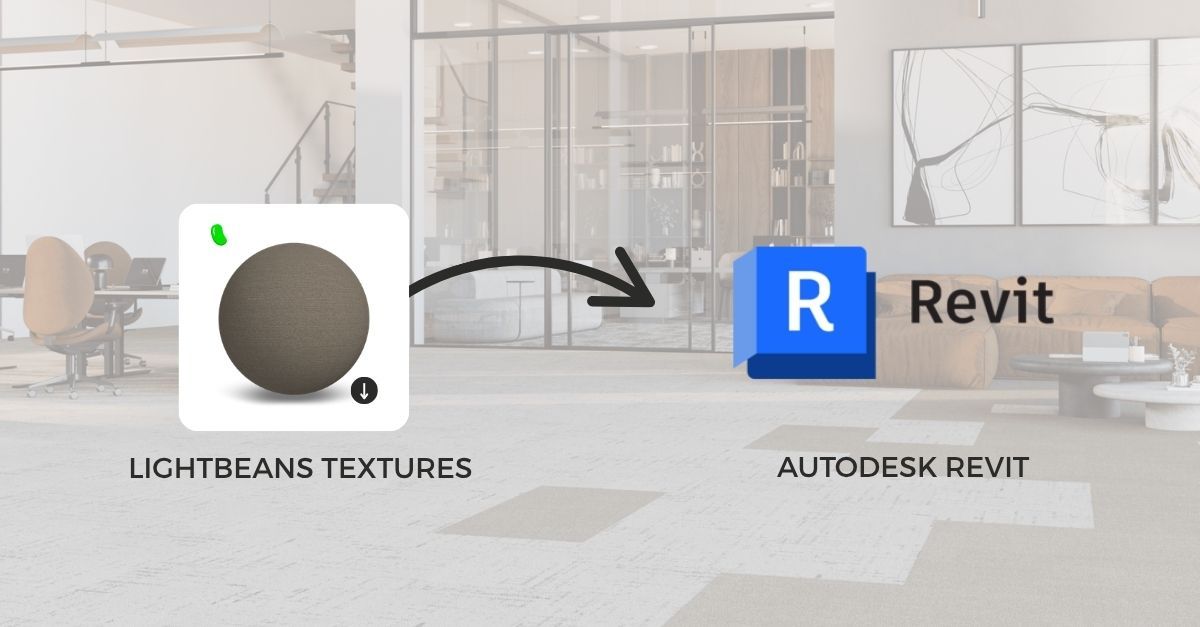
Here’s an example of a Lightbeans stone texture integrated in a 3D environment:
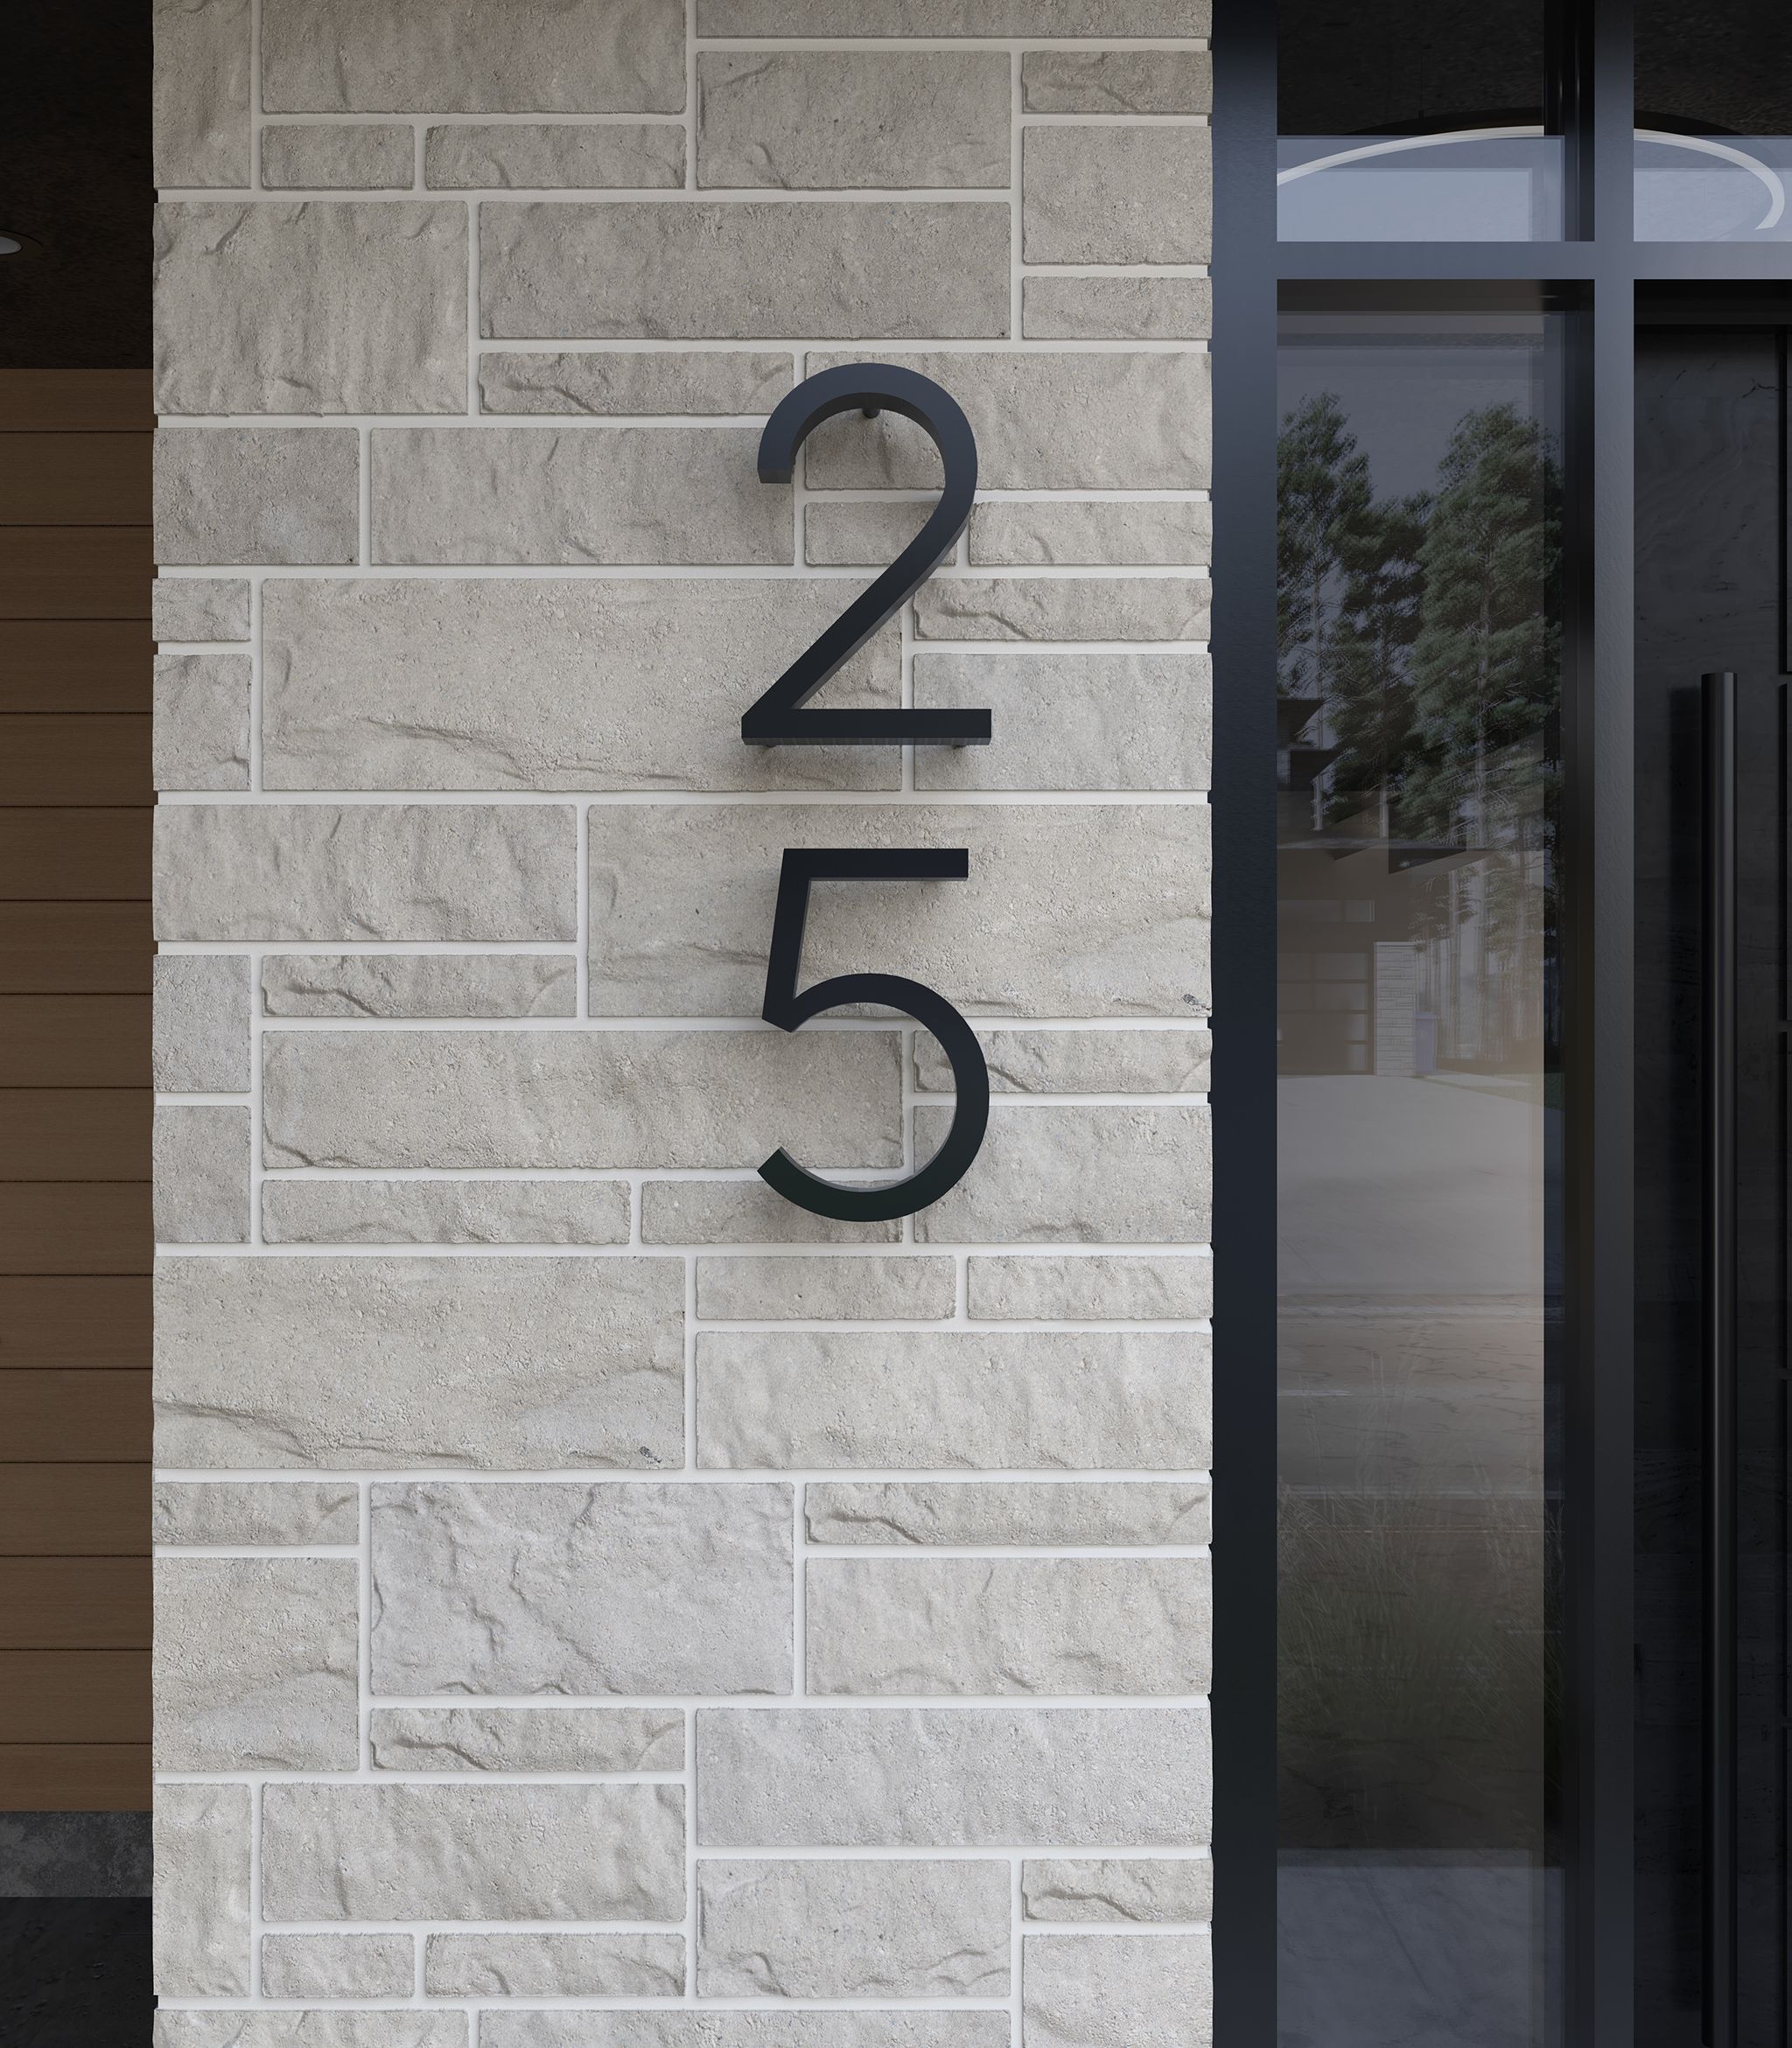
The push for more lifelike and standardized visual content, coupled with advancements in computational power, has led to the adoption of PBR as a growing standard in the architectural and design sectors. Software tools tailored for these industries, such as Autodesk Revit, SketchUp, and Lumion, are progressively integrating PBR capabilities, reflecting an industry-wide move towards more sophisticated and realistic visualizations. Here's a list of the best 3D design software for architects and designers.
How Lightbeans uses PBR
Lightbeans leverages the technology to set a new standard for the digital presentation of surface materials.
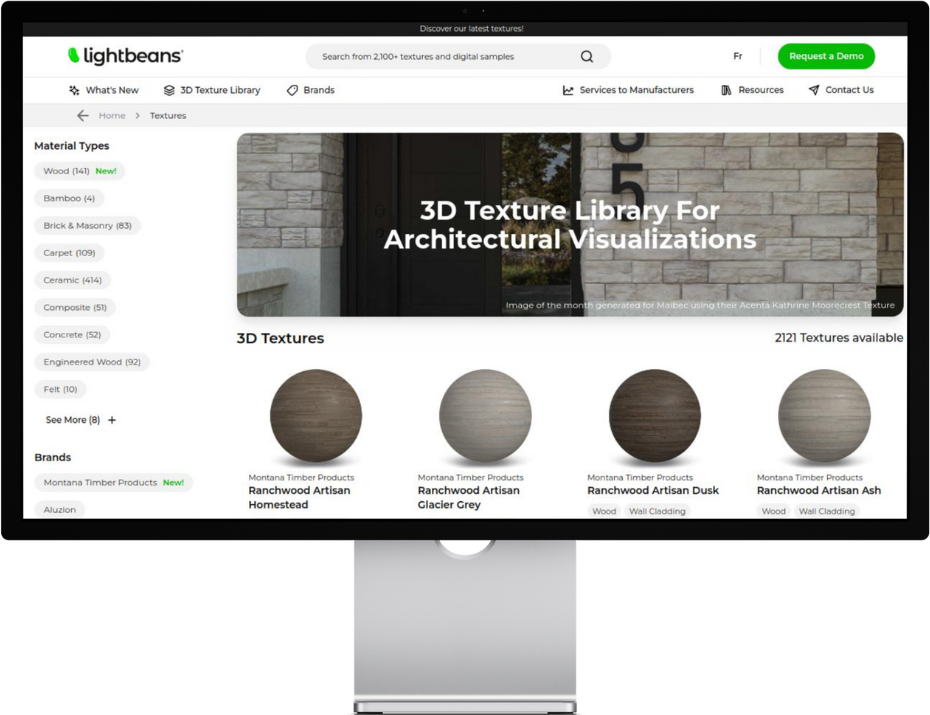
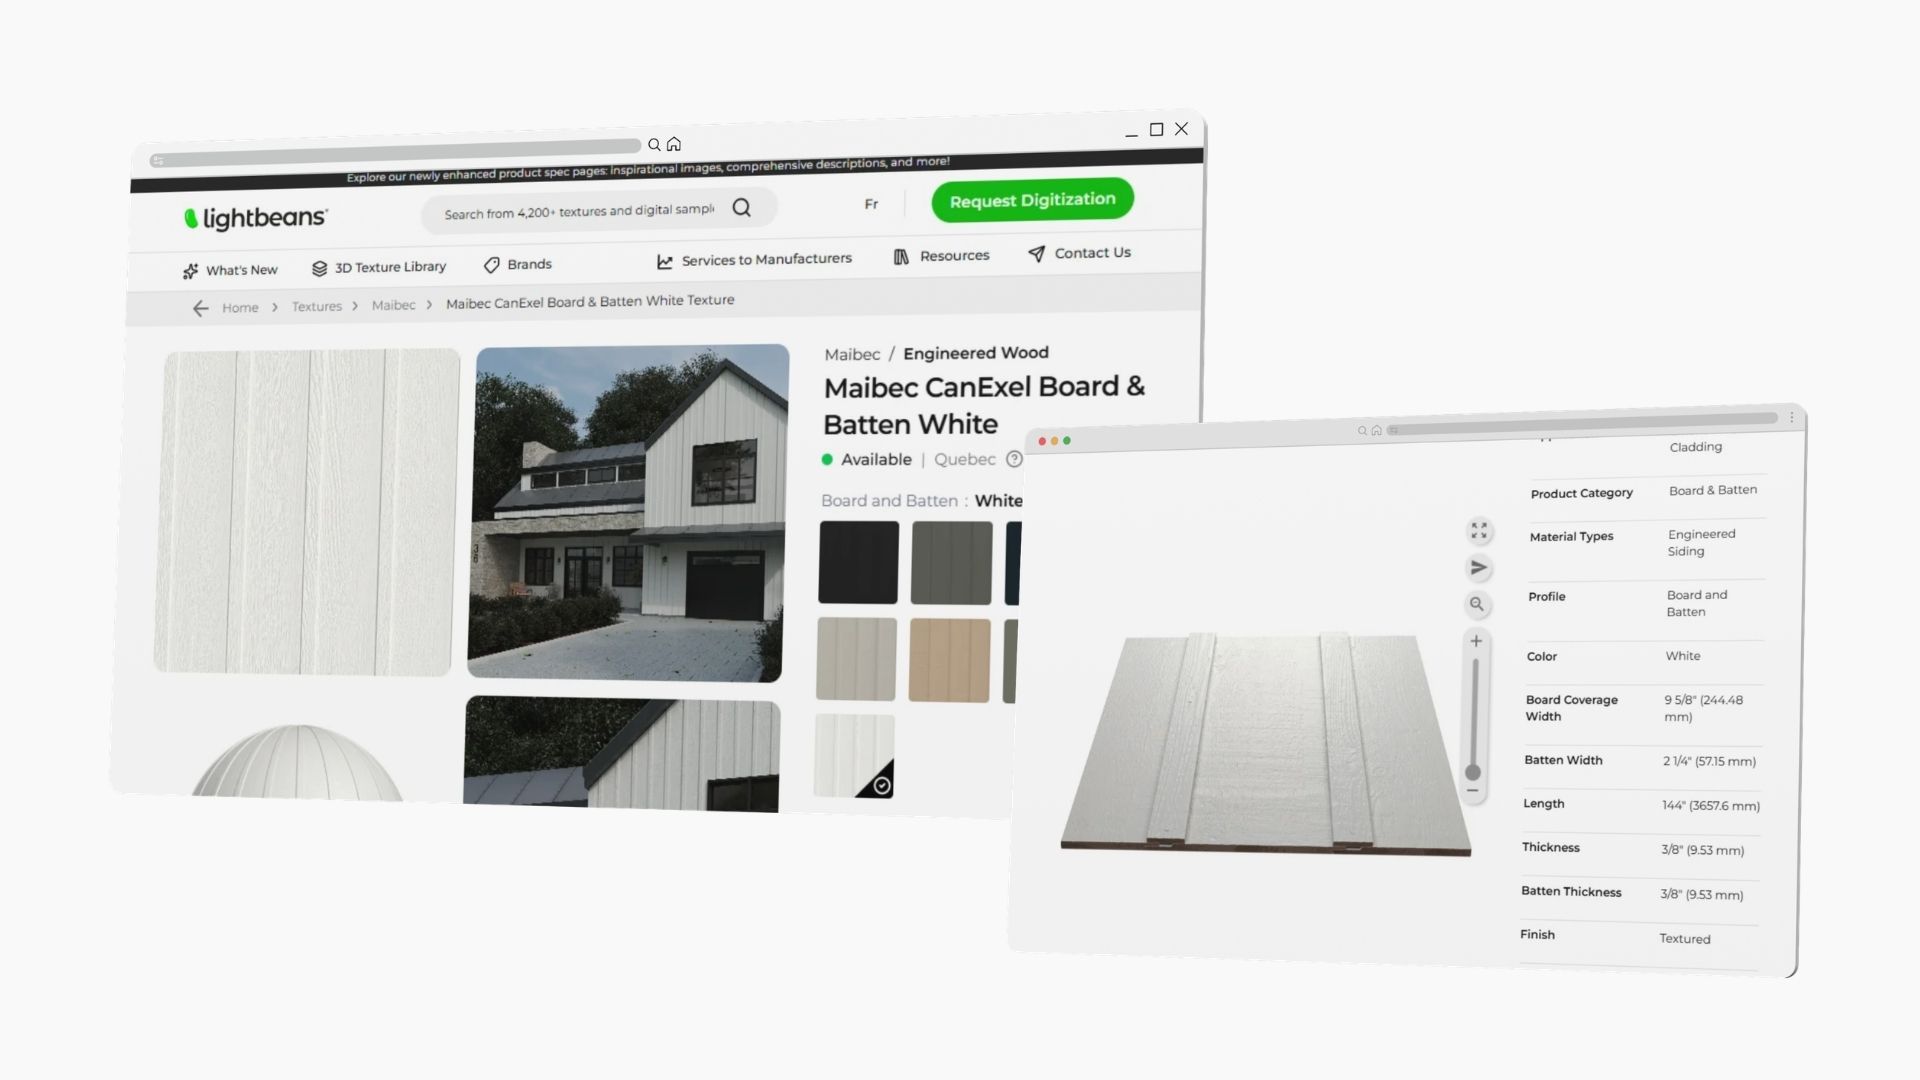
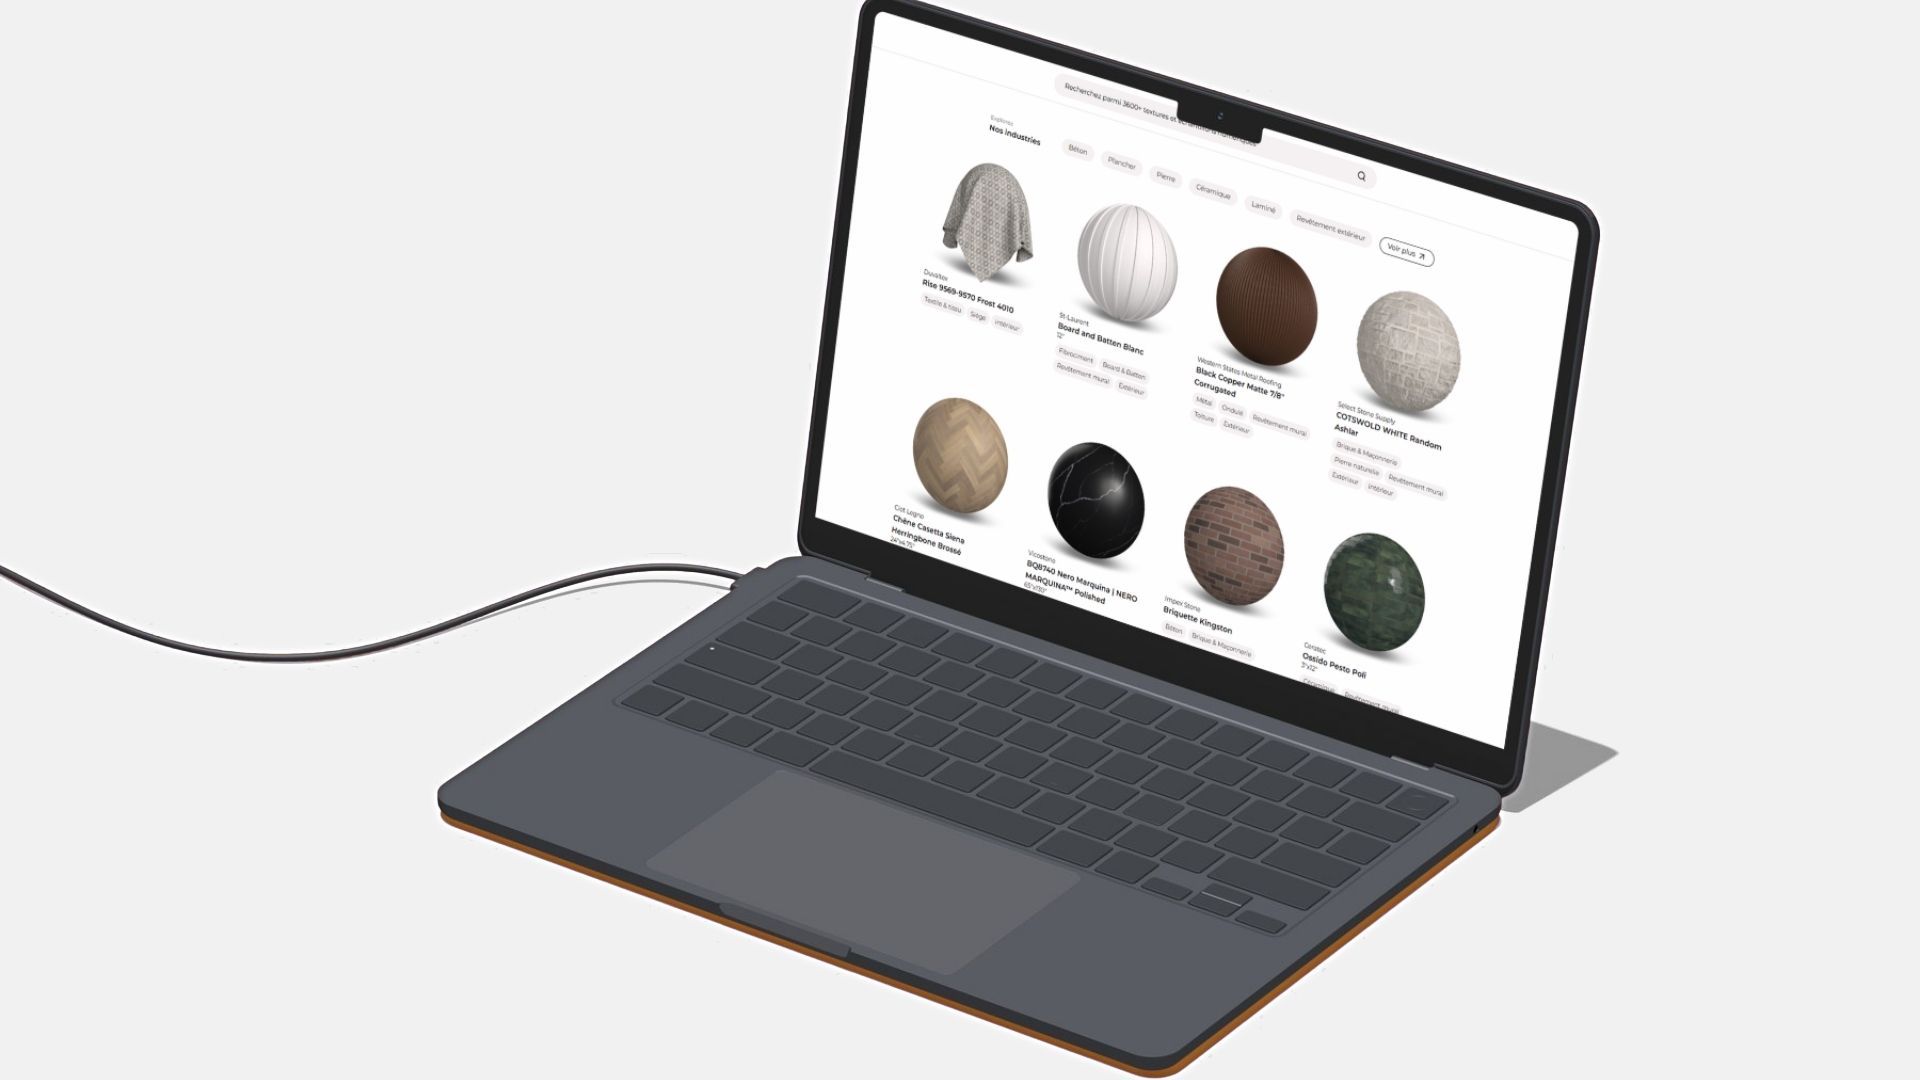
With PBR, we can replicate a wide array of materials from real-world manufacturers into downloadable, seamless, high-resolution textures for 3D rendering. This ensures peace of mind that the finishes shown to clients are readily available from an actual supplier in real life. Explore the free texture library here.
Summary
As we conclude, remember that PBR is more than just a trend or a buzzword. It's a revolution in the world of 3D rendering, promising to bring even more realistic visuals to your screen. So, whether you're an architect, an interior designer, or a curious learner, consider PBR as your next step in creating more realistic 3D models.
Check Out Our Library
Lightbeans offers an impressive array of textures that will give you a hand in your design and architecture projects.
View the Library